
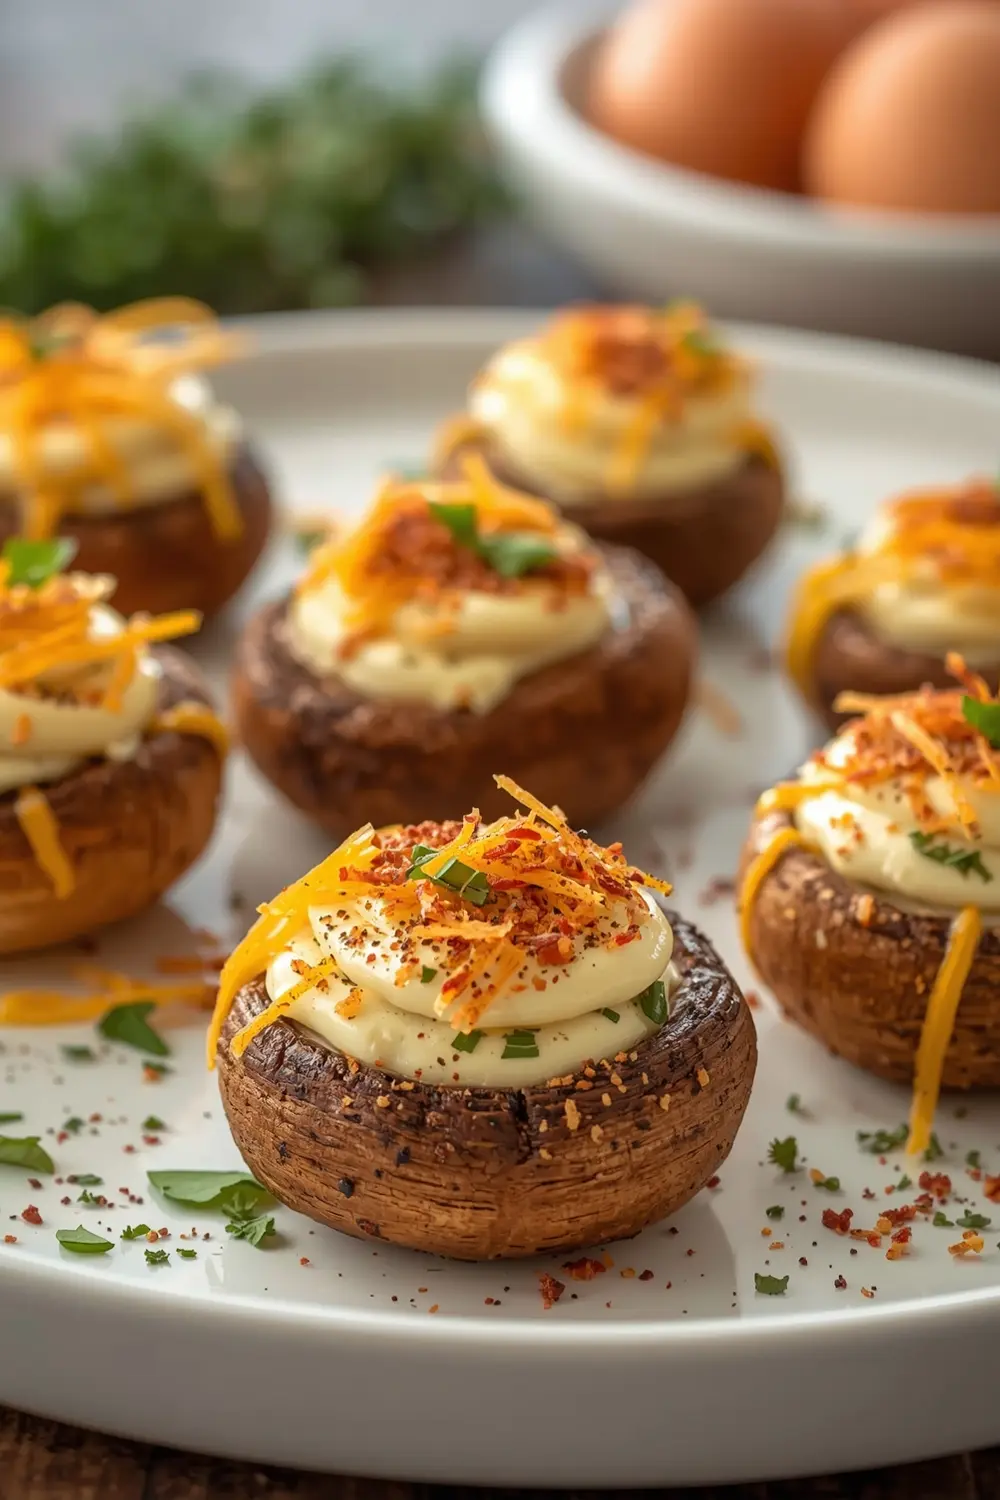
Easter stuffed mushrooms recipe might sound fancy, but honestly it’s one of the easiest appetizers you can make for your holiday spread. I’m talking 40 minutes total from start to serving, and your guests will think you spent hours in the kitchen. Plus, you can prep these the night before and just pop them in the oven when people arrive—total game changer for stress-free entertaining.
Want to know the best part? They’re actually impressive-looking without requiring any fancy cooking skills.
Here’s another thing: these little bites disappear fast at parties. I’ve made them for three Easter brunches now, and I’ve never had leftovers (well, except the time I hid a few for myself). Check out our other Easter appetizer ideas for more make-ahead options that work great alongside these.
Save this Easter stuffed mushrooms recipe for meal prep day—you’ll thank yourself later.
Why this Easter stuffed mushrooms recipe works
Ever notice how mushrooms just soak up flavor like little sponges? I discovered that baking them upside-down keeps them from getting watery, which was my problem until I figured that out. This stuffed mushroom recipe easy approach uses simple ingredients you’ve probably got on hand already.
- Impressive presentation with minimal effort—seriously, people always ask if you went to culinary school
- Quick prep time means you can make these while handling other holiday tasks without stress
- Make-ahead friendly so you prep everything the night before and relax until serving time
- Budget-friendly party appetizer that feeds a crowd without breaking the bank
| Prep Time | Cook Time | Calories | Servings | Cuisine |
|---|---|---|---|---|
| 20 minutes | 20 minutes | 145 per serving | 8 servings | American |
Ingredients for Easter stuffed mushrooms recipe
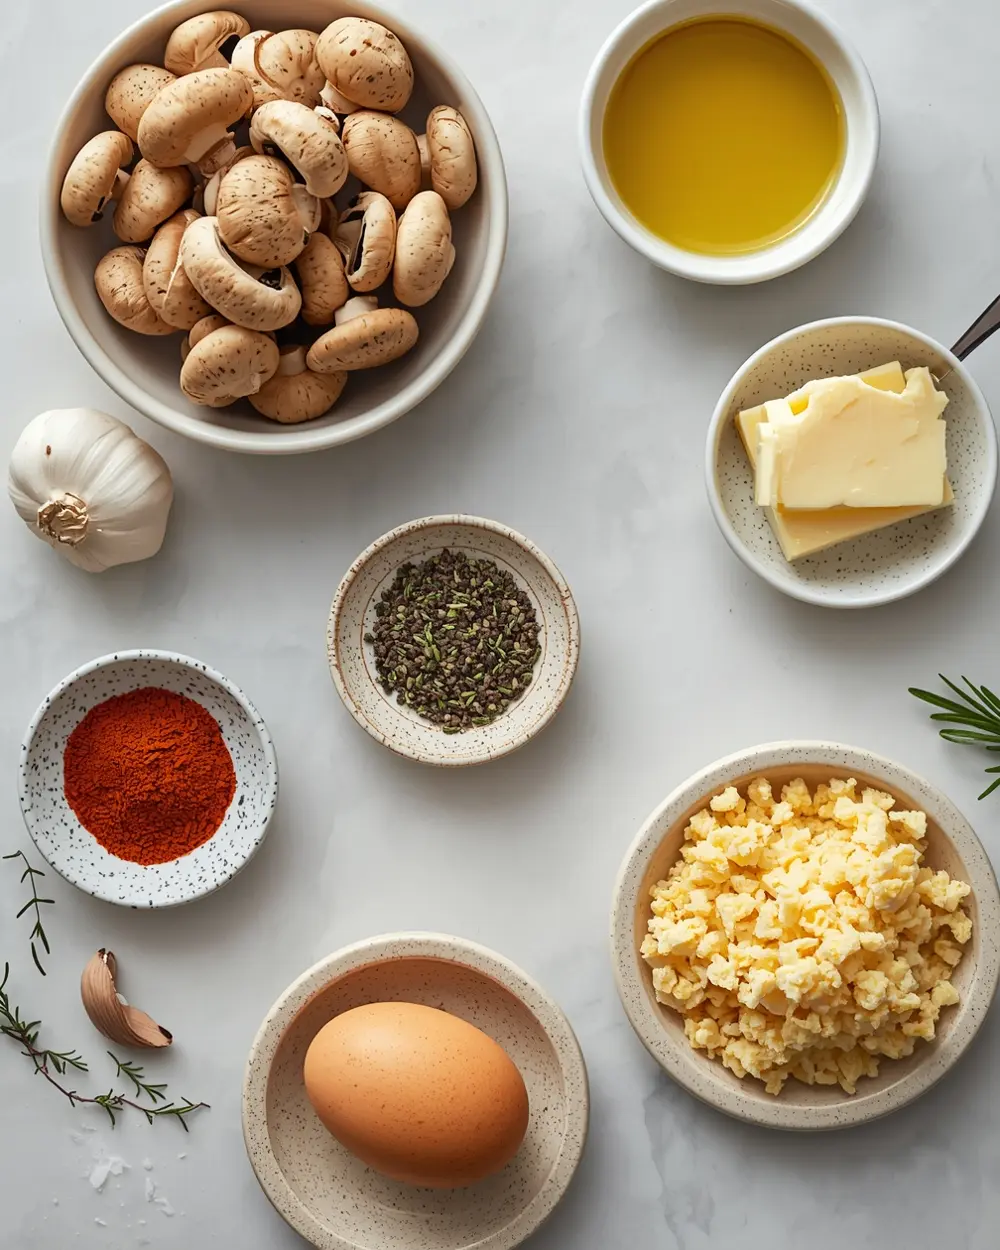
- 16 oz large button mushrooms, cleaned
- 4 oz cream cheese, softened
- 2 tablespoons olive oil
- 1 tablespoon butter
- 2 cloves garlic, minced
- 1 teaspoon dried thyme
- 1 teaspoon dried rosemary
- 1/2 teaspoon paprika
- 1/4 teaspoon black pepper
- 1/4 teaspoon salt
- 2 large eggs, beaten
- 1/2 cup panko breadcrumbs
- 1/4 cup grated cheddar cheese
Pro tip: don’t panic if your mushrooms look smaller than expected—they shrink down during baking, so bigger is better here. I personally swap the cheddar for gruyere sometimes and it’s even better, but honestly any hard cheese works fine.
Not gonna lie, the Easter stuffed mushrooms recipe tastes better when you use fresh herbs if you have them. Just triple the amount since fresh herbs are milder—so 1 tablespoon fresh thyme and rosemary each instead of the dried version.
Step-by-step instructions
1. Preheat your oven to 375°F. Clean your mushrooms with a damp paper towel and gently pop out the stems—I use my thumb to wiggle them loose and they come right out. Pat the caps dry with paper towels so they don’t release water while baking. This step takes just a couple minutes and makes a huge difference in texture.
2. Chop up those mushroom stems finely and set aside. Heat your olive oil and butter together in a skillet over medium heat until it gets all bubbly. Toss in the minced garlic and cook for about 30 seconds—you’ll smell it immediately, which means it’s ready. Don’t let it brown or it’ll taste bitter.
3. Add your chopped mushroom stems to the skillet and cook for 3-4 minutes, stirring occasionally, until they release their moisture and it mostly evaporates. The mixture should look dry and smell amazing at this point. Then add the thyme, rosemary, and paprika, stirring constantly for about 1 minute to wake up those dried herbs.
4. Remove the skillet from heat and let it cool for 2-3 minutes before stirring in the softened cream cheese. Mix it really well so everything combines smoothly without lumps. The mixture should be thick and creamy, kinda like a chunky paste that’ll hold its shape.
5. Set up your breading station with beaten eggs in one shallow bowl and panko mixed with cheddar cheese in another. Dip each mushroom cap into the egg first, then roll it in the panko mixture so it gets completely coated. Place them gill-side up on a greased baking sheet—this is important because the filling stays in place way better this way.
6. Pipe or spoon the cream cheese mixture generously into each mushroom cap. I use a small spoon since I don’t always have a piping bag handy, and honestly it works just fine. Don’t overstuff or the filling will leak out during baking, but don’t be shy either—these mushroom recipes spring to life with a good amount of filling.
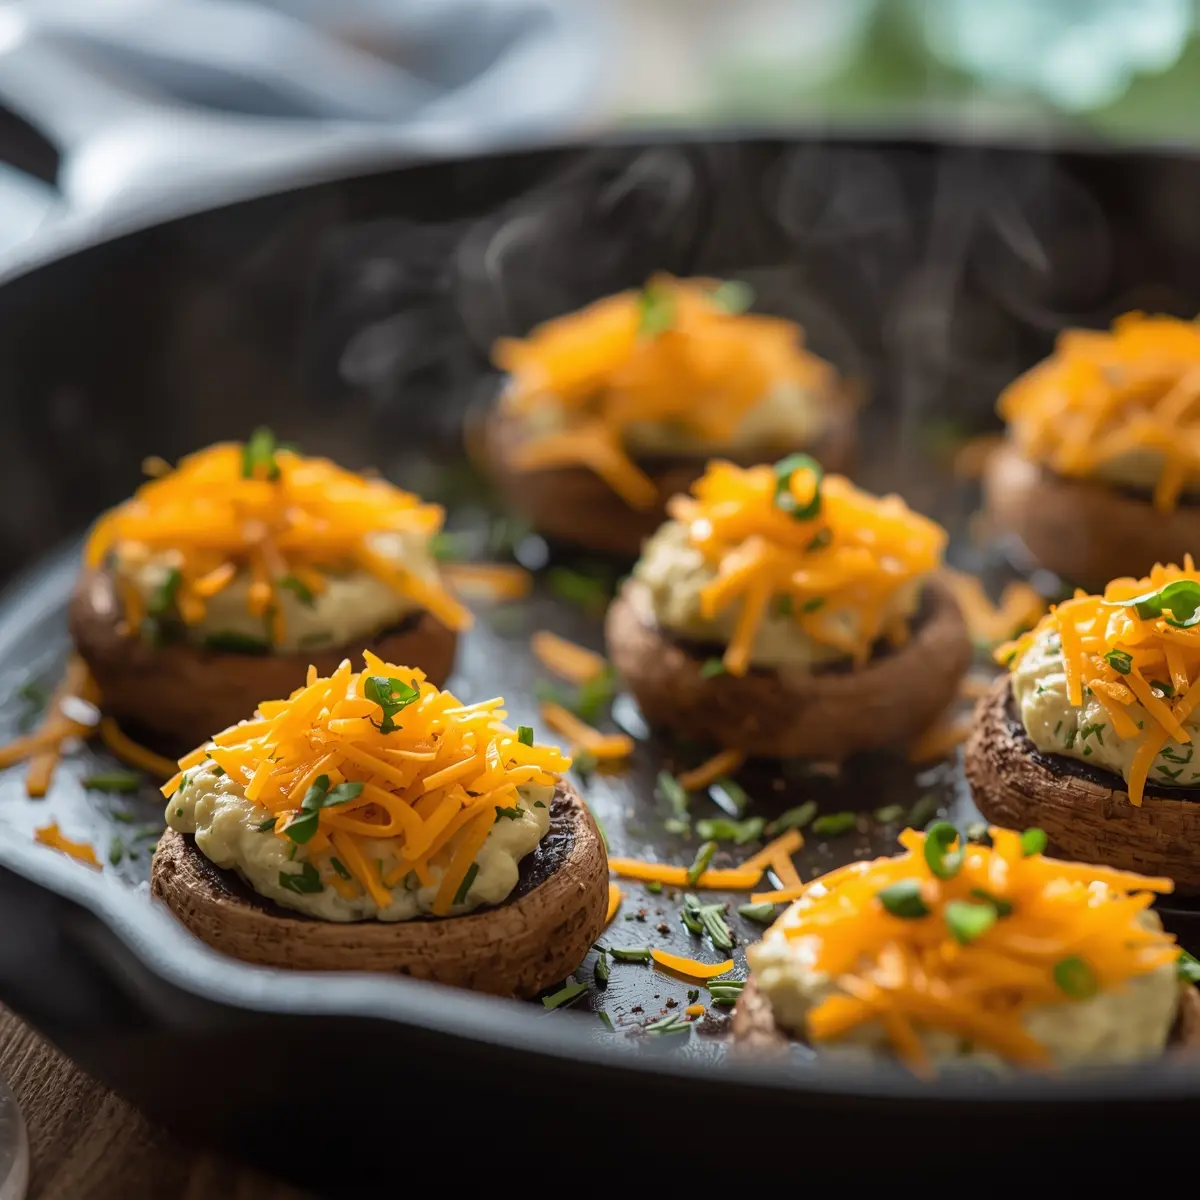
7. Bake for 18-20 minutes at 375°F until the tops are golden brown and the mushrooms release some liquid at the base—that’s totally normal. They’re done when you can easily pierce a cap with a fork. Let them cool for 2-3 minutes before serving so nobody burns their mouth on that hot filling.
Serving ideas for Easter stuffed mushrooms recipe
These little bites pair beautifully with so many sides, so here are my favorite combinations:
With a spring salad
Serve your Easter stuffed mushrooms recipe alongside a fresh mixed greens salad with lemon vinaigrette. The bright, acidic dressing cuts through the richness of the cream cheese filling perfectly. This combo creates a balanced meal where nobody feels too full, plus it looks gorgeous on a brunch table.As part of a charcuterie board
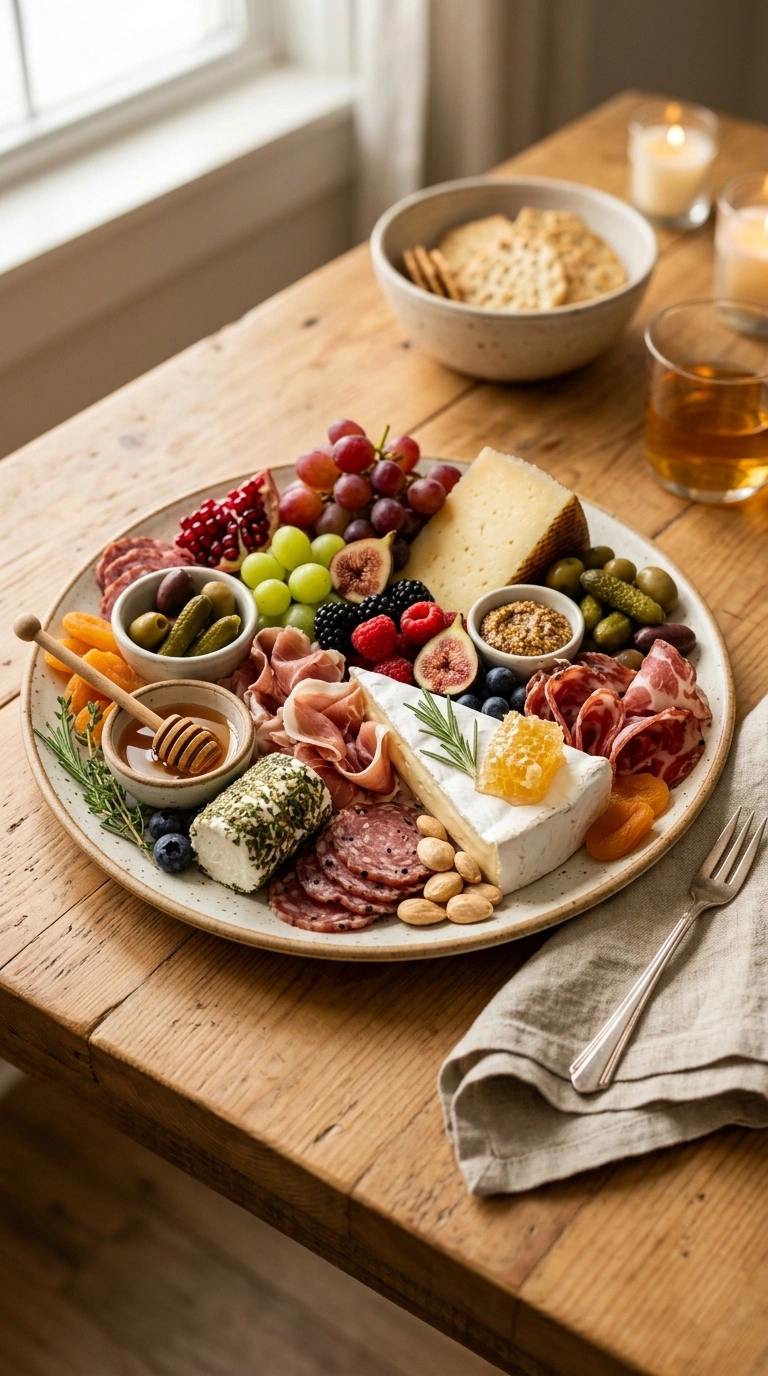
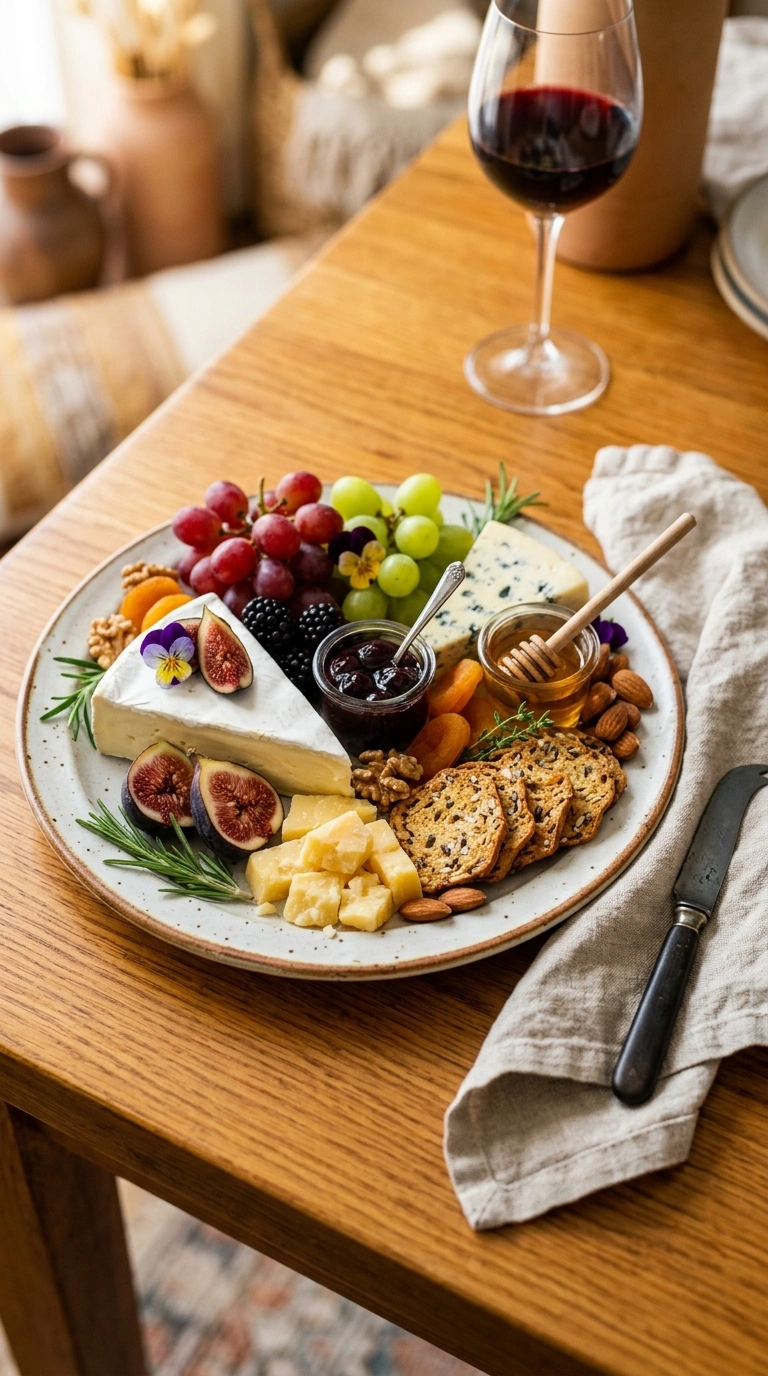
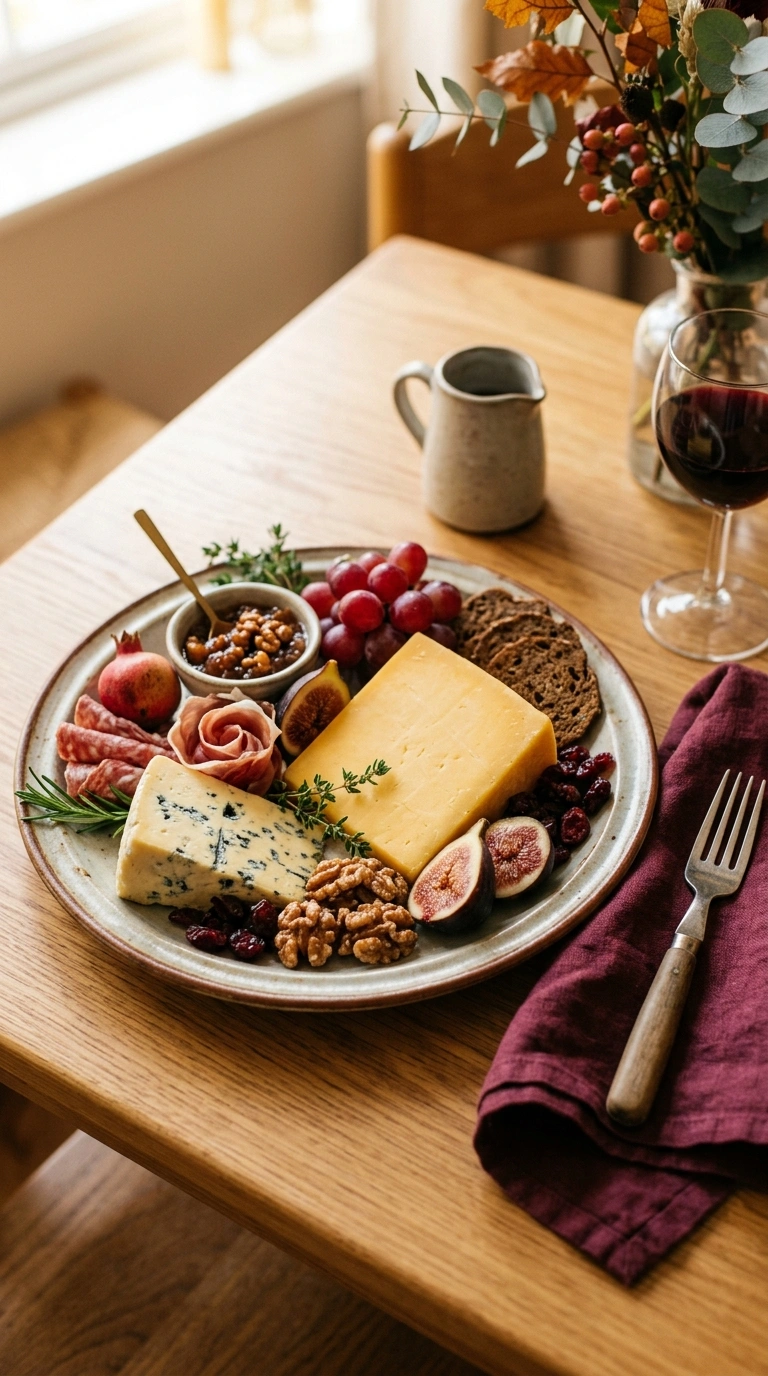
Add these warm mushrooms to your party finger food elegant spread with cured meats, cheeses, and fresh fruit. They add a hot element that makes the whole board feel more special and sophisticated. This holiday appetizers setup always gets people talking about how fancy you made it.With roasted vegetables
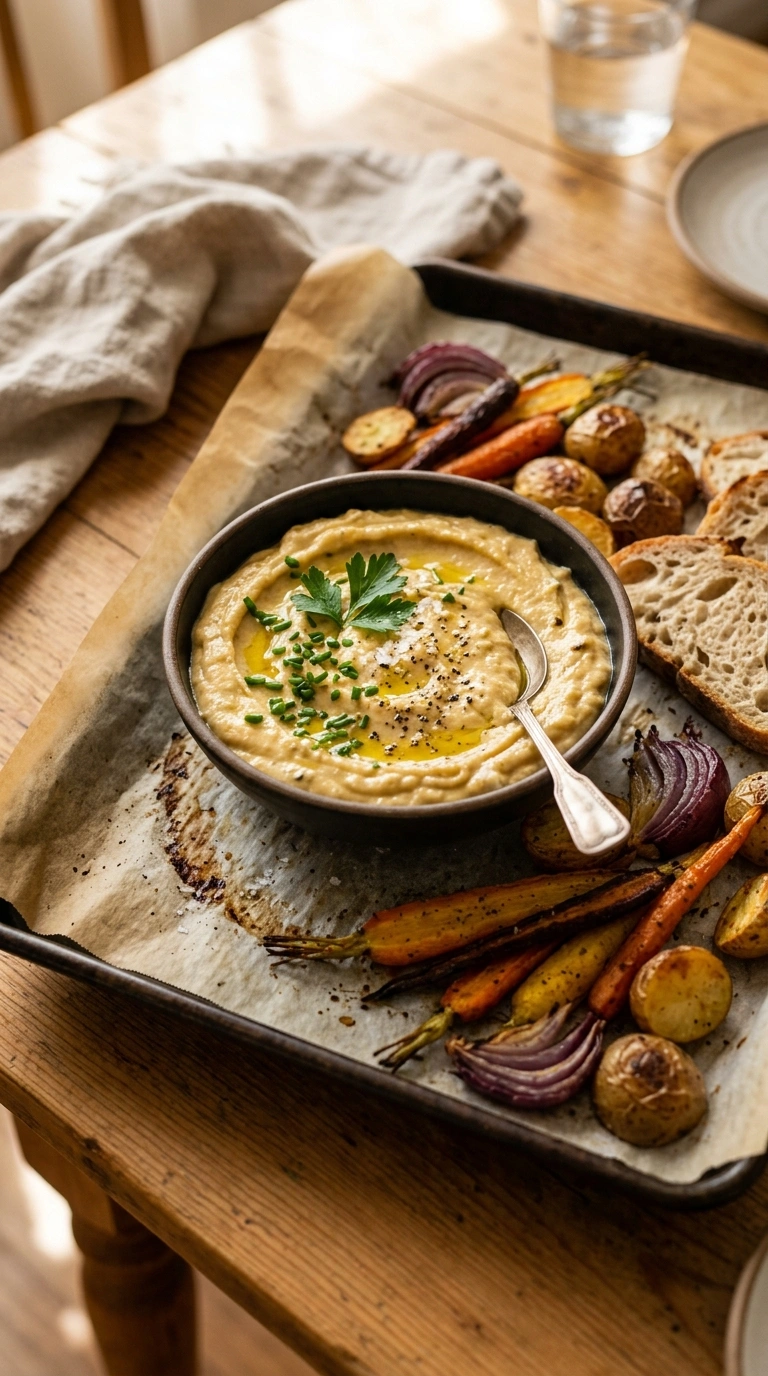
Pair these with roasted asparagus, cherry tomatoes, and baby potatoes tossed in olive oil and herbs. The warm veggies complement the stuffed mushroom flavors without competing for attention. Plus everything can roast at the same temperature, so your oven’s working smarter not harder.Pro tips for perfect Easter stuffed mushrooms recipe
Storage tips
– Store leftovers in an airtight container in the fridge for up to 3 days – They keep well because of the cream cheese, which acts as a preservative – Don’t freeze the cooked mushrooms—texture gets weird and wateryMake-ahead instructions
– Prep and stuff everything the night before, cover with plastic wrap, and refrigerate – Just add 2-3 minutes to baking time if cooking from cold – You can also freeze the uncooked stuffed caps for up to 2 weeks and bake straight from frozenVariations
– Swap panko for crushed nuts like almonds or pecans for a different texture – Add cooked diced turkey or chicken to the filling for extra protein – Mix in sun-dried tomatoes or fresh spinach for different flavor profilesTroubleshooting
– Watery mushrooms? You didn’t remove the stems or pat them dry enough—next time use larger caps – Soggy filling? Probably means you’re cooking them too long or at too high a temperature – Filling leaking everywhere? You overstuffed them or the oven temp was too low causing long cooking timeFrequently asked questions
Can I make Easter stuffed mushrooms the day before?
Absolutely, and I’d actually recommend it. Prep and stuff everything the night before, cover them tightly with plastic wrap, and refrigerate. When you’re ready to serve, just bake them straight from the fridge—add about 2-3 minutes to the cooking time since they start cold. This is my go-to strategy when hosting because one less thing to worry about on the actual day.
What’s a good substitution for cream cheese in this recipe?
You can use ricotta cheese mixed with a little mayo for a lighter option that still gives you creaminess. Mascarpone also works beautifully but it’s richer, so use a bit less. Honestly, Philadelphia cream cheese is the most reliable choice—don’t overthink this part.
How do I reheat leftover Easter stuffed mushrooms?
Pop them in a 350°F oven for 8-10 minutes until they’re heated through and the tops crisp back up. Don’t use the microwave because they’ll turn rubbery and gross, trust me on this. If they’re already cold from the fridge, check them around minute 7 to make sure they don’t dry out.
Can I add meat to the filling for this stuffed mushroom recipe?
Yes, absolutely add cooked crumbled chicken or turkey to boost the protein. Cook and crumble the meat first, then fold it in after you remove the garlic mixture from heat. This turns them into a more substantial appetizer that works great for parties where you want something filling.
Final thoughts
These Easter stuffed mushrooms recipe bites are honestly my secret weapon for looking like a kitchen wizard without stressing out. The combination of crispy panko tops and creamy herb filling never fails to impress, plus people always ask for the recipe. Most of my friends bookmark this one because they know it works every single time.
Not gonna lie, this is one of those holiday appetizers that actually gets compliments instead of just disappearing quietly. Check out our other mushroom recipes spring collection for more seasonal inspiration. Pin this one for your next Easter brunch or spring gathering—you won’t regret it!

Easter Stuffed Mushrooms Elegant and Easy
Ingredients
Method
- Preheat your oven to 375°F. Clean your mushrooms with a damp paper towel and gently pop out the stems—I use my thumb to wiggle them loose and they come right out. Pat the caps dry with paper towels so they don’t release water while baking. This step takes just a couple minutes and makes a huge difference in texture.
- Chop up those mushroom stems finely and set aside. Heat your olive oil and butter together in a skillet over medium heat until it gets all bubbly. Toss in the minced garlic and cook for about 30 seconds—you’ll smell it immediately, which means it’s ready. Don’t let it brown or it’ll taste bitter.
- Add your chopped mushroom stems to the skillet and cook for 3-4 minutes, stirring occasionally, until they release their moisture and it mostly evaporates. The mixture should look dry and smell amazing at this point. Then add the thyme, rosemary, and paprika, stirring constantly for about 1 minute to wake up those dried herbs.
- Remove the skillet from heat and let it cool for 2-3 minutes before stirring in the softened cream cheese. Mix it really well so everything combines smoothly without lumps. The mixture should be thick and creamy, kinda like a chunky paste that’ll hold its shape.
- Set up your breading station with beaten eggs in one shallow bowl and panko mixed with cheddar cheese in another. Dip each mushroom cap into the egg first, then roll it in the panko mixture so it gets completely coated. Place them gill-side up on a greased baking sheet—this is important because the filling stays in place way better this way.
- Pipe or spoon the cream cheese mixture generously into each mushroom cap. I use a small spoon since I don’t always have a piping bag handy, and honestly it works just fine. Don’t overstuff or the filling will leak out during baking, but don’t be shy either—these mushroom recipes spring to life with a good amount of filling.
- Bake for 18-20 minutes at 375°F until the tops are golden brown and the mushrooms release some liquid at the base—that’s totally normal. They’re done when you can easily pierce a cap with a fork. Let them cool for 2-3 minutes before serving so nobody burns their mouth on that hot filling.

")