
Easter bread recipe is honestly one of those bakes that looks way more complicated than it actually is. I promise you can nail this, even if you’ve never braided anything before in your life.
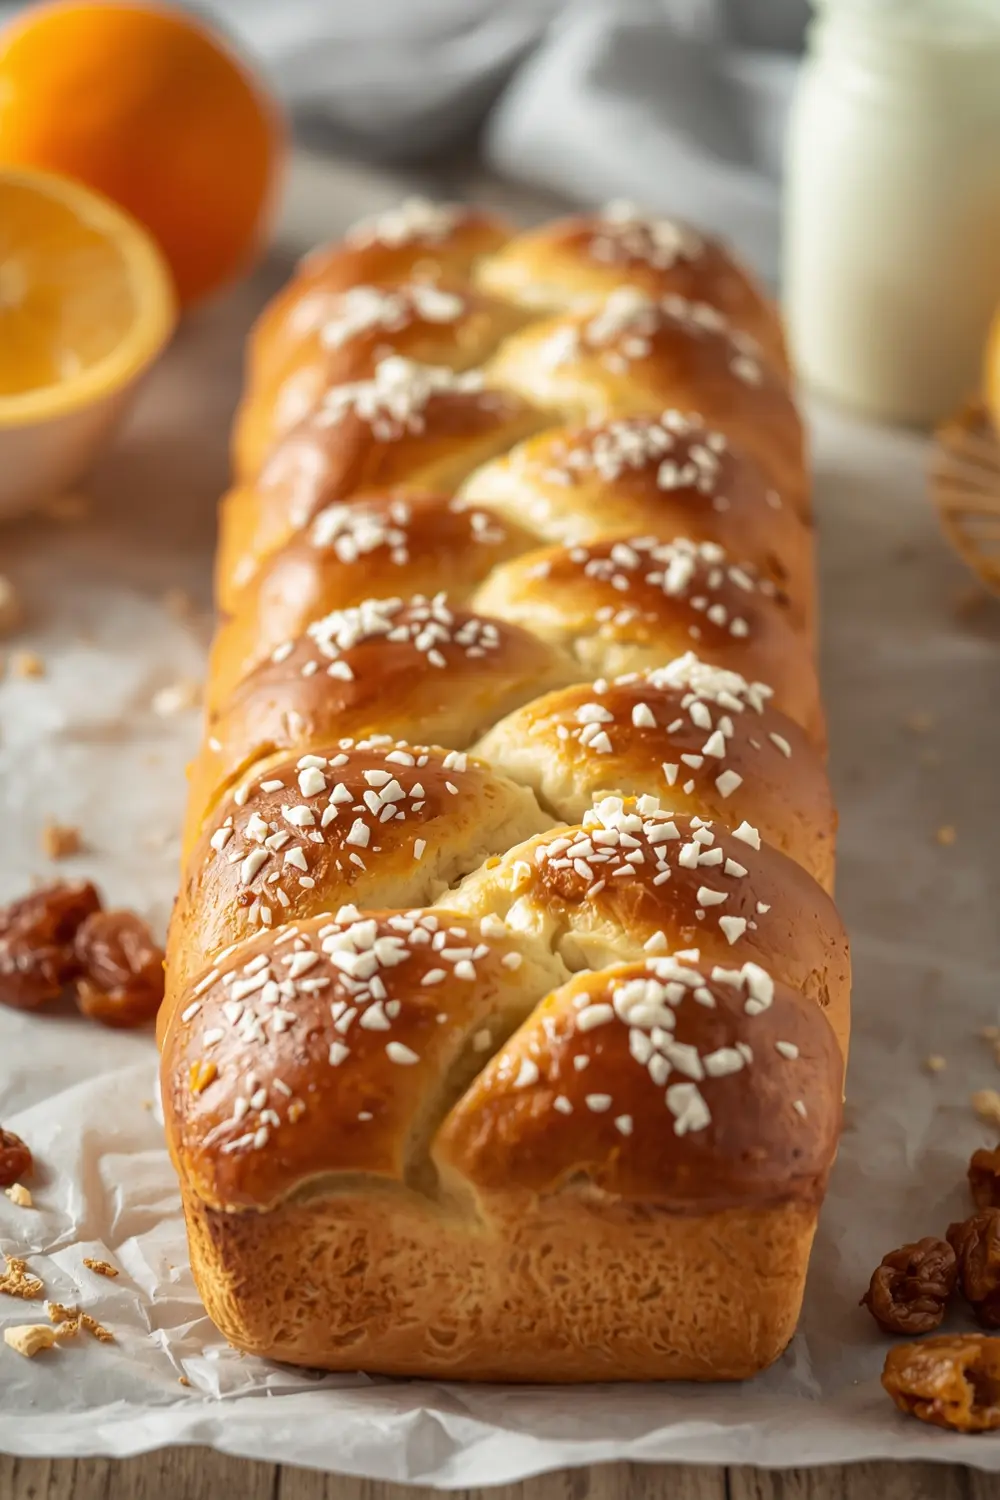
The magic here? This soft, slightly sweet dough with hints of orange and vanilla that’ll have everyone asking for seconds. Plus, the braided shape makes it look like you spent hours in the kitchen when really, most of that time is just letting the dough rise.
If you’re hunting for a festive breakfast recipe that actually tastes homemade, this is it. Bookmark this Easter bread recipe for your next holiday gathering and watch it disappear from the table.
Why this Easter bread recipe works
Ever noticed how some Easter breads turn out dense and dry? This one won’t, and that’s because we’re using both butter and milk to keep things incredibly tender.
- Soft crumb that stays perfect for days without drying out
- Golden braided top that photographs like a dream for your Easter table
- Simple technique that beginners can totally handle with confidence
- Raisins and orange zest add traditional spring bread baking flavors without tasting heavy
| Prep Time | Cook Time | Calories | Servings | Cuisine |
|---|---|---|---|---|
| 30 minutes | 3 hours | 285 per serving | 12 servings | European |
Ingredients for Easter bread recipe
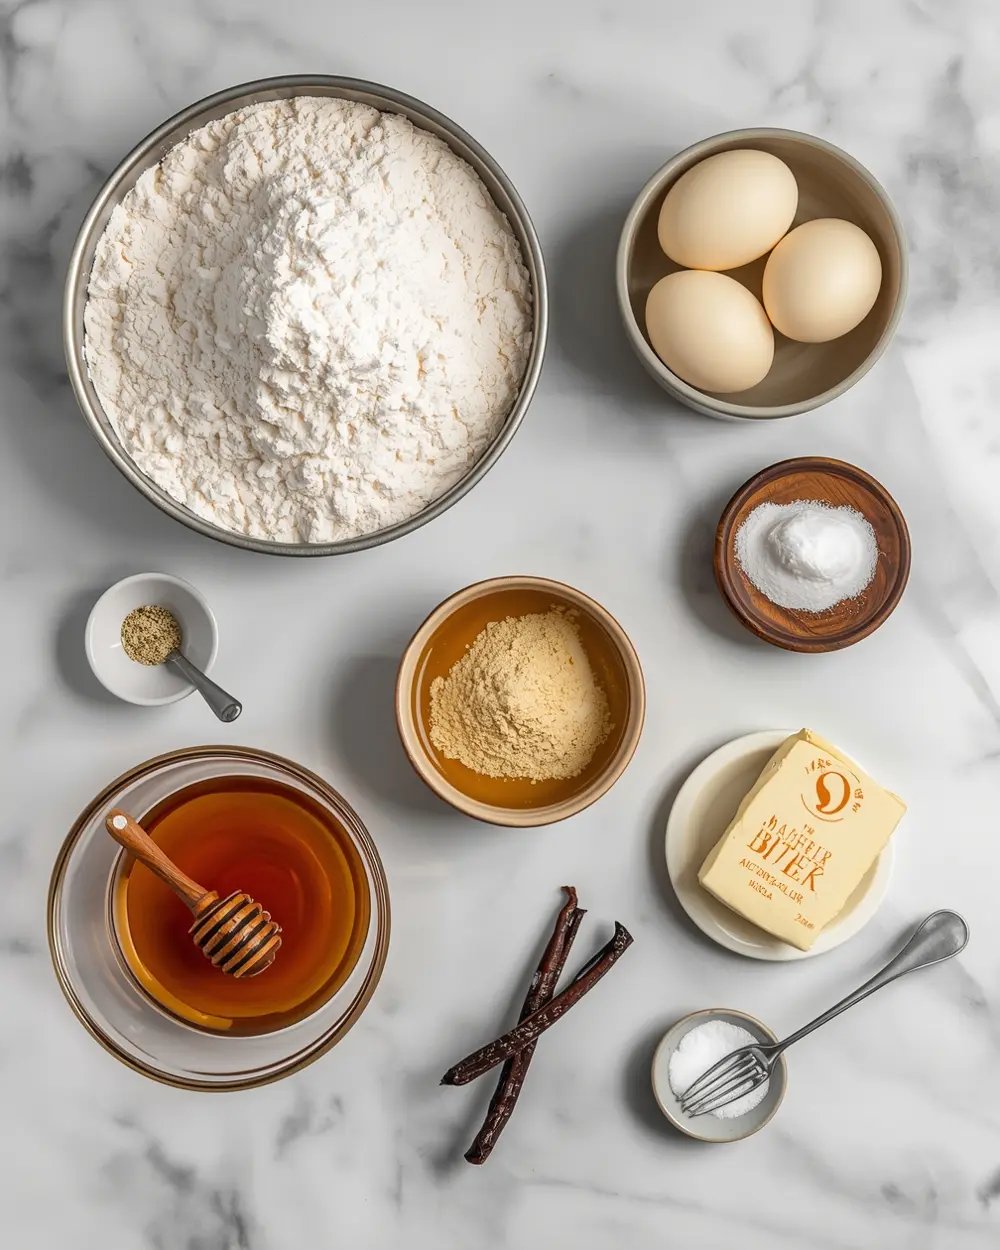
- 3 cups all-purpose flour
- 1/2 cup granulated sugar
- 1/2 cup unsalted butter, softened
- 2 large eggs
- 1 cup whole milk, warmed
- 2 tsp active dry yeast
- 1 tsp vanilla extract
- 1 tsp orange zest
- 1/4 cup honey
- 1/2 tsp salt
- 1/2 cup raisins
- 1 tbsp melted butter for brushing
Not a fan of raisins? Swap them for dried cranberries or just skip them entirely—the Easter bread recipe still tastes amazing either way. If you don’t have orange zest on hand, a little lemon zest works beautifully too, though orange really does give you that classic spring bread baking vibe.
Real talk: don’t use cold milk straight from the fridge or your yeast won’t activate properly. Warm it up until it’s about body temperature—you want it comfortable to touch, not hot. That small detail makes a huge difference in how well this dough rises.
Step-by-step instructions
1. Combine your warm milk, yeast, and a pinch of sugar in a small bowl. Let it sit for about 5 minutes until it gets all foamy on top—that’s your sign the yeast is happy and alive. If nothing happens after 5 minutes, your yeast is dead and you’ll need to start over with fresh stuff. This is a crucial checkpoint before you go any further.
2. Meanwhile, whisk together your flour, remaining sugar, salt, orange zest, and vanilla in a large mixing bowl. Create a little well in the center of your dry ingredients. Pour in your foamy yeast mixture, the 2 eggs, and melted butter into that well. Using your hands or a wooden spoon, mix everything together until you’ve got a shaggy dough that’s starting to come together.
3. Knead your Easter bread recipe dough for about 8-10 minutes by hand (or 5 minutes in a stand mixer with the dough hook). You’re looking for a smooth, elastic dough that bounces back when you poke it. Fold in your raisins during the last minute of kneading so they distribute evenly. Don’t panic if the dough feels sticky at first—that’s totally normal and actually means you’re gonna get that soft crumb.
4. Place your dough in a lightly greased bowl and cover it loosely with a damp kitchen towel. Let it rise in a warm spot for about 1 hour and 15 minutes until it’s roughly doubled in size. I usually pop mine in an oven with just the light on—that warm environment helps it along nicely. You’ll know it’s ready when a gentle poke leaves a small indent that doesn’t spring back.
5. Turn your risen dough out onto a lightly floured surface and divide it into 3 equal pieces. Roll each piece into a long rope about 16 inches long, making them roughly the same thickness. Lay the 3 ropes parallel to each other on a parchment-lined baking sheet. Start braiding from the center outward, working toward each end, then gently pinch and tuck the ends underneath.
6. Cover your braided loaf with that damp towel again and let it rise for 45-60 minutes until it’s noticeably puffy and jiggly. While it’s rising, preheat your oven to 375°F. You’ll know the second rise is done when the dough looks almost doubled and gently springs back slowly when you poke it. Don’t let it get too puffy or it might collapse while baking.
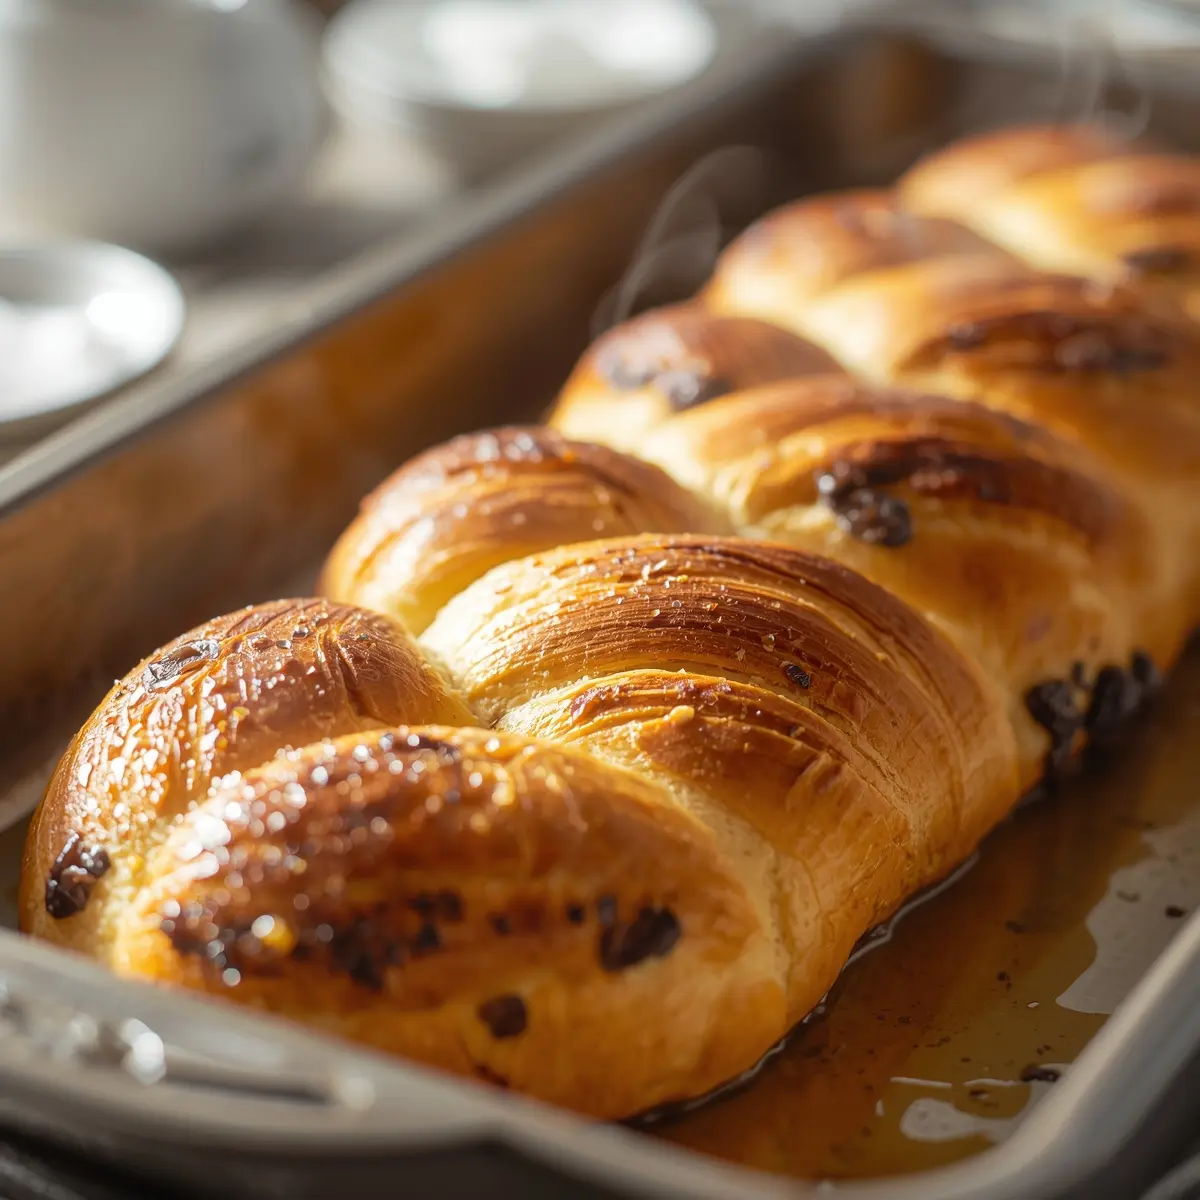
7. Brush the top and sides of your braided Easter bread recipe with melted butter. Bake for 30-35 minutes until the top turns golden brown and the loaf sounds hollow when you tap the bottom. The internal temperature should reach 190°F when you stick a thermometer in the thickest part. Let it cool on a wire rack for at least 15 minutes before slicing—I know it’s tempting to dig in right away, but this lets the crumb set properly.
Serving ideas for Easter bread recipe
This beautiful loaf deserves a moment in the spotlight at your table.
Classic breakfast spread
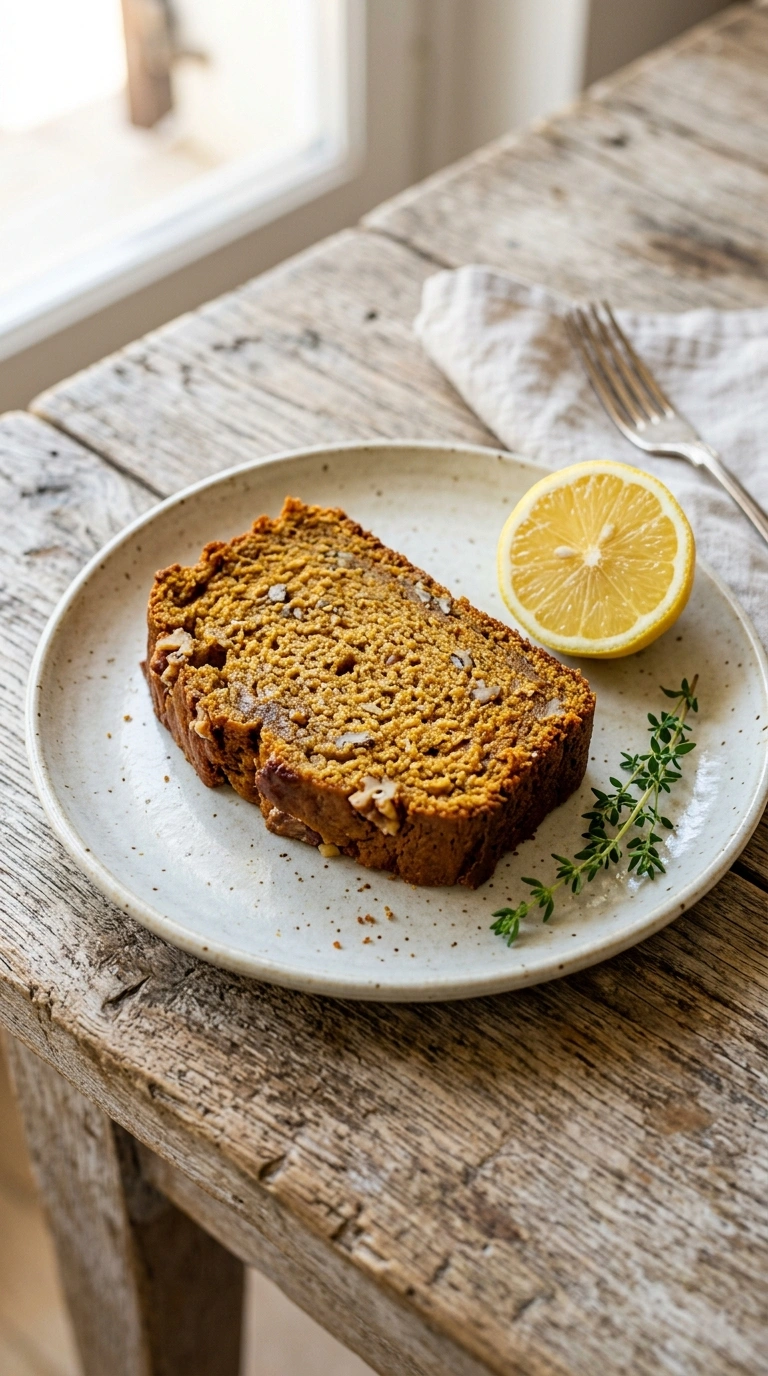
Toast a thick slice and spread it with softened butter and a touch of honey. The warm bread soaks up that richness while the raisins add little bursts of sweetness. Perfect alongside scrambled eggs for a complete holiday morning.With cream cheese and jam
Slice your Easter bread recipe when it’s still slightly warm and top it with a generous dollop of cream cheese mixed with a little honey. Add a spoonful of strawberry or apricot jam for that festive touch. This combo feels fancy enough for guests but honestly takes about 30 seconds to assemble.Easter brunch pairing
Serve slices alongside fresh fruit, creamy yogurt, and maybe some smoked turkey strips. This festive breakfast recipe becomes the centerpiece of a beautiful spread that looks way more impressive than the effort involved.Pro tips for perfect Easter bread recipe
Storage tips
– Wrap cooled loaf tightly in plastic wrap and keep at room temperature for up to 3 days – Store in an airtight container to keep it fresh and prevent it from drying out – Freezes beautifully for up to 3 months—just wrap well before freezingMake-ahead instructions
– You can prepare the dough and refrigerate overnight, then let it come to room temperature before shaping – Shape and refrigerate the braided loaf, then let it rise at room temperature before baking – Bake it 2 days ahead, wrap tightly, and reheat gently wrapped in foil at 300°F for 10 minutesVariations
– Skip the orange zest and add 1/2 tsp cardamom for a different spring bread baking flavor profile – Stir in chocolate chips or candied fruit instead of raisins for a twist – Divide dough into 2 smaller loaves instead of one large braided loaf if you preferTroubleshooting
– If dough doesn’t rise, your yeast is likely dead—always check that foamy stage in step 1 – If the top browns too fast, tent it loosely with foil during the last 10 minutes of baking – If crumb feels gummy inside, you likely underbaked it—next time bake until that 190°F internal tempFrequently asked questions
Can you freeze Easter bread recipe?
Yes, absolutely. Let it cool completely, then wrap it tightly in plastic wrap followed by foil and freeze for up to 3 months. To thaw, leave it at room temperature for several hours or overnight wrapped in the same layers—this prevents condensation from making it soggy.
What can you substitute for raisins in this Easter bread recipe?
You’ve got tons of options here. Dried cranberries, chopped dried apricots, and candied orange peel all work beautifully. Or just leave them out completely if dried fruit isn’t your thing—the bread still tastes delicious without them.
How do you reheat leftover Easter bread?
Wrap your slices loosely in foil and warm them at 300°F for about 10 minutes until they’re soft and fragrant. You can also toast individual slices in a toaster or toaster oven for a slightly crispier texture on the outside.
Is this Easter bread recipe considered traditional spring bread baking?
Absolutely. This recipe captures the classic European style with soft enriched dough, dried fruit, and subtle citrus flavors that define traditional Easter breads. The braided shape is iconic too and makes it instantly recognizable as a festive bread.
Final thoughts
This Easter bread recipe honestly tastes even better on day two when the flavors meld together beautifully. The soft, tender crumb and gorgeous golden braid make it the kind of loaf that gets compliments every single time.
Your family’s gonna ask why you didn’t make this sooner, and honestly, that’s the best problem to have. If you try this, come back and let me know how it turns out—I love hearing about your Easter baking adventures.
Pin this recipe for your spring holiday planning and save it for those mornings when you want something special without the stress.

Easter Bread Braided Beautiful and So Soft
Ingredients
Method
- Combine your warm milk, yeast, and a pinch of sugar in a small bowl. Let it sit for about 5 minutes until it gets all foamy on top—that’s your sign the yeast is happy and alive. If nothing happens after 5 minutes, your yeast is dead and you’ll need to start over with fresh stuff. This is a crucial checkpoint before you go any further.
- Meanwhile, whisk together your flour, remaining sugar, salt, orange zest, and vanilla in a large mixing bowl. Create a little well in the center of your dry ingredients. Pour in your foamy yeast mixture, the 2 eggs, and melted butter into that well. Using your hands or a wooden spoon, mix everything together until you’ve got a shaggy dough that’s starting to come together.
- Knead your Easter bread recipe dough for about 8-10 minutes by hand (or 5 minutes in a stand mixer with the dough hook). You’re looking for a smooth, elastic dough that bounces back when you poke it. Fold in your raisins during the last minute of kneading so they distribute evenly. Don’t panic if the dough feels sticky at first—that’s totally normal and actually means you’re gonna get that soft crumb.
- Place your dough in a lightly greased bowl and cover it loosely with a damp kitchen towel. Let it rise in a warm spot for about 1 hour and 15 minutes until it’s roughly doubled in size. I usually pop mine in an oven with just the light on—that warm environment helps it along nicely. You’ll know it’s ready when a gentle poke leaves a small indent that doesn’t spring back.
- Turn your risen dough out onto a lightly floured surface and divide it into 3 equal pieces. Roll each piece into a long rope about 16 inches long, making them roughly the same thickness. Lay the 3 ropes parallel to each other on a parchment-lined baking sheet. Start braiding from the center outward, working toward each end, then gently pinch and tuck the ends underneath.
- Cover your braided loaf with that damp towel again and let it rise for 45-60 minutes until it’s noticeably puffy and jiggly. While it’s rising, preheat your oven to 375°F. You’ll know the second rise is done when the dough looks almost doubled and gently springs back slowly when you poke it. Don’t let it get too puffy or it might collapse while baking.
- Brush the top and sides of your braided Easter bread recipe with melted butter. Bake for 30-35 minutes until the top turns golden brown and the loaf sounds hollow when you tap the bottom. The internal temperature should reach 190°F when you stick a thermometer in the thickest part. Let it cool on a wire rack for at least 15 minutes before slicing—I know it’s tempting to dig in right away, but this lets the crumb set properly.


")