
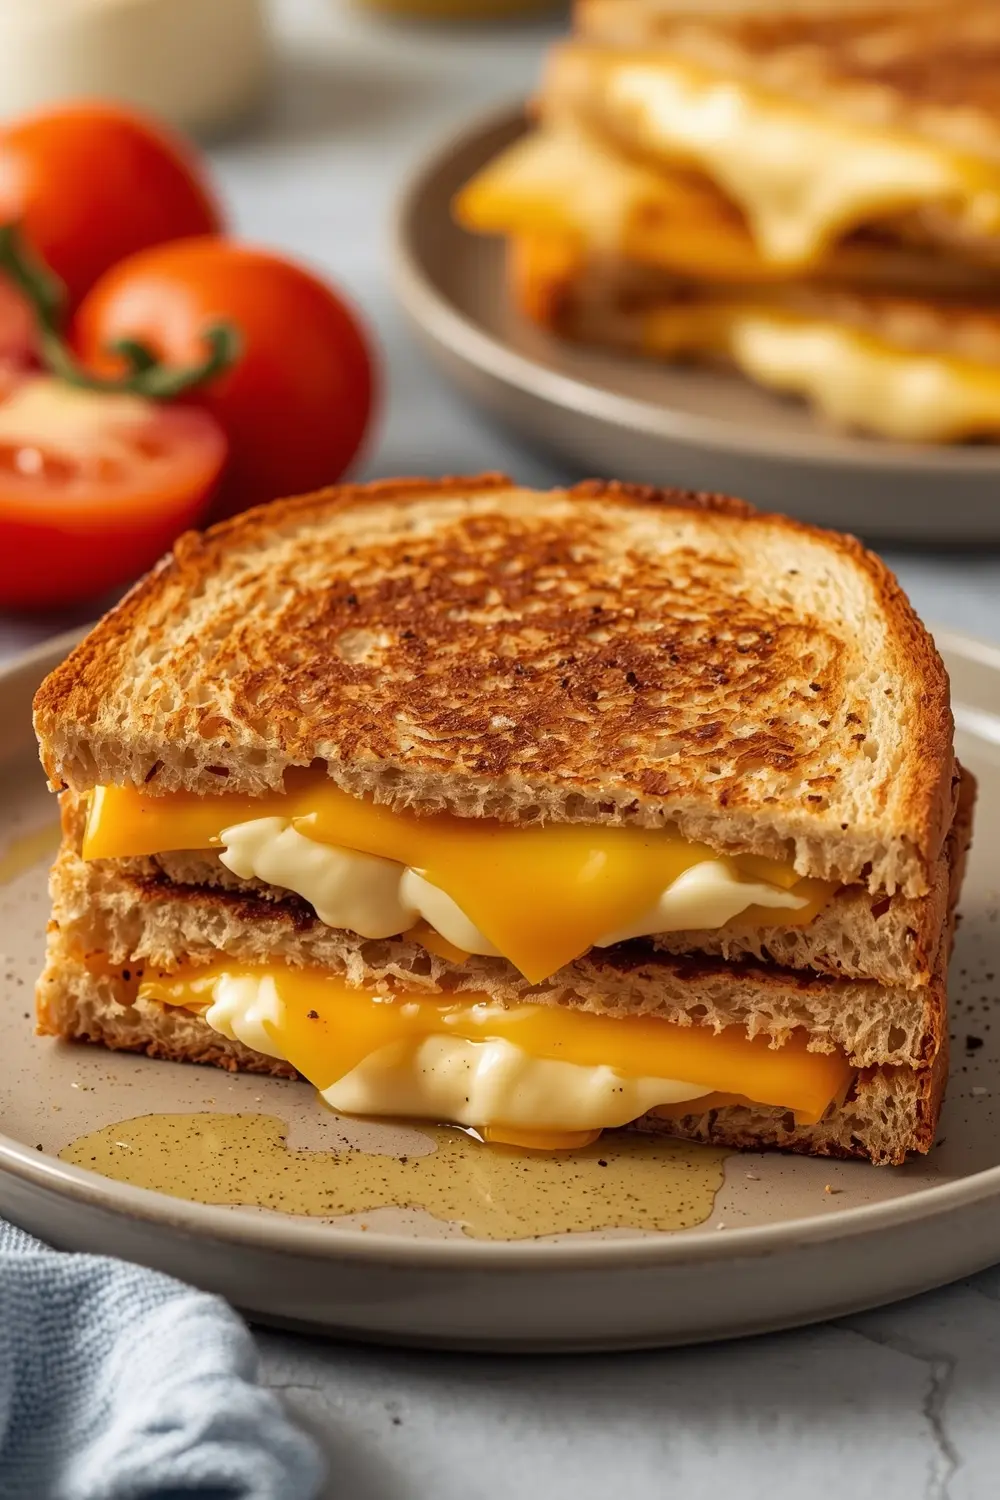
A grilled cheese sandwich recipe doesn’t have to be boring—crispy edges with melty cheese in the middle is totally doable. I used to make sad, soggy versions until I figured out the butter temperature trick. Now I’m making the best grilled cheese ever, and honestly, my kids fight over who gets seconds.
This comfort food quick enough for weeknight dinners is also perfect for busy lunch days. Need an easy lunch idea that takes 13 minutes start to finish? You’ve found it, bookmark this recipe for meal prep day.
Know what makes the difference between okay and absolutely incredible? It’s the combination of high heat, right butter amount, and that sneaky tomato slice. Check out my crispy potato recipe for other golden-brown perfection techniques.
Why this grilled cheese sandwich recipe works
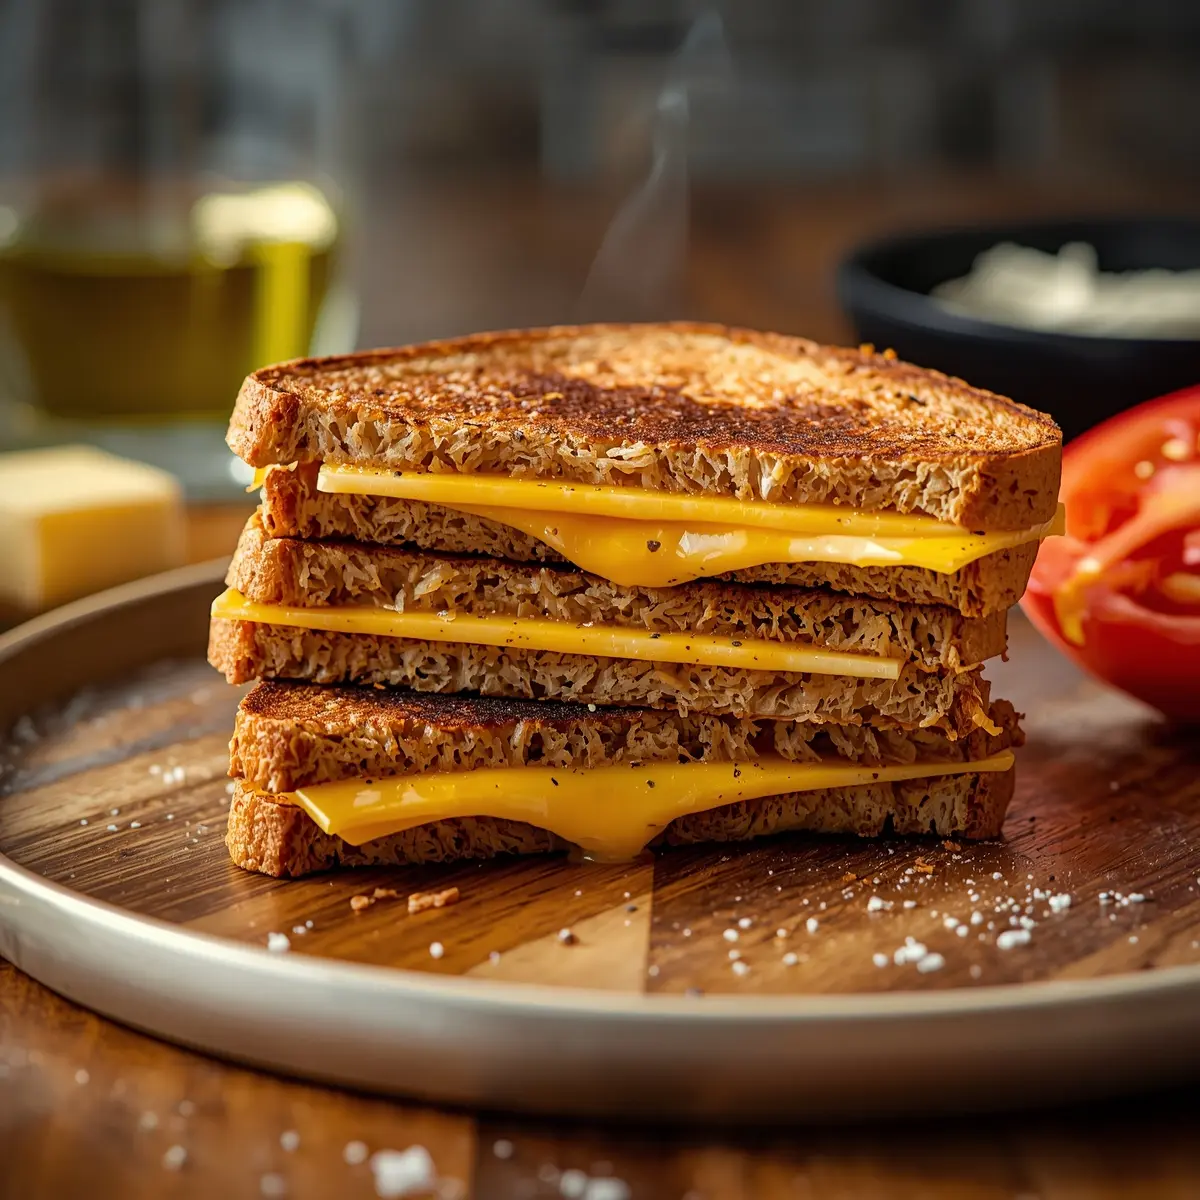
Ever wondered why restaurant versions taste so much better? I burned my first batch because I walked away for 2 minutes thinking low heat was best. Turns out medium-high heat creates that golden crispy exterior while keeping the inside gooey and soft.
- Creates golden-brown crust in under 8 minutes for quick weeknight dinners
- Melty cheese pulls apart perfectly when you use the right temperature control
- Kid lunch ideas that adults secretly steal off the plate
- Budget-friendly comfort food with pantry staples you already own
| Prep Time | Cook Time | Calories | Servings | Cuisine |
|---|---|---|---|---|
| 5 minutes | 8 minutes | 485 per serving | 2 servings | American |
Ingredients for grilled cheese sandwich recipe
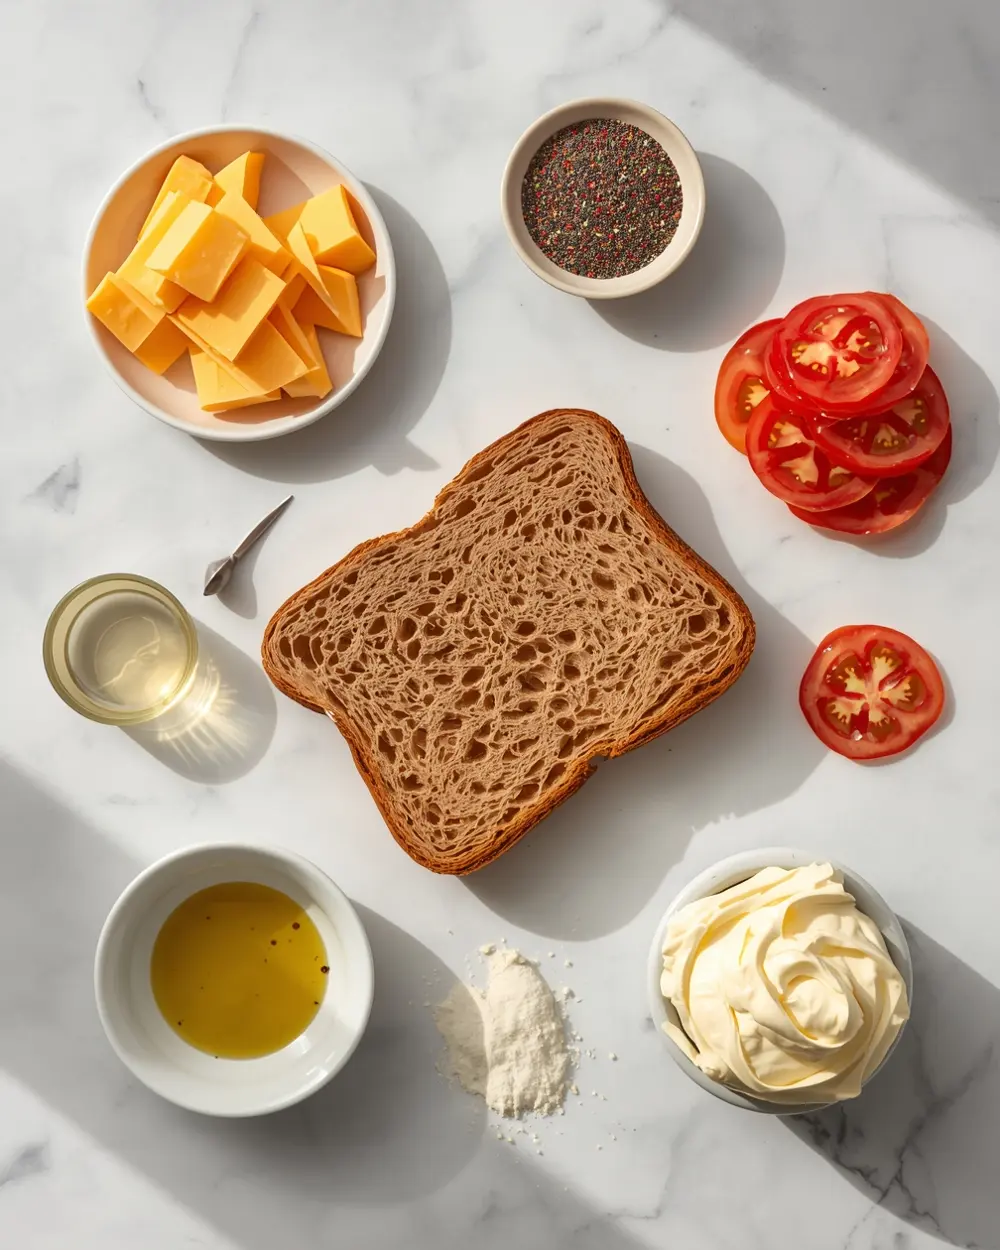
- 4 slices whole wheat bread
- 4 slices cheddar cheese
- 2 tablespoons unsalted butter
- 1 tablespoon butter for grilling
- 1 teaspoon Dijon mustard
- 1 tablespoon mayonnaise
- 1 slice tomato, thinly sliced
- ½ teaspoon garlic powder
- ½ teaspoon salt
- ½ teaspoon black pepper
- 1 teaspoon olive oil
Most people skip the tomato, but don’t—it adds moisture and flavor without making things soggy. The key is slicing it thin so it doesn’t release water inside the sandwich.
If you want to swap cheddar for something else, try Swiss or provolone for different vibes. I personally think sharp cheddar tastes better the next day (yes, these keep great in the fridge), but go with what you love.
Step-by-step instructions
1. Grab 2 bread slices and spread ½ teaspoon mustard on one side of each slice. Spread ½ tablespoon mayo on the other sides. Place 2 cheese slices on one slice, then layer your tomato slice on top. Press the second slice down gently so everything stays put while cooking.
2. Repeat step one with your remaining 2 bread slices and toppings to make your second sandwich. Set both aside for a second while you prep your skillet—this actually helps the cheese soften slightly before heat hits.
3. Place a cast-iron skillet or regular nonstick pan over medium-high heat for 2 minutes. You want it hot enough that butter sizzles immediately but not smoking—that’s your sweet spot. Once hot, add ½ tablespoon of butter to the pan.
4. Once you hear that sizzle, place your first sandwich in the pan carefully. Don’t move it around—let it sit for 3-4 minutes until the bottom turns golden brown and crispy. Press down gently with your spatula once during cooking to help cheese melt faster.
5. Flip your sandwich using a wide spatula (don’t panic if a little cheese leaks out—that’s normal and honestly delicious). Add the remaining ½ tablespoon butter to the pan and cook the second side for another 3-4 minutes until equally golden.
6. Transfer the cooked sandwich to a cutting board and repeat the cooking process with your second sandwich, adding the last tablespoon of butter to the pan. This ensures both get the same crispy treatment without cooling down while waiting.
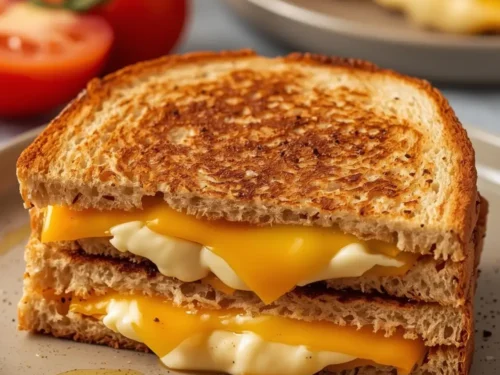
7. Let both sandwiches cool for exactly 2 minutes before cutting diagonally. This pause lets the cheese set slightly so it doesn’t ooze everywhere when you bite in. Serve immediately while still warm and gooey.
Serving ideas for grilled cheese sandwich recipe
Ready to take your grilled cheese sandwich from simple to restaurant-worthy? Here are my favorite pairings that make this easy lunch idea feel fancy.
Tomato Soup Pairing
Dip your sandwich into warm tomato soup for classic comfort food quick enough for weeknights. The acidity cuts through the richness beautifully, and honestly, this combo hits different when you’re hungry. I always make homemade tomato soup on the same day for maximum flavor.
Crispy Bacon Side
Add turkey bacon strips on your plate for protein that makes this kid lunch idea feel more complete. The smoky flavor pairs perfectly with sharp cheddar without competing. Some people add it inside the sandwich, but I prefer it on the side for texture contrast.
Pickle and Chips Combo
Serve alongside crispy dill pickle spears and kettle chips for that deli-style experience at home. The vinegary pickles balance the rich melted cheese beautifully and keep your mouth from feeling too heavy.
Pro tips for perfect grilled cheese sandwich recipe
Storage tips
– Wrap cooled sandwiches in foil and refrigerate up to 3 days in an airtight container – Freeze individually wrapped sandwiches up to 1 month for quick future meals – Keep butter-covered bread away from direct contact with other foods to prevent sogginessMake-ahead instructions
– Assemble sandwiches completely the morning of cooking, wrap in plastic wrap, and refrigerate – Add tomato slice right before cooking to prevent excess moisture from building up – Let refrigerated sandwiches sit 5 minutes at room temperature before grilling for even cookingVariations
– Try apple slices with sharp cheddar and mustard for a sweet-savory twist version – Add fresh herbs like basil or oregano between cheese layers for Italian-inspired flavors – Use sourdough or ciabatta bread instead of wheat for different textures and taste profilesTroubleshooting
– If your bread burns but cheese won’t melt, lower your heat and cook longer instead of hotter – Cheese leaking out means your heat was too high—medium-high is genuinely better than maximum – Bread sticks to the pan? Add a tiny bit more butter or use a silicone spatula instead of metalFrequently asked questions
Can you freeze a grilled cheese sandwich?
Yes, absolutely freeze grilled cheese sandwiches up to one month in the freezer. Wrap each cooled sandwich individually in foil, then place in a freezer bag with the date marked. Reheat in a 350°F oven for 10 minutes until warm and gooey again.
What’s the best cheese for a grilled cheese sandwich?
Sharp cheddar works best for flavor and melting consistency that’s not too runny. White cheddar, provolone, and Swiss are excellent alternatives depending on whether you want tangy or mild. Skip soft cheeses like fresh mozzarella because they don’t brown properly on the outside.
How do you reheat leftover grilled cheese?
Reheat in a 350°F oven for 8-10 minutes wrapped in foil to keep the bread soft. The stovetop method beats the microwave version every time—just use medium heat and flip halfway through. Microwaving makes bread rubbery, so genuinely avoid that unless you’re super rushed.
Is this grilled cheese recipe kid-friendly?
Yes, this is the ultimate kid lunch idea that adults secretly love too. Cut it diagonally because somehow that makes kids eat faster (weird but true). You can skip the tomato and mustard if your kids prefer classic, super simple versions.
Final thoughts
This grilled cheese sandwich recipe is honestly my go-to when I need something fast and filling. The crispy golden exterior with melty cheese inside never fails to impress, and it takes barely 13 minutes from start to finish.
My family makes this at least twice a week because it’s perfect for busy weeknights and lunch boxes. Not to mention it costs way less than buying sandwiches out. Grab this easy lunch idea, and you’ll have everyone asking what smells so amazing.
Pin this comfort food quick recipe for later, and try it this week. Check out my best breakfast sandwich recipe for another hand-held meal that’s equally delicious. You’ve got this!
Grilled Cheese Sandwich Golden Crispy and Gooey
Ingredients
Method
- Grab 2 bread slices and spread ½ teaspoon mustard on one side of each slice. Spread ½ tablespoon mayo on the other sides. Place 2 cheese slices on one slice, then layer your tomato slice on top. Press the second slice down gently so everything stays put while cooking.
- Repeat step one with your remaining 2 bread slices and toppings to make your second sandwich. Set both aside for a second while you prep your skillet—this actually helps the cheese soften slightly before heat hits.
- Place a cast-iron skillet or regular nonstick pan over medium-high heat for 2 minutes. You want it hot enough that butter sizzles immediately but not smoking—that’s your sweet spot. Once hot, add ½ tablespoon of butter to the pan.
- Once you hear that sizzle, place your first sandwich in the pan carefully. Don’t move it around—let it sit for 3-4 minutes until the bottom turns golden brown and crispy. Press down gently with your spatula once during cooking to help cheese melt faster.
- Flip your sandwich using a wide spatula (don’t panic if a little cheese leaks out—that’s normal and honestly delicious). Add the remaining ½ tablespoon butter to the pan and cook the second side for another 3-4 minutes until equally golden.
- Transfer the cooked sandwich to a cutting board and repeat the cooking process with your second sandwich, adding the last tablespoon of butter to the pan. This ensures both get the same crispy treatment without cooling down while waiting.
- Let both sandwiches cool for exactly 2 minutes before cutting diagonally. This pause lets the cheese set slightly so it doesn’t ooze everywhere when you bite in. Serve immediately while still warm and gooey.


")