
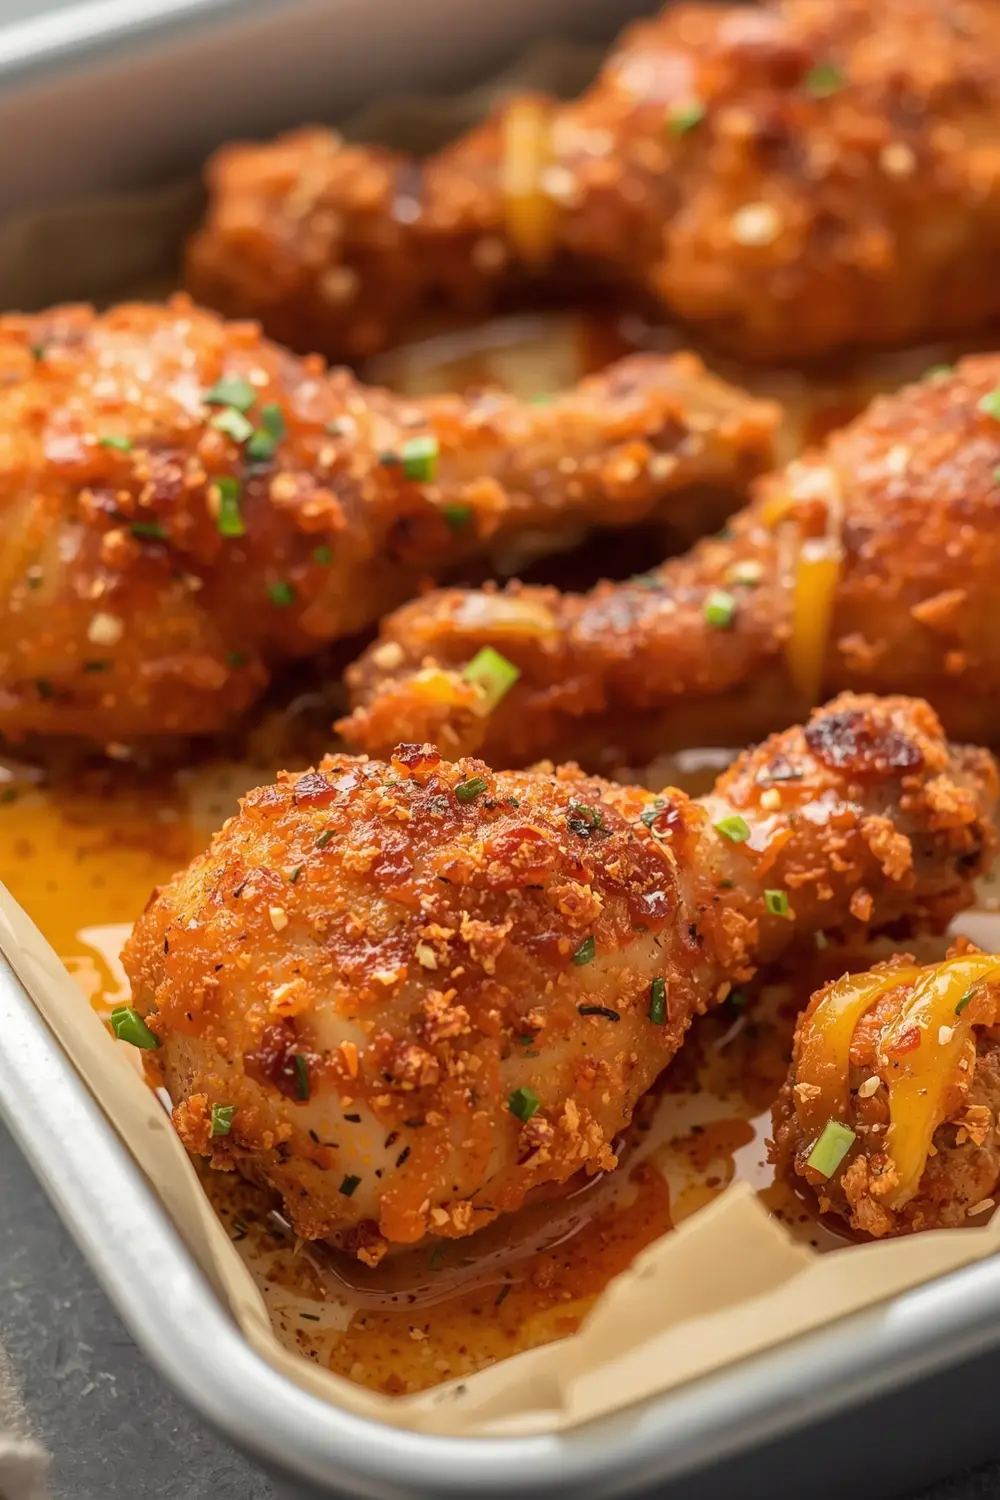
Baked chicken drumsticks are about to become your weeknight go-to because they’re crispy, affordable, and literally everyone eats them. I’m talking golden-brown perfection without deep frying or spending a fortune on chicken breasts. The secret’s in the coating and the baking temperature, which I’ll walk you through.
This is the kind of budget dinner that doesn’t taste budget at all. My kids request these constantly, and honestly, I love how simple the prep actually is. Pin this recipe for those nights when you need something reliable and delicious fast.
Want to master other chicken recipes too? Check out this easy chicken dinner guide for more weeknight inspiration.
Why this baked chicken drumsticks recipe works
Ever wondered why restaurant-style crispy chicken feels impossible at home? The trick isn’t actually deep frying—it’s the combination of cornstarch and baking powder that creates that crackle. I tested this recipe about fifteen times before getting it perfect, and now it’s foolproof every single time.
- Creates that crispy exterior without any deep frying needed
- Costs way less than takeout but tastes even better
- Ready in just one hour from start to table
- Kid-approved and freezer-friendly for batch cooking
| Prep Time | Cook Time | Calories | Servings | Cuisine |
|---|---|---|---|---|
| 15 minutes | 45 minutes | 385 per serving | 8 servings | American |
Ingredients for baked chicken drumsticks recipe
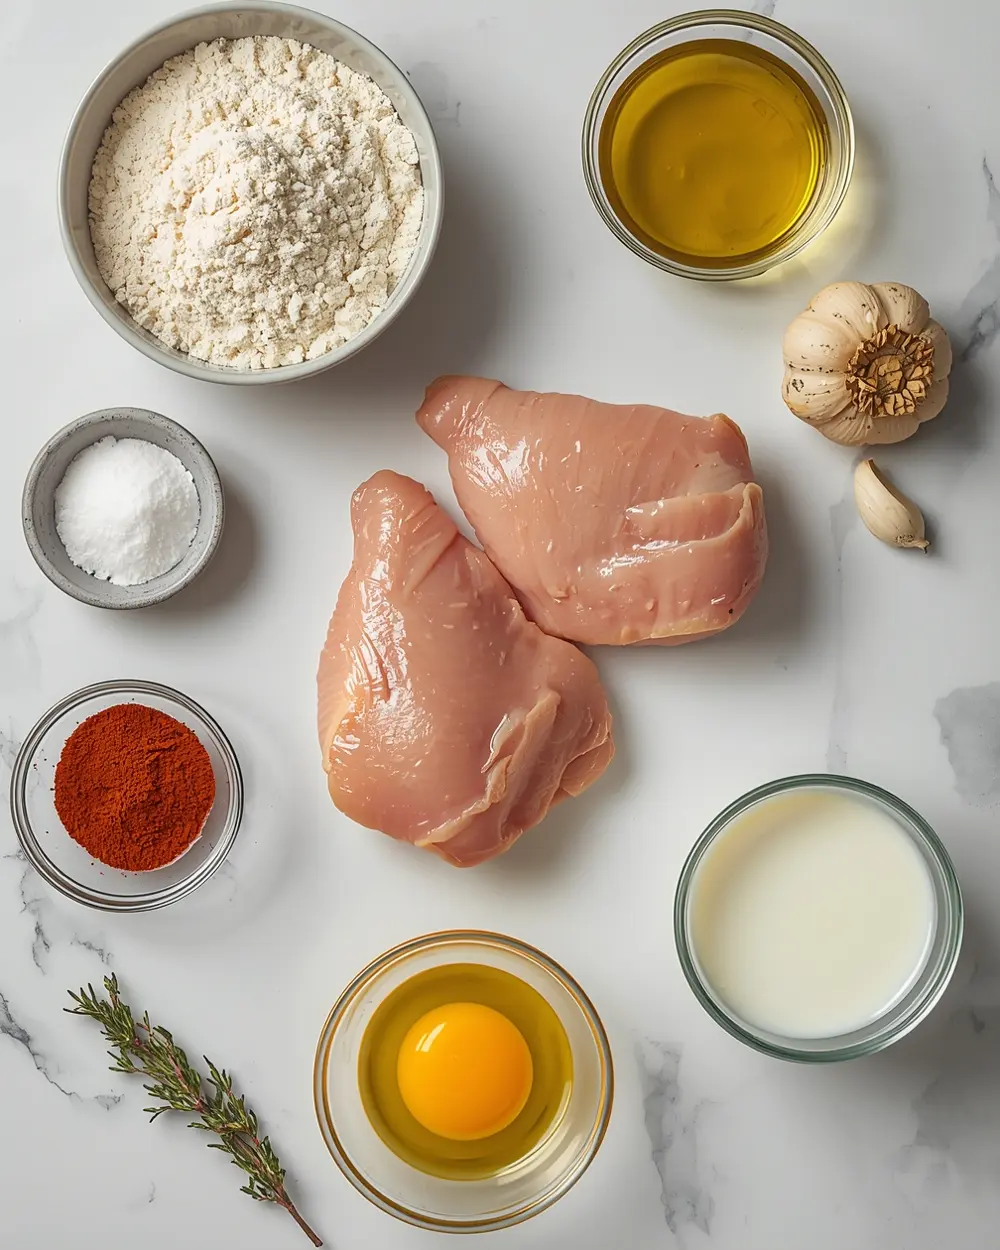
- 4 lbs chicken drumsticks
- 1 cup all-purpose flour
- 1/2 cup cornstarch
- 2 tsp salt
- 1 tsp black pepper
- 1 tsp paprika
- 1 tsp garlic powder
- 1/2 tsp baking powder
- 2 tbsp olive oil
- 1 large egg
- 1/4 cup milk
- 1 tbsp dried thyme
That baking powder in the coating? Don’t skip it—it’s what makes the exterior crackle like you deep fried it. If you can’t find cornstarch, swap it with an equal amount of potato starch or even a bit more flour, though the texture won’t be quite as crispy.
You can absolutely swap paprika with cayenne if you like heat, or skip it entirely for plain baked chicken drumsticks. The thyme is my personal preference, but Italian seasoning or even no herb at all works fine here.
Step-by-step instructions
1. Preheat your oven to 425°F and line two large baking sheets with parchment paper or foil. Pat your drumsticks completely dry with paper towels—this is non-negotiable because moisture prevents that crispy coating from forming. Wet chicken won’t crisp no matter what, trust me on this one.
2. In a shallow bowl, whisk together the egg and milk until combined, then set aside. In another shallow bowl, mix the flour, cornstarch, salt, black pepper, paprika, garlic powder, baking powder, and thyme. The baking powder is what creates those crispy edges you’re after.
3. Dip each drumstick into the egg mixture, then immediately roll it in the flour mixture, pressing gently so the coating sticks. Work in batches if needed—don’t crowd your bowl. The thicker the coating adheres, the crispier your final result.
4. Arrange the coated drumsticks on your prepared baking sheets in a single layer, making sure they don’t touch. Drizzle with the olive oil—this helps the coating brown and get that restaurant-quality golden color. Space matters here, so don’t overcrowd.
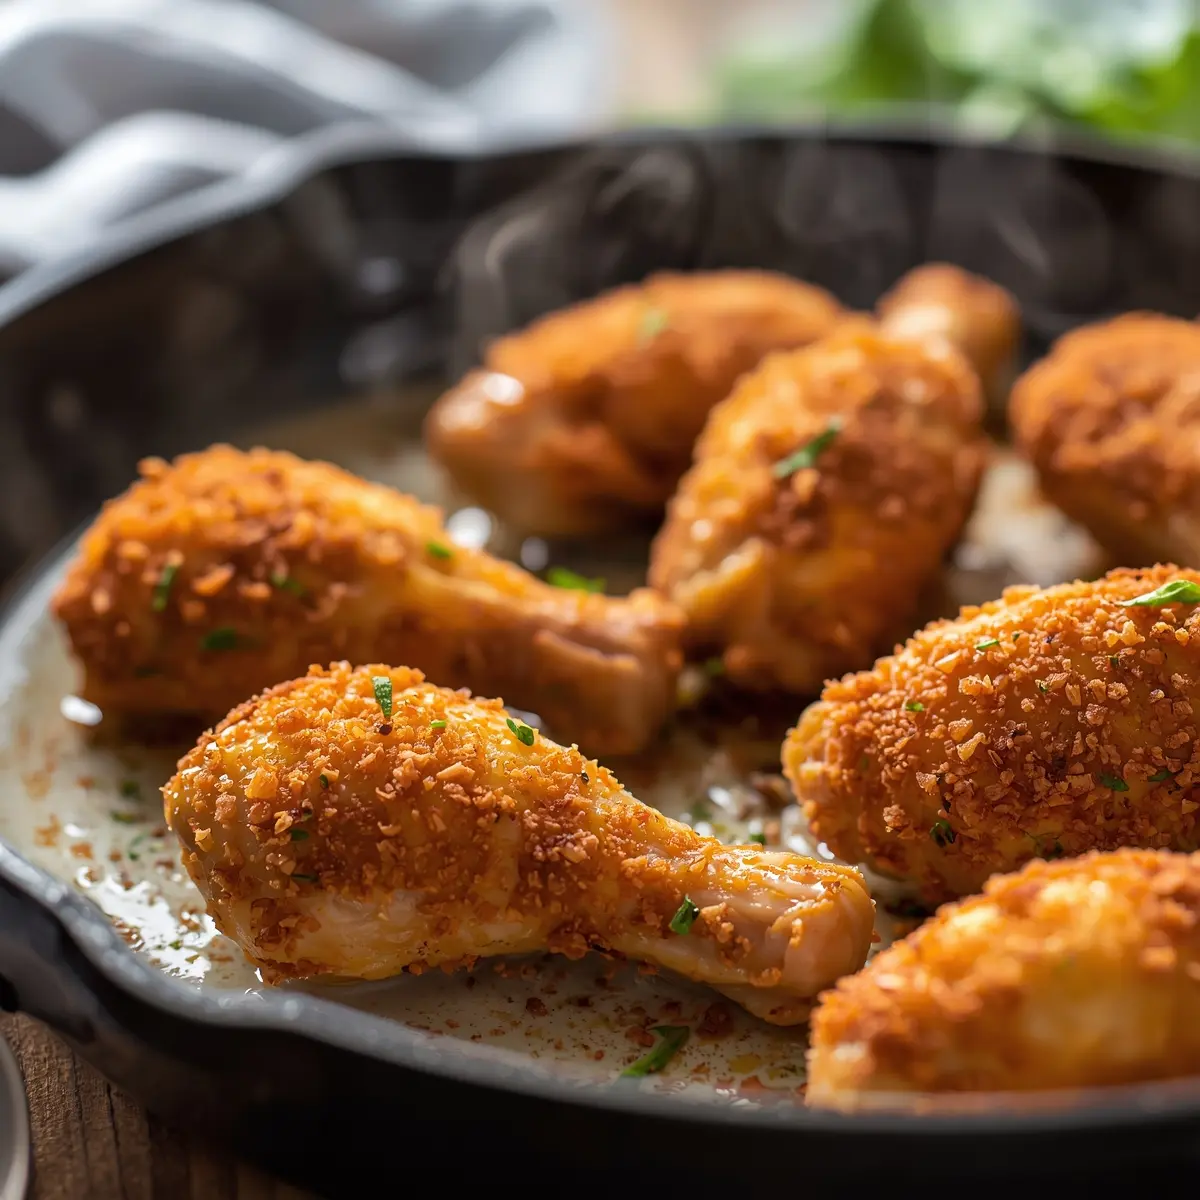
5. Bake for 40-45 minutes until the coating is deep golden brown and an instant-read thermometer inserted into the thickest part reads 165°F. I usually check mine around minute 35 because every oven runs differently. The first time I made these, I panicked when they looked pale at minute 25, but they darkened beautifully in the final 15 minutes.
6. Remove from the oven and let the drumsticks rest on the baking sheet for about 5 minutes before serving. This helps them stay crispy instead of getting steamed. Don’t pile them on a plate immediately or you’ll soften that coating.
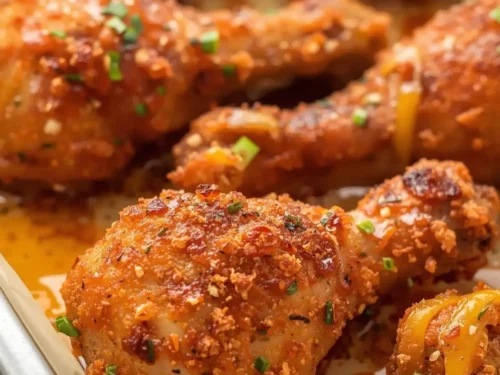
7. Serve while they’re still warm and the coating’s still at peak crispiness. Leftover baked chicken drumsticks taste great cold too, which is why my kids eat them for lunch the next day. They’re honestly just as good room temperature as they are hot.
Serving ideas for baked chicken drumsticks recipe
These drumsticks pair with so many sides, so here are my tried-and-true combinations.
Loaded Baked Potato Bar
Serve alongside fluffy baked potatoes with all the toppings—butter, sour cream, cheese, and chives. The richness balances the crispy chicken perfectly, plus everyone gets to build their own plate. It’s the ultimate crowd-pleaser for family dinners.
Crispy Coleslaw Combo
A tangy, crunchy coleslaw cuts through the richness of the fried coating like nothing else. Try pairing it with homemade creamy slaw for a classic takeout vibe at home. The cool slaw and warm drumsticks work magic together.
Rice and Roasted Veggies
Pair your baked chicken drumsticks with simple white or brown rice and whatever roasted vegetables you have on hand. Roasted broccoli, carrots, or green beans all complement the crispy coating beautifully. This combo makes meal prep super easy too.
Pro tips for perfect baked chicken drumsticks recipe
Storage tips
– Keep leftovers in an airtight container in the fridge for up to 4 days – They taste great cold straight from the fridge the next day – Store any remaining coated uncooked drumsticks in the freezer for up to 3 monthsMake-ahead instructions
– Coat the drumsticks up to 8 hours ahead and refrigerate on the baking sheet – Bake directly from the fridge, adding 5-10 minutes to the cooking time – Assemble the dry coating mixture the night before in a sealed containerVariations
– Add Italian seasoning or Old Bay for totally different flavor profiles – Swap cornstarch with panko breadcrumbs mixed with cornstarch for extra texture – Make it spicy by adding cayenne pepper, hot sauce powder, or jalapeño powder – Create a honey soy glaze by brushing halfway through baking for an Asian twistTroubleshooting
– If coating looks pale at 30 minutes, don’t panic—it’ll darken in the final phase – Soggy coating means you didn’t dry the drumsticks well enough at the start – If they’re browning too fast, lower heat to 400°F and extend cooking time slightlyFrequently asked questions
Can you freeze baked chicken drumsticks?
Yes, freeze them in an airtight container for up to 3 months, and they reheat beautifully. Place them on a baking sheet and warm at 350°F for 15-20 minutes until heated through. The coating stays crispy this way instead of getting soggy in the microwave.
What’s the best way to reheat leftover drumsticks?
Oven reheating is best—bake at 350°F for 15 minutes to restore crispiness. Microwaving makes them chewy, which honestly defeats the purpose. If you’re in a real hurry, the microwave works for 1-2 minutes, but oven method is worth the wait.
Can you make this with boneless chicken?
Boneless chicken breasts work, but they’ll cook faster and dry out more easily than drumsticks. Reduce the baking time to 25-30 minutes and watch them closely. Drumsticks are way more forgiving, which is why I stick with them for this recipe.
Is this recipe kid-friendly and budget-conscious?
Absolutely—drumsticks are one of the cheapest cuts of chicken and kids go crazy for the crispy coating. One batch feeds my entire family of four for about $8-10 and makes great leftovers. This is the definition of budget dinner that doesn’t compromise on taste.
Final thoughts
These baked chicken drumsticks deserve a permanent spot in your weeknight rotation because they’re affordable, simple, and genuinely delicious. Honestly, once you nail the coating and temperature, you’ll wonder why you ever spent money on takeout fried chicken. The whole process takes just an hour from start to table.
Looking for more budget-friendly proteins? This family dinner guide has tons of other affordable options that work just as well. Save this recipe for your next meal prep session or that random Tuesday when you need something reliable.
Your family’s gonna ask for these again and again—guaranteed. Make it this week and let me know how it turns out!
Baked Chicken Drumsticks Crispy and Budget Friendly
Ingredients
Method
- Preheat your oven to 425°F and line two large baking sheets with parchment paper or foil. Pat your drumsticks completely dry with paper towels—this is non-negotiable because moisture prevents that crispy coating from forming. Wet chicken won’t crisp no matter what, trust me on this one.
- In a shallow bowl, whisk together the egg and milk until combined, then set aside. In another shallow bowl, mix the flour, cornstarch, salt, black pepper, paprika, garlic powder, baking powder, and thyme. The baking powder is what creates those crispy edges you’re after.
- Dip each drumstick into the egg mixture, then immediately roll it in the flour mixture, pressing gently so the coating sticks. Work in batches if needed—don’t crowd your bowl. The thicker the coating adheres, the crispier your final result.
- Arrange the coated drumsticks on your prepared baking sheets in a single layer, making sure they don’t touch. Drizzle with the olive oil—this helps the coating brown and get that restaurant-quality golden color. Space matters here, so don’t overcrowd.
- Bake for 40-45 minutes until the coating is deep golden brown and an instant-read thermometer inserted into the thickest part reads 165°F. I usually check mine around minute 35 because every oven runs differently. The first time I made these, I panicked when they looked pale at minute 25, but they darkened beautifully in the final 15 minutes.
- Remove from the oven and let the drumsticks rest on the baking sheet for about 5 minutes before serving. This helps them stay crispy instead of getting steamed. Don’t pile them on a plate immediately or you’ll soften that coating.
- Serve while they’re still warm and the coating’s still at peak crispiness. Leftover baked chicken drumsticks taste great cold too, which is why my kids eat them for lunch the next day. They’re honestly just as good room temperature as they are hot.

")