
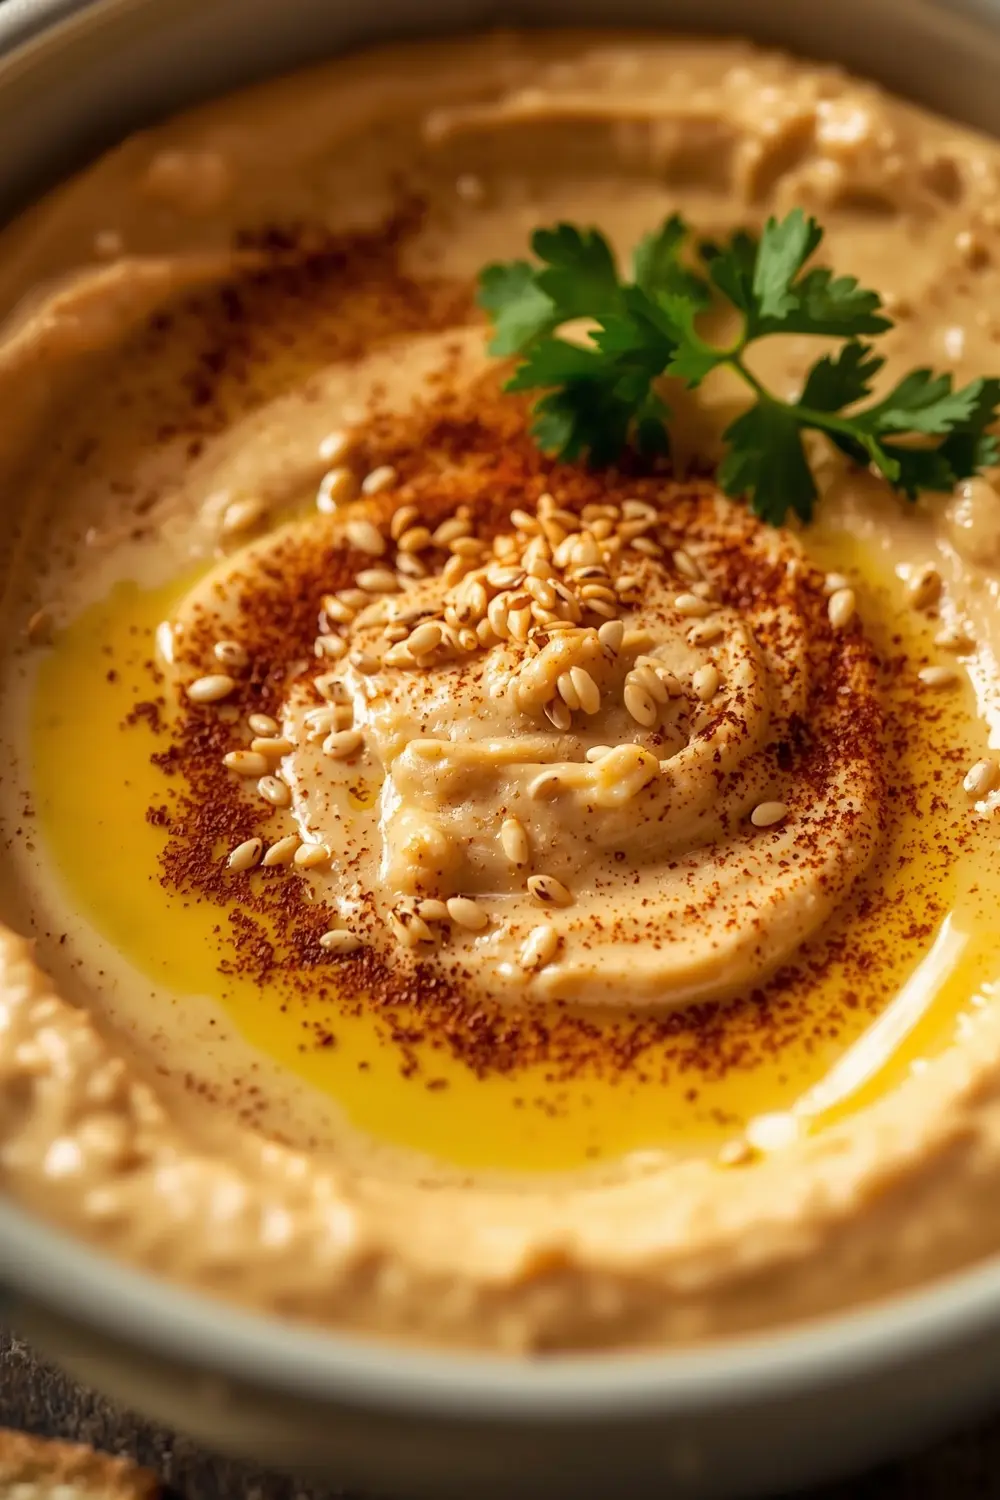
Roasted garlic hummus recipe is honestly one of those dips that disappears in minutes at any gathering. I’m talking completely gone while people are still loading their plates with other appetizers. The caramelized garlic makes all the difference — it transforms this Mediterranean appetizer from basic to absolutely crave-worthy.
Making this at home beats store-bought every single time. You’ll spend maybe 15 minutes of actual work and end up with something so creamy and smooth that guests always ask for the recipe. Plus, you’ll know exactly what’s going into your healthy snack dip (no weird additives, just real ingredients).
This homemade hummus recipe works beautifully for weeknight snacking or fancy entertaining. Whether you’re prepping for game day or a dinner party, bookmark this for your next gathering. If you’re already a fan of Mediterranean flavors, check out our Mediterranean appetizer collection for more crowd-pleasers.
Why this roasted garlic hummus recipe works
Ever wonder why restaurant hummus tastes so much creamier than what you make at home? The secret’s in the technique and roasting those garlic cloves until they’re sweet and mellow. I made this for a dinner party last month and had three people ask me to make it again before dessert was served.
- Silky-smooth texture that melts on your tongue with zero grittiness
- Roasted garlic brings deep, sweet umami flavors that regular garlic can’t match
- Ready in under 45 minutes from start to finish
- Perfect party dip easy enough for weeknight snacking
| Prep Time | Cook Time | Calories | Servings | Cuisine |
|---|---|---|---|---|
| 15 minutes | 30 minutes | 142 per serving | 12 servings | Mediterranean |
Ingredients for roasted garlic hummus recipe
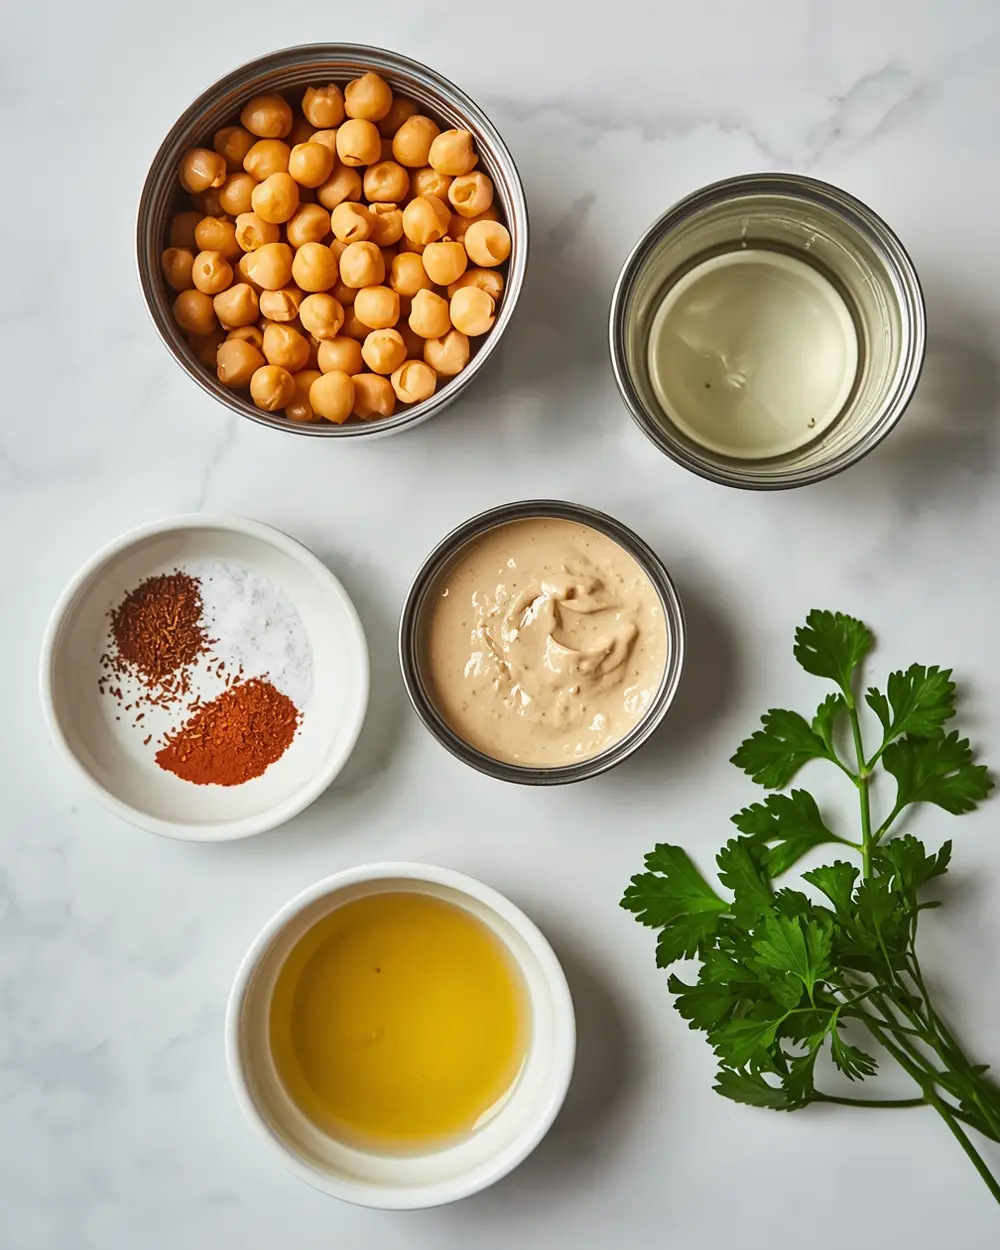
- 2 (15-ounce) cans chickpeas, drained and rinsed
- 1/2 cup tahini
- 1/4 cup olive oil
- 3 cloves roasted garlic
- 2 tablespoons fresh lemon juice
- 1/2 teaspoon salt
- 1/4 teaspoon ground cumin
- 3 tablespoons cold water
- 1 tablespoon olive oil for drizzle
- 1/4 teaspoon smoked paprika
- 1 teaspoon toasted sesame seeds
- 1 pinch fresh parsley
If you don’t have tahini on hand, creamy peanut butter works in a pinch (though it changes the flavor profile a bit). Honestly though, tahini’s worth the trip to the store — it’s what makes this roasted garlic hummus recipe taste authentic and Mediterranean.
For the garlic, don’t skip the roasting step. Raw garlic will overpower everything and leave a harsh aftertaste that nobody wants. You can roast a whole head the day before to save time on busy weeknights.
Step-by-step instructions
1. Preheat your oven to 400°F. Slice the top off a whole garlic head, drizzle with olive oil, wrap in foil, and roast for 30 minutes until golden and caramelized. The cloves should squish easily when you press them. Let it cool slightly before squeezing out the roasted cloves. This step is what separates an okay hummus from one everyone goes nuts for.
2. Drain your canned chickpeas thoroughly and rinse them under cold running water until the water runs clear. Pat them mostly dry with a paper towel — excess moisture makes everything watery. You’ll want to start with about 2 1/2 cups of drained chickpeas for the best texture.
3. Add the drained chickpeas, tahini, lemon juice, roasted garlic, olive oil, salt, and cumin to your food processor. Pulse everything together until it’s roughly combined, which takes about 30 seconds. Don’t skip tasting at this point — flavors matter more than exact measurements.
4. Blend on high speed for about 2-3 minutes, stopping to scrape down the sides with a spatula. The hummus will start thick and grainy at first, which honestly freaked me out the first time I made it. Trust the process — it gets creamy, I promise.
5. Add the cold water slowly while the food processor runs. Add just 1 tablespoon at a time and blend for 10 seconds between additions. Watch the texture change from thick to silky — you want it spreadable but not runny. Stop blending once it reaches that creamy consistency you’re after.
6. Taste your roasted garlic hummus recipe and adjust seasonings as needed. Need more lemon? Add another teaspoon. Want it saltier? Sprinkle in 1/4 teaspoon more. This is where you make it your own, so don’t be shy about tweaking.
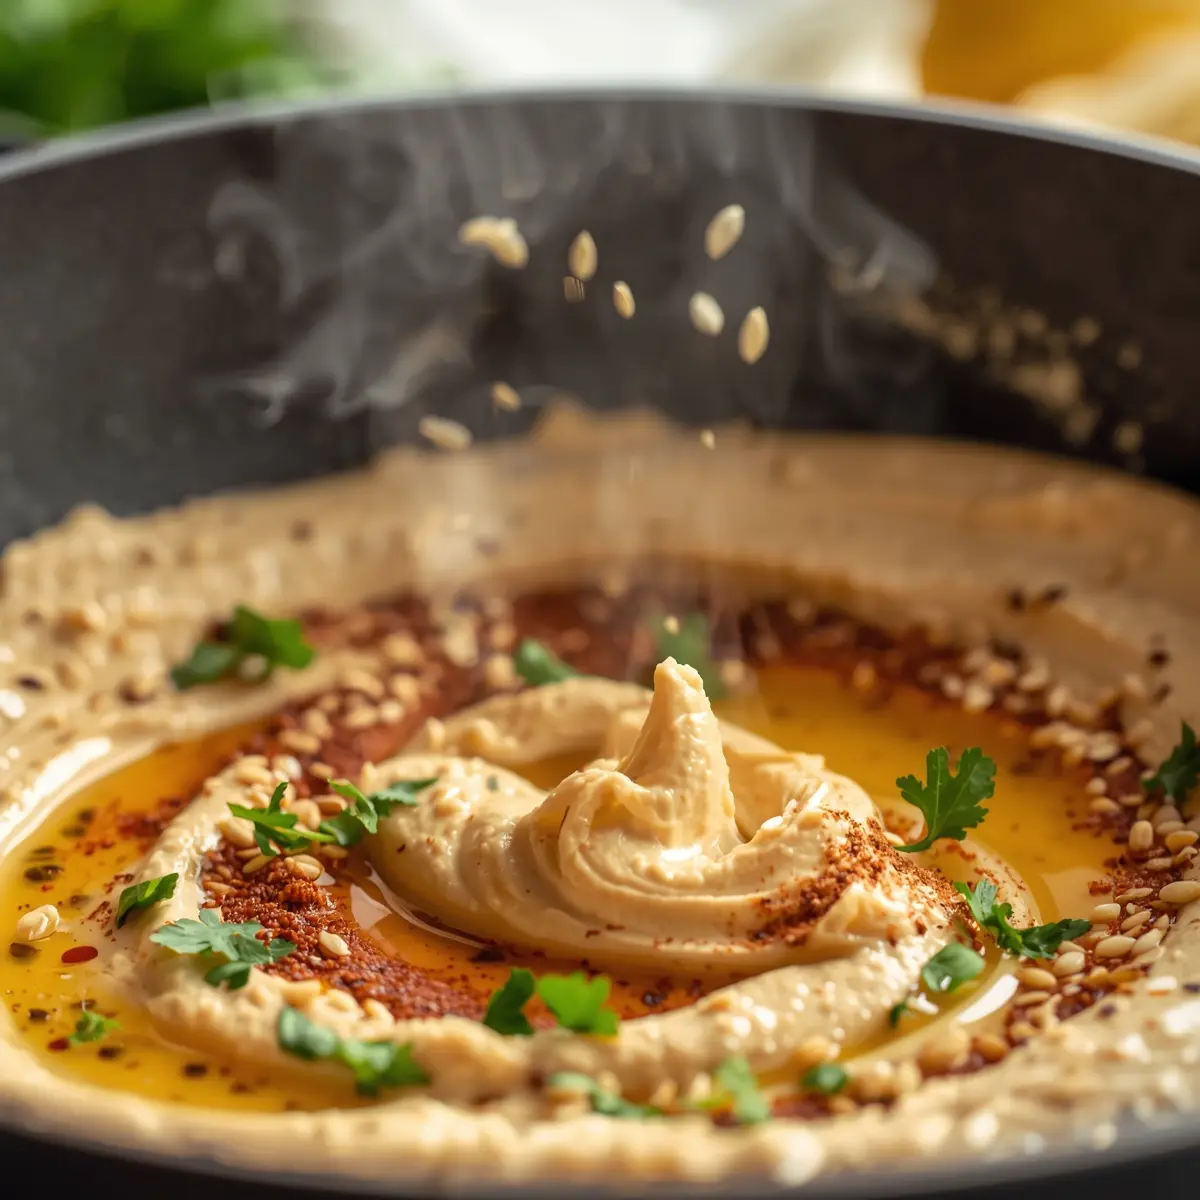
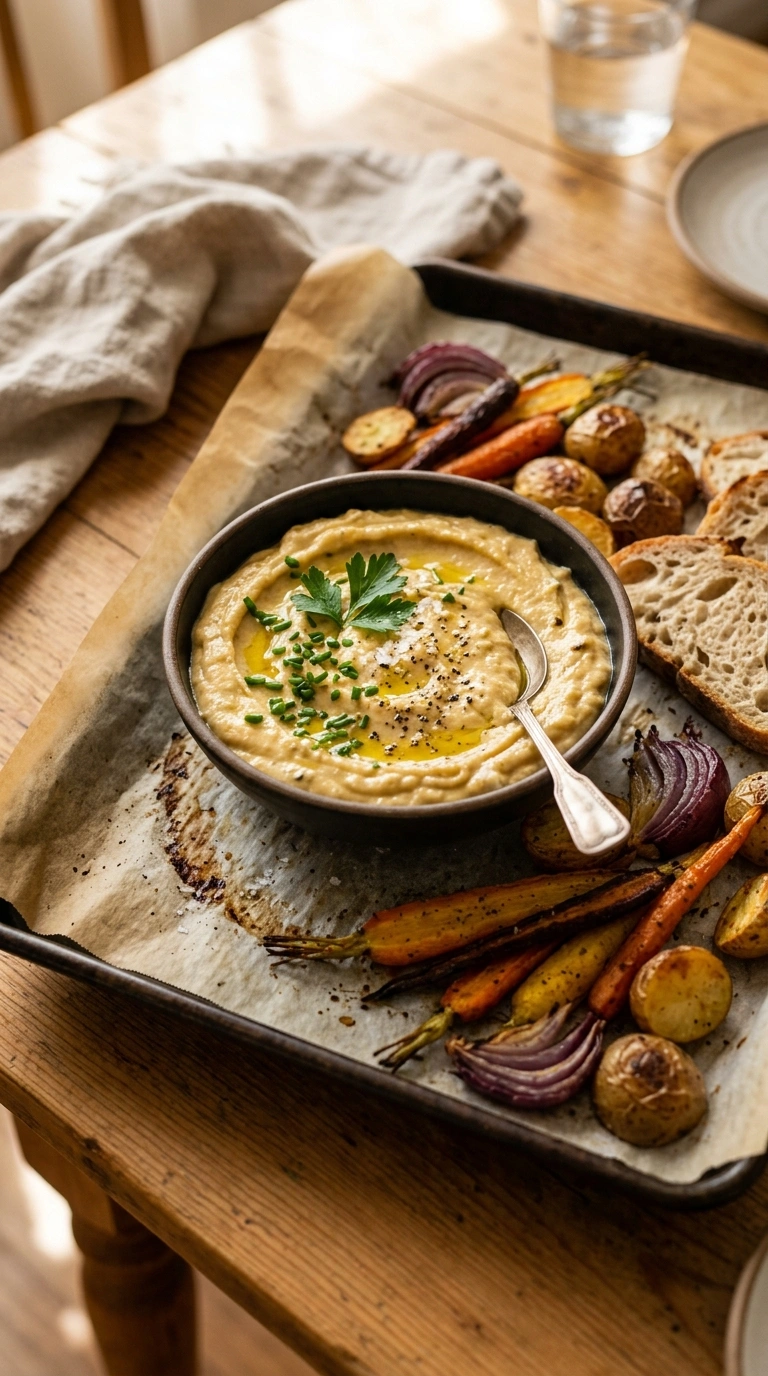
7. Transfer to a serving bowl and drizzle with the extra tablespoon of olive oil. Sprinkle paprika, sesame seeds, and fresh parsley on top for that restaurant-quality finish. Serve immediately or chill for up to 3 days in an airtight container.
Serving ideas for roasted garlic hummus recipe
This Mediterranean dip pairs with so many things — here are my go-to combinations that always work.
Veggie tray combo
Slice up crisp carrots, cucumbers, bell peppers, and radishes for dipping. The cool, crunchy veggies balance the warm, garlicky depth of this healthy snack dip perfectly. I always cut veggies into sticks so they’re easy to grab without making a mess.Pita chips and crackers
Toasted pita chips give you that satisfying crunch while whole grain crackers keep things light. The salty, crispy texture makes you want another bite, which is why it disappears so fast. Pair this with crispy pita recipes for a complete party spread.Grilled bread pairing
Brush thick bread slices with olive oil, grill until golden, and serve warm with your roasted garlic hummus recipe on the side. The warm bread soaks up all that creamy goodness, and honestly, it’s become my favorite way to eat it. Sometimes I skip everything else and just go straight for the bread.Pro tips for perfect roasted garlic hummus recipe
Storage tips
– Keep in an airtight container in the fridge for up to 4 days – Freeze in ice cube trays for up to 3 months for quick portions – Always cover with plastic wrap to prevent a dry skin from formingMake-ahead instructions
– Roast garlic the day before and squeeze cloves into a small container – Prep all ingredients and store separately, then blend when guests arrive – Make the hummus up to 2 days early and refresh with a splash of water before servingVariations
– Add 2 tablespoons sun-dried tomatoes for a roasted red pepper twist – Stir in 1/4 cup fresh herbs like cilantro or basil for brightness – Mix in 2 tablespoons harissa paste for a spicy Mediterranean kickTroubleshooting
– If it’s too thick, add cold water 1 tablespoon at a time while blending – If it’s grainy, blend longer (it needs at least 2-3 minutes of continuous processing) – If garlic flavor’s too strong, you skipped roasting — it overpowers when raw – If it tastes bland, squeeze in more lemon juice gradually and taste between additionsFrequently asked questions
Can I freeze roasted garlic hummus recipe?
Yes, absolutely — freeze in airtight containers or ice cube trays for up to 3 months. Thaw overnight in the fridge before serving and stir in a splash of water to restore creaminess. I do this all the time when I’m meal prepping for busy weeks ahead.
What can I substitute for tahini?
Creamy peanut butter or sunflower seed butter works as a 1:1 replacement in this party dip easy version. Both give you that smooth, nutty base, though the flavor leans different from traditional hummus. I’d also try almond butter if you’re feeling adventurous, but stick with tahini if this is your first time making it.
How do I reheat this healthy snack dip?
You don’t need to reheat it — roasted garlic hummus recipe tastes best at room temperature or chilled straight from the fridge. If it’s been in the fridge and feels too stiff, let it sit on the counter for 15 minutes or stir in a teaspoon of water to loosen it up. Never microwave it or the texture gets weird and separated.
Is this hummus recipe homemade version actually healthier?
Absolutely — homemade versions have zero preservatives and you control the sodium and oil amounts. Store-bought often sneaks in extra oils and thickeners to keep it shelf-stable longer. One serving has 142 calories with 3 grams of fiber, making it a solid choice for snacking without guilt.
Final thoughts
Making this Mediterranean appetizer at home is genuinely easier than calling out for delivery. Your kitchen will smell incredible, and you’ll have a creamy, crave-worthy dip that beats anything store-bought by a mile. Friends and family always compliment homemade hummus because they can taste the difference immediately.
This roasted garlic hummus recipe has become a regular request at my dinner parties. People ask for seconds before they even try anything else on the table. Save this recipe for your next gathering and watch it become everyone’s favorite.
Want more easy dip ideas? Check out our party appetizer collection for more crowd-pleasers. You’ll find recipes that pair perfectly with this Mediterranean favorite for a complete spread.
Roasted Garlic Hummus Creamy Smooth and Addictive
Ingredients
Method
- Preheat your oven to 400°F. Slice the top off a whole garlic head, drizzle with olive oil, wrap in foil, and roast for 30 minutes until golden and caramelized. The cloves should squish easily when you press them. Let it cool slightly before squeezing out the roasted cloves. This step is what separates an okay hummus from one everyone goes nuts for.
- Drain your canned chickpeas thoroughly and rinse them under cold running water until the water runs clear. Pat them mostly dry with a paper towel — excess moisture makes everything watery. You’ll want to start with about 2 1/2 cups of drained chickpeas for the best texture.
- Add the drained chickpeas, tahini, lemon juice, roasted garlic, olive oil, salt, and cumin to your food processor. Pulse everything together until it’s roughly combined, which takes about 30 seconds. Don’t skip tasting at this point — flavors matter more than exact measurements.
- Blend on high speed for about 2-3 minutes, stopping to scrape down the sides with a spatula. The hummus will start thick and grainy at first, which honestly freaked me out the first time I made it. Trust the process — it gets creamy, I promise.
- Add the cold water slowly while the food processor runs. Add just 1 tablespoon at a time and blend for 10 seconds between additions. Watch the texture change from thick to silky — you want it spreadable but not runny. Stop blending once it reaches that creamy consistency you’re after.
- Taste your roasted garlic hummus recipe and adjust seasonings as needed. Need more lemon? Add another teaspoon. Want it saltier? Sprinkle in 1/4 teaspoon more. This is where you make it your own, so don’t be shy about tweaking.
- Transfer to a serving bowl and drizzle with the extra tablespoon of olive oil. Sprinkle paprika, sesame seeds, and fresh parsley on top for that restaurant-quality finish. Serve immediately or chill for up to 3 days in an airtight container.


")