

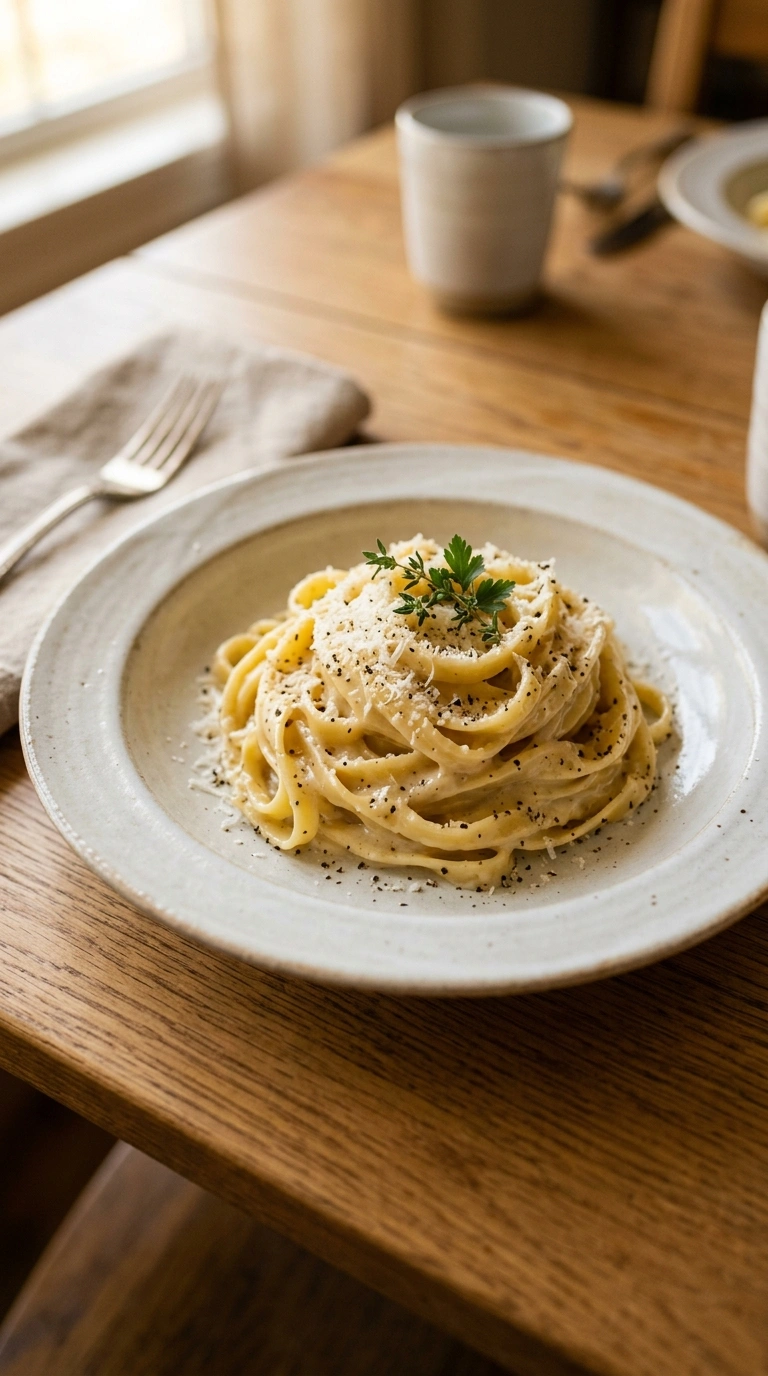
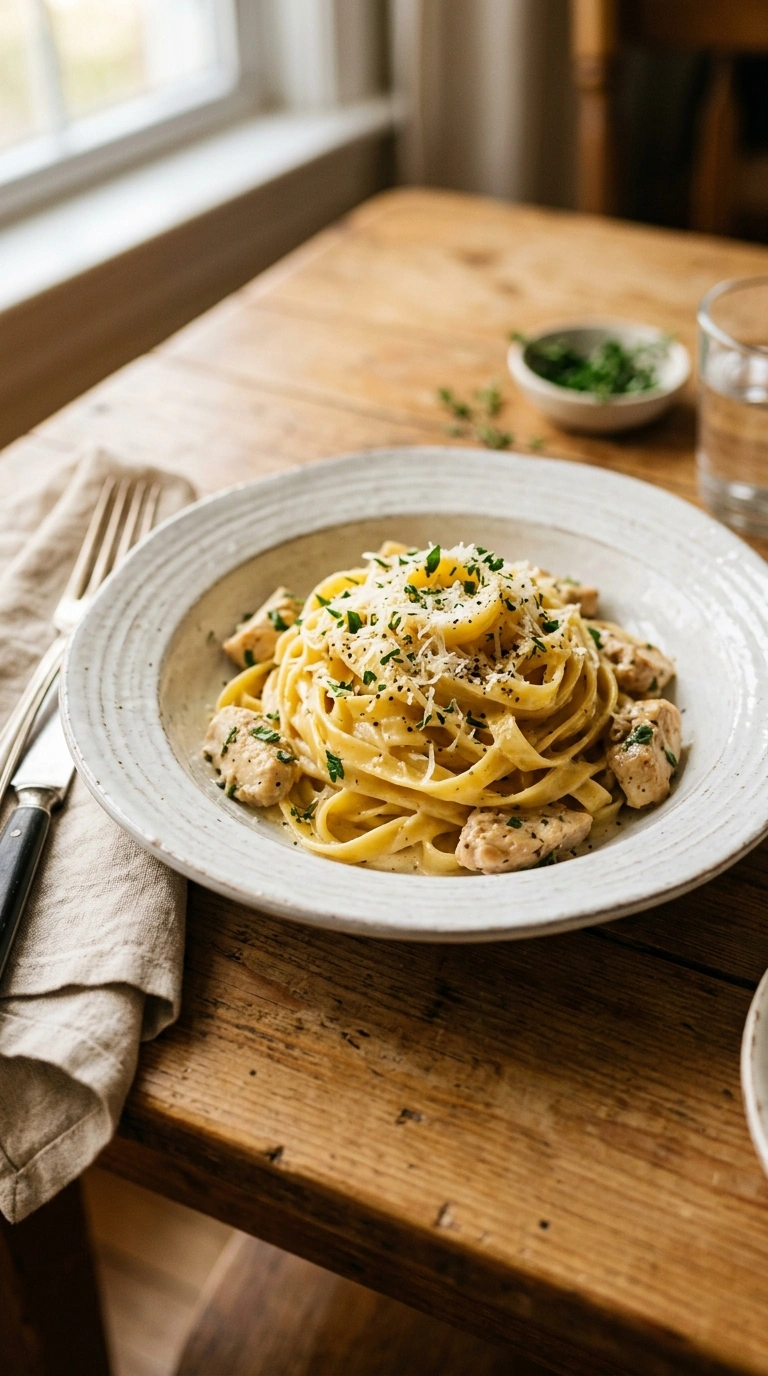
Ever had one of those nights where you need dinner on the table fast but don’t want to sacrifice flavor? Garlic parmesan chicken recipe is your answer, and honestly, it’s become my go-to for busy weeknights. The combination of garlic and Parmesan creates this golden, crispy crust that’ll make your whole family ask for seconds.
This recipe takes just 45 minutes from start to table, which means you can pull it off even on your most hectic days. I love that you can prep everything ahead and just pop it in the oven when you get home. Plus, if you’re looking for more easy Italian chicken ideas, check out my Italian herb roasted chicken for another weeknight winner.
Bookmark this for your next meal prep day or busy Tuesday night—you’ll want to make it again and again.
Why this garlic parmesan chicken recipe works
Know what makes this different from regular baked chicken? The panko breadcrumb coating gets insanely crispy in the oven while the garlic and Parmesan infuse every bite with Italian flavor. I tested this three times before I got the ratio right, and the second time I accidentally doubled the garlic—turns out that was even better.
- Crispy on the outside, juicy on the inside thanks to the egg-and-panko coating
- Ready in under 45 minutes for busy weeknight dinners
- Minimal cleanup with just one baking sheet and a few prep bowls
- Uses affordable chicken thighs that stay moist, not dry like breasts sometimes get
| Prep Time | Cook Time | Calories | Servings | Cuisine |
|---|---|---|---|---|
| 20 minutes | 25 minutes | 485 per serving | 6 servings | American |
Ingredients for garlic parmesan chicken recipe
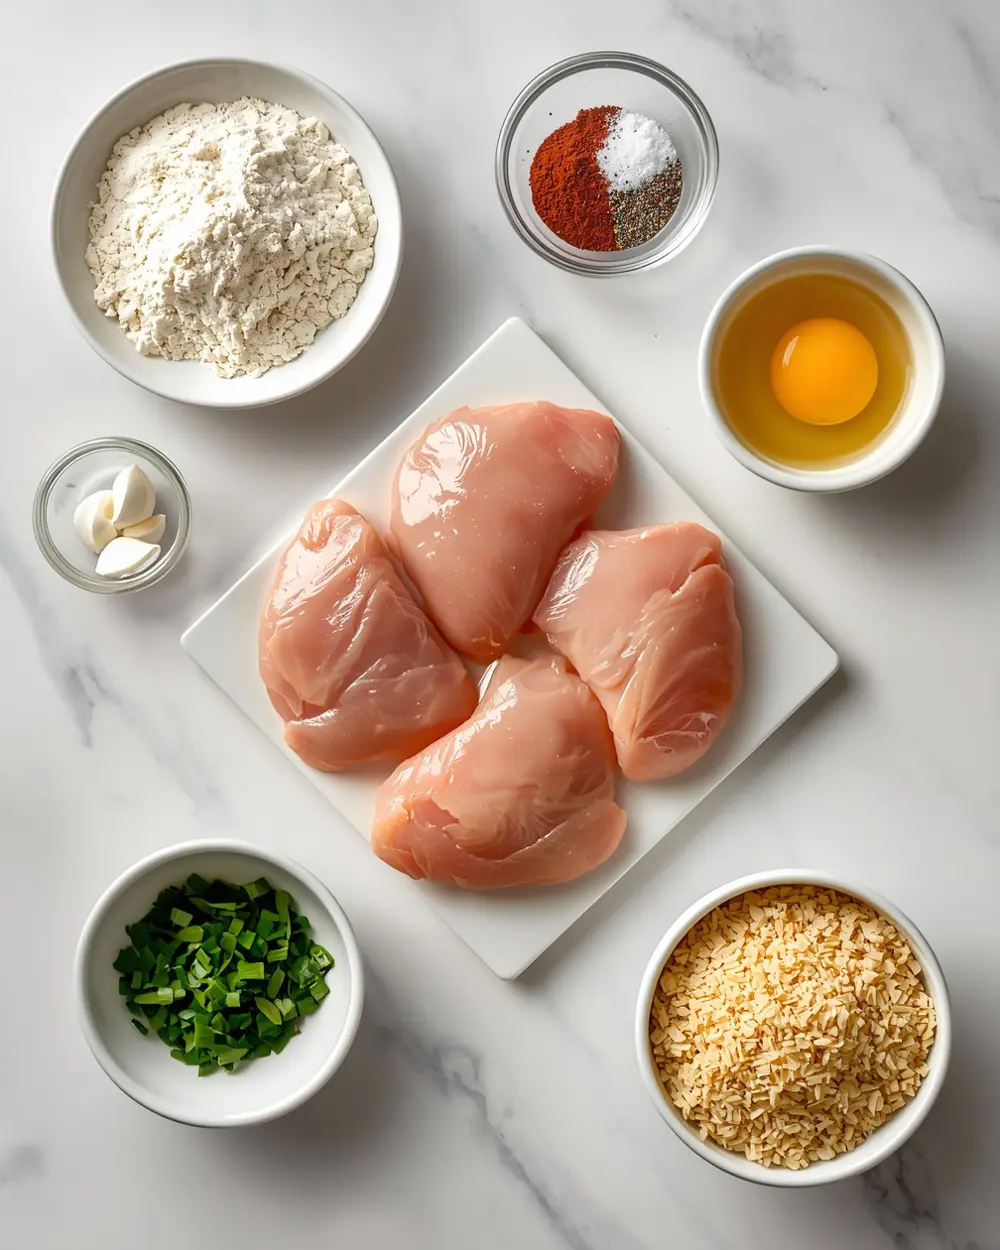
- 2 lbs chicken thighs (about 8 pieces)
- 1/4 cup all-purpose flour
- 1 tsp paprika
- 1 tsp salt
- 1/2 tsp black pepper
- 3 cloves garlic, minced
- 1/2 cup Parmesan cheese, freshly grated
- 1 tsp dried oregano
- 1 egg, beaten
- 1 cup panko breadcrumbs
- 2 tbsp fresh parsley, chopped
- 1/2 cup olive oil
I personally swap the flour for a gluten-free blend when I need to, and it works just as well for this garlic parmesan chicken recipe. The Parmesan’s gotta be freshly grated though—the pre-shredded stuff has anti-caking agents that make the coating less crispy (trust me on this).
Don’t skip the fresh parsley at the end, but honestly, you can use dried if that’s what you’ve got on hand. The egg wash is what makes everything stick, so don’t be tempted to skip that step even though it feels messy.
Step-by-step instructions
1. Heat your oven to 400°F and line a baking sheet with parchment paper. Mix the flour, paprika, salt, and black pepper in a shallow bowl—this is your first coating station. Pat your chicken thighs dry with paper towels (this is super important for crispiness). Coat each piece lightly in the flour mixture, shaking off any excess. You want just a thin layer, not a thick crust.
2. Set up your egg wash station next to the flour bowl. Dip each floured chicken thigh into the beaten egg, making sure it’s completely coated. Let any excess drip back into the bowl—you don’t want globs of egg on your chicken. Place the coated pieces on a clean plate as you go.
3. In another shallow bowl, combine the panko breadcrumbs, minced garlic, grated Parmesan, oregano, and chopped parsley. This is where the magic happens—the garlic and cheese infuse the whole coating. Mix it really well so the garlic bits are evenly distributed throughout the breadcrumbs.
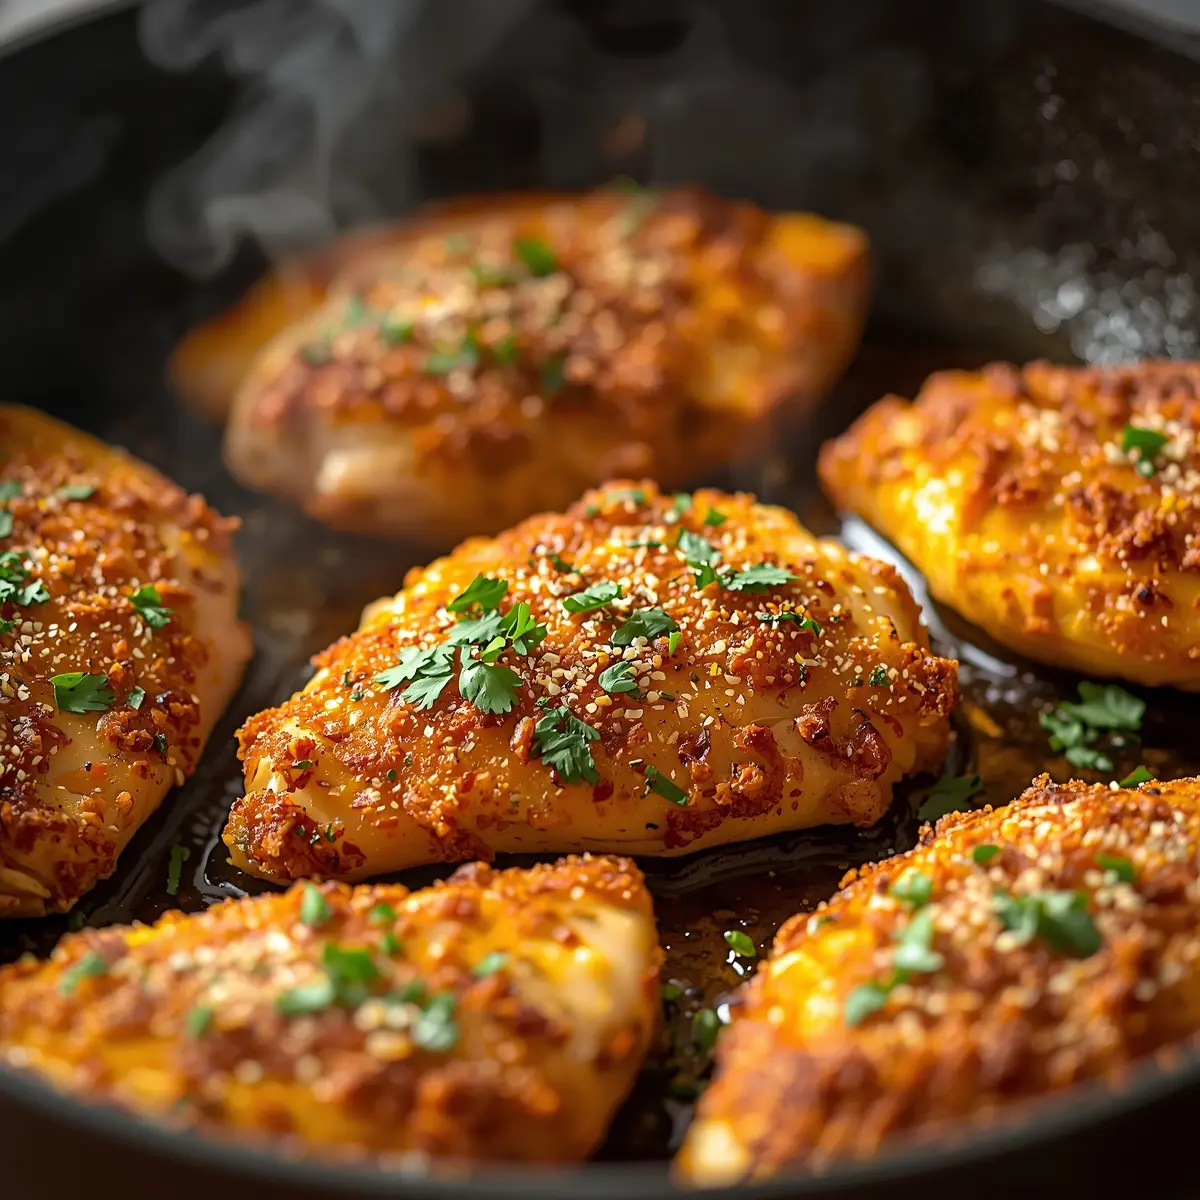
4. Roll each egg-coated chicken thigh in the breadcrumb mixture, pressing gently so it sticks. You’ll hear it get a little crackly as you press—that’s perfect. Make sure every side gets coated because that’s what creates the crispy crust. Place each piece on your prepared baking sheet, leaving a little space between them.
5. Drizzle or brush about 1/2 cup olive oil over the chicken pieces, getting the top of each one. This sounds like a lot of oil, but it’s what gets the coating golden and crispy in the oven. Don’t pour it all in one spot—distribute it evenly so everything cooks the same.
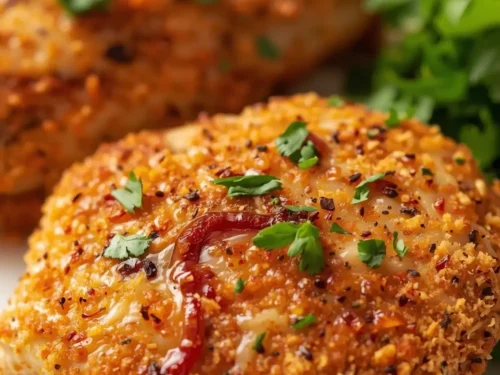
6. Bake at 400°F for 24-26 minutes until the coating is golden brown and the chicken’s cooked through. The internal temperature should hit 165°F when you check it with a meat thermometer in the thickest part. Mine always takes 25 minutes on the dot, but ovens vary, so keep an eye on it after minute 20.
7. Let the chicken rest for 2-3 minutes when it comes out of the oven—I know it’s hard to wait, but this keeps all the juices inside. Garnish with a little extra fresh parsley if you want, and serve immediately. The crust is crispiest right out of the oven, so don’t let it sit around (though it’s still pretty great at room temperature the next day).
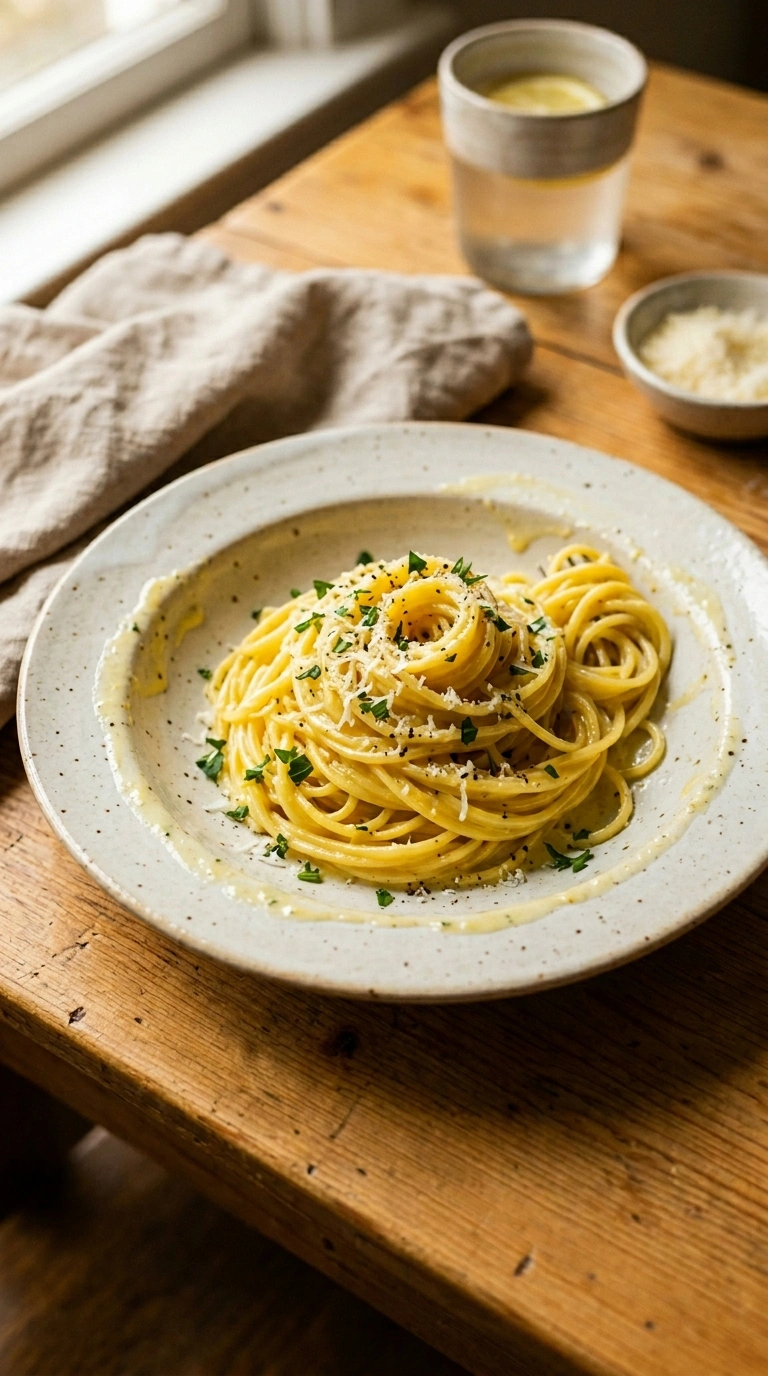
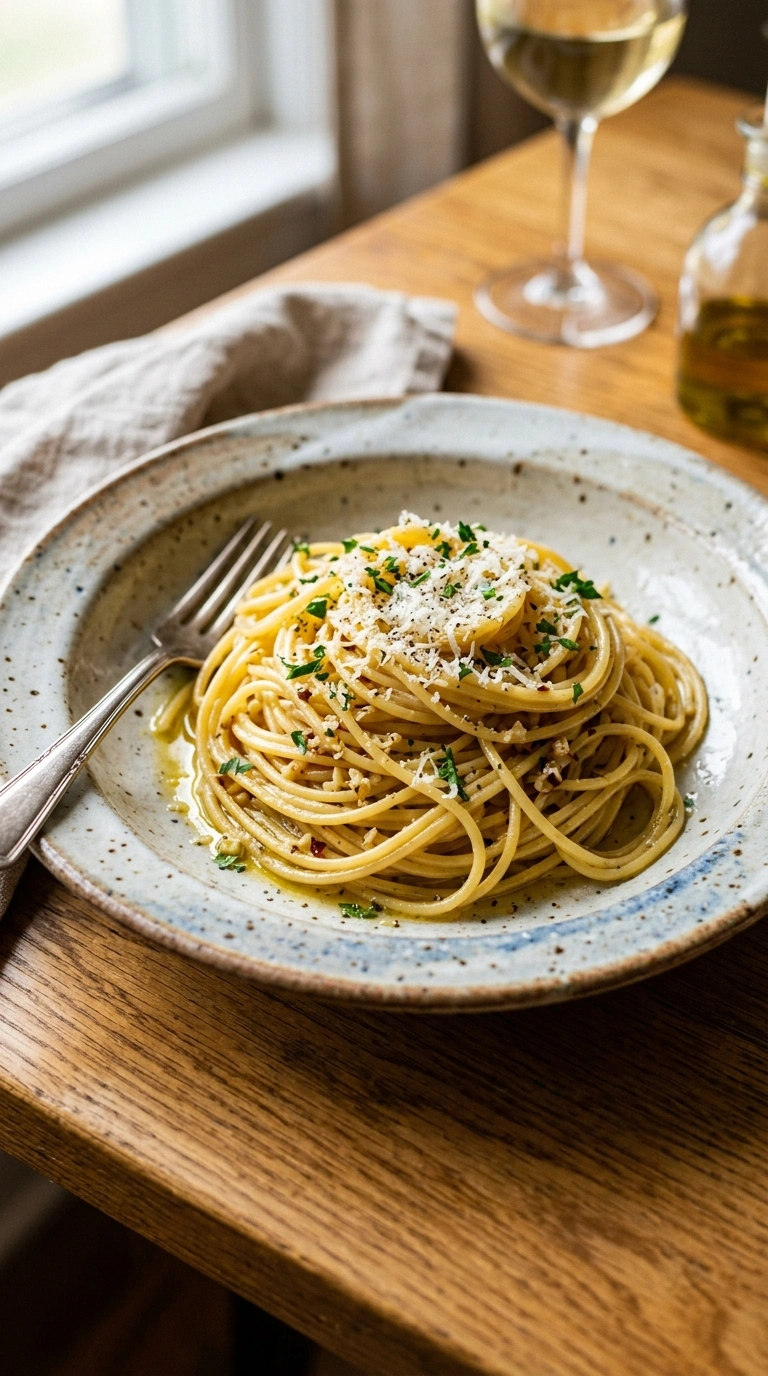
Serving ideas for garlic parmesan chicken recipe
Pair this with sides that balance the richness of the Parmesan coating.
Creamy mashed potatoes with roasted garlic
The buttery potatoes complement the crispy chicken perfectly without competing for attention. Roast your garlic beforehand, and the flavors meld into something really special. This combo feels elegant enough for company but easy enough for a regular Tuesday.Tangy lemon roasted vegetables
Zucchini, bell peppers, and asparagus roasted with lemon juice cut through the richness beautifully. Toss them with olive oil, lemon, and a pinch of salt before roasting alongside your chicken. If you want more veggie-forward ideas, try my sheet pan roasted vegetable medley that’s always a crowd-pleaser.Fresh arugula salad with balsamic vinaigrette
Peppery arugula with tangy balsamic hits different against the garlic parmesan chicken. Add some shaved Parmesan and cherry tomatoes for color. The acidity of the dressing brightens the whole meal and helps with digestion too.Pro tips for perfect garlic parmesan chicken recipe
Storage tips
– Refrigerate leftovers in an airtight container for up to 3 days – The coating stays crispiest if you keep it separate from sauce – Leftover chicken works great cold on salads the next dayMake-ahead instructions
– Prep and coat the chicken the morning of, refrigerate uncovered for 2 hours – This actually helps the coating adhere even better before baking – You can bake straight from the fridge—just add 2-3 minutes to the cook timeVariations
– Skip the oregano and add Italian seasoning for a different herb profile – Use grated Pecorino Romano instead of Parmesan for a sharper, saltier taste – Add 1/4 tsp garlic powder to the breadcrumb mix if you want even MORE garlicTroubleshooting
– If the coating’s pale, increase your oven temp by 25°F and watch carefully – Soggy coating means the oil didn’t distribute evenly—brush it on next time – Dry chicken means you used breasts instead of thighs (they cook faster, so use thighs)Frequently asked questions
Can I freeze garlic parmesan chicken recipe?
Yes, absolutely—freeze it uncooked or cooked depending on your preference. Uncooked chicken stays good frozen for up to 3 months, and you can bake it straight from frozen by adding 8-10 minutes to the bake time. Cooked chicken freezes for about 2 months and reheats beautifully at 350°F for 10-12 minutes until it’s warm through.
What can I substitute for Parmesan cheese?
Pecorino Romano gives you a similar texture with a saltier bite, or try a blend of Romano and Asiago. Grana Padano is another Italian hard cheese that works great if you can’t find Parmesan. Just avoid pre-shredded varieties since they don’t crisp up the same way.
How do I reheat leftovers without losing the crispy coating?
Pop leftover chicken in a 350°F oven for 8-10 minutes instead of the microwave—that’s the game changer for keeping it crispy. Arrange it on a baking sheet so the heat circulates evenly, and you’ll get that golden coating back. The air fryer is another option at 375°F for 5-6 minutes if you’ve got one.
Is this recipe better than other crispy chicken ideas?
This garlic parmesan chicken recipe beats pan-frying because there’s zero splattering and way less cleanup. The oven method gives you more consistent browning than the stovetop, plus the garlic and Parmesan infuse deeper into the meat. You’re also not stuck at the stove stirring stuff while you could be doing literally anything else.
Final thoughts
This garlic parmesan chicken recipe delivers restaurant-quality results with minimal effort, and honestly, that’s my kind of cooking. Your kitchen’s gonna smell absolutely amazing while it bakes, and that’s worth something in itself. Make it once, and you’ll understand why it’s such a fan favorite around here.
The crispy coating paired with juicy chicken thighs makes this feel way fancier than the 45 minutes it takes to pull together. If you love quick Italian chicken easy recipes that actually impress people, you need to save this one. For more dinner inspiration with the same vibe, check out my parmesan crusted pork chops next.
Don’t wait for a special occasion—make this for your next busy weeknight and watch everyone ask for seconds.
Garlic Parmesan Chicken Crispy and Full of Flavor
Ingredients
Method
- Heat your oven to 400°F and line a baking sheet with parchment paper. Mix the flour, paprika, salt, and black pepper in a shallow bowl—this is your first coating station. Pat your chicken thighs dry with paper towels (this is super important for crispiness). Coat each piece lightly in the flour mixture, shaking off any excess. You want just a thin layer, not a thick crust.
- Set up your egg wash station next to the flour bowl. Dip each floured chicken thigh into the beaten egg, making sure it’s completely coated. Let any excess drip back into the bowl—you don’t want globs of egg on your chicken. Place the coated pieces on a clean plate as you go.
- In another shallow bowl, combine the panko breadcrumbs, minced garlic, grated Parmesan, oregano, and chopped parsley. This is where the magic happens—the garlic and cheese infuse the whole coating. Mix it really well so the garlic bits are evenly distributed throughout the breadcrumbs.
- Roll each egg-coated chicken thigh in the breadcrumb mixture, pressing gently so it sticks. You’ll hear it get a little crackly as you press—that’s perfect. Make sure every side gets coated because that’s what creates the crispy crust. Place each piece on your prepared baking sheet, leaving a little space between them.
- Drizzle or brush about 1/2 cup olive oil over the chicken pieces, getting the top of each one. This sounds like a lot of oil, but it’s what gets the coating golden and crispy in the oven. Don’t pour it all in one spot—distribute it evenly so everything cooks the same.
- Bake at 400°F for 24-26 minutes until the coating is golden brown and the chicken’s cooked through. The internal temperature should hit 165°F when you check it with a meat thermometer in the thickest part. Mine always takes 25 minutes on the dot, but ovens vary, so keep an eye on it after minute 20.
- Let the chicken rest for 2-3 minutes when it comes out of the oven—I know it’s hard to wait, but this keeps all the juices inside. Garnish with a little extra fresh parsley if you want, and serve immediately. The crust is crispiest right out of the oven, so don’t let it sit around (though it’s still pretty great at room temperature the next day).

")