
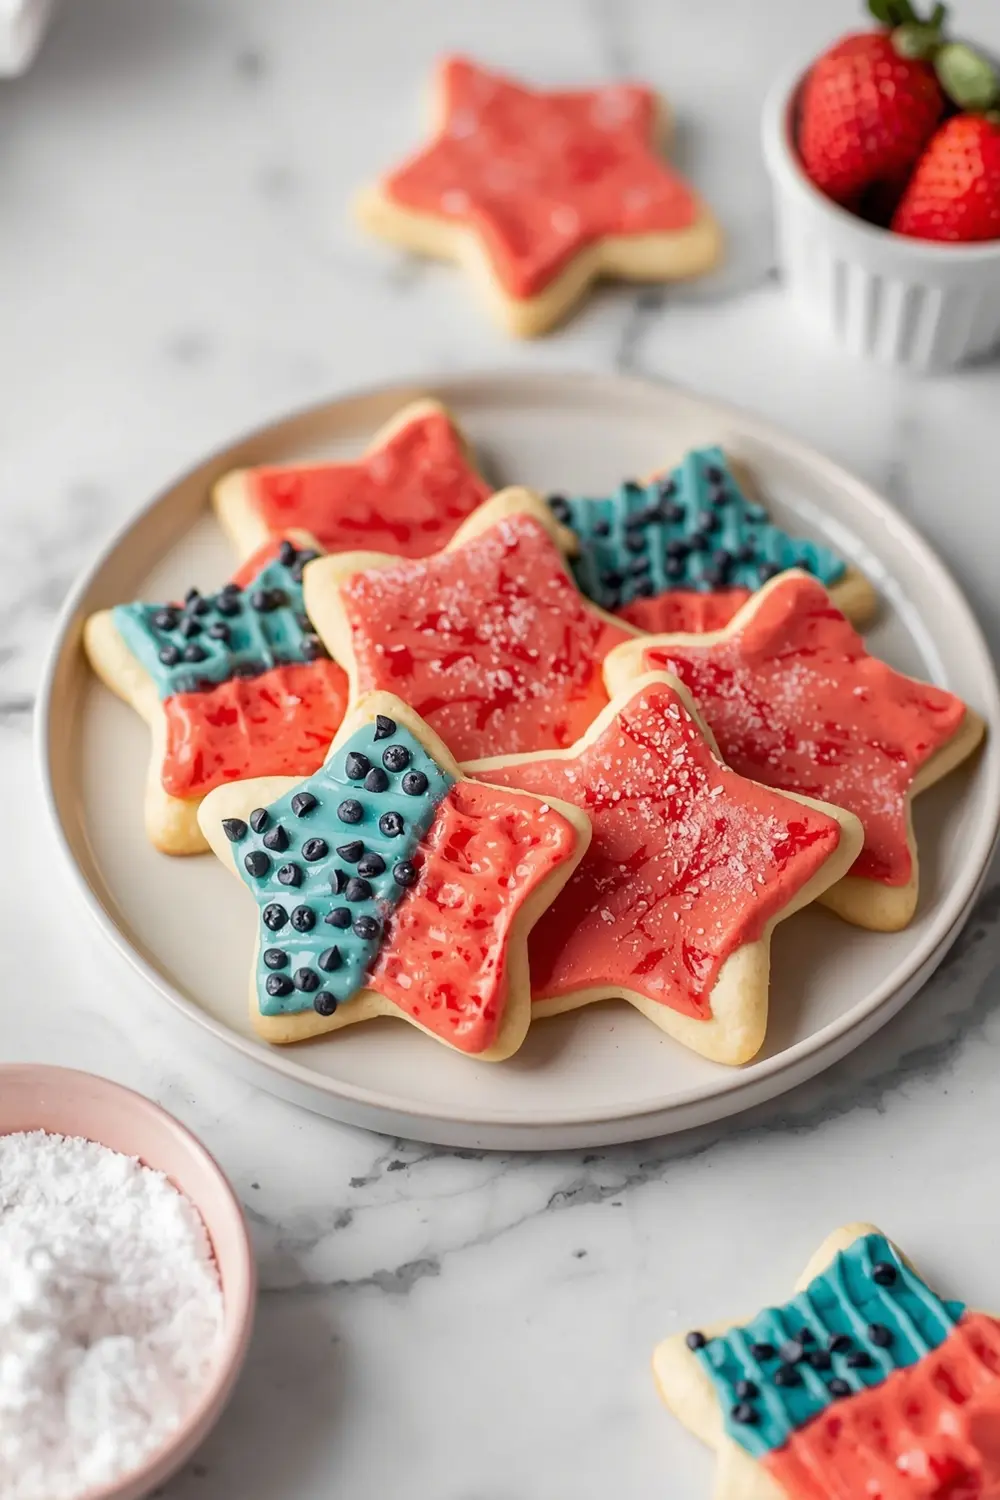
Making 4th of july sugar cookies doesn’t have to stress you out. I promise these turn out beautifully every single time with the right technique.
The trick is using gel food coloring and getting your royal icing to the perfect consistency. Trust me, I’ve learned this the hard way after a few batches where the icing either wouldn’t spread or looked super watery.
These cookies are perfect for decorating with red, white, and blue icing, and honestly they taste even better the next day. If you’re already planning summer desserts, bookmark this recipe for meal prep day. You’ll also love making snickerdoodle cookies for a classic baking recipe the kids always request.
Why this 4th of july sugar cookies recipe works
Ever wondered why some decorated cookies look store-bought perfect while others look kinda messy? The secret’s in using vanilla bean paste and letting the dough chill properly. I tested this against regular vanilla extract and the flavor difference was noticeable.
- Butter-based dough stays soft and slightly chewy inside while edges crisp up
- Royal icing dries smooth and hard, perfect for stacking or packaging gifts
- Gel food coloring gives patriotic red and blue without watering down the icing
- Holds detailed decorations beautifully without cracking or bleeding
| Prep Time | Cook Time | Calories | Servings | Cuisine |
|---|---|---|---|---|
| 30 minutes | 2 hours 30 minutes | 165 per serving | 24 cookies | American |
Ingredients for 4th of july sugar cookies
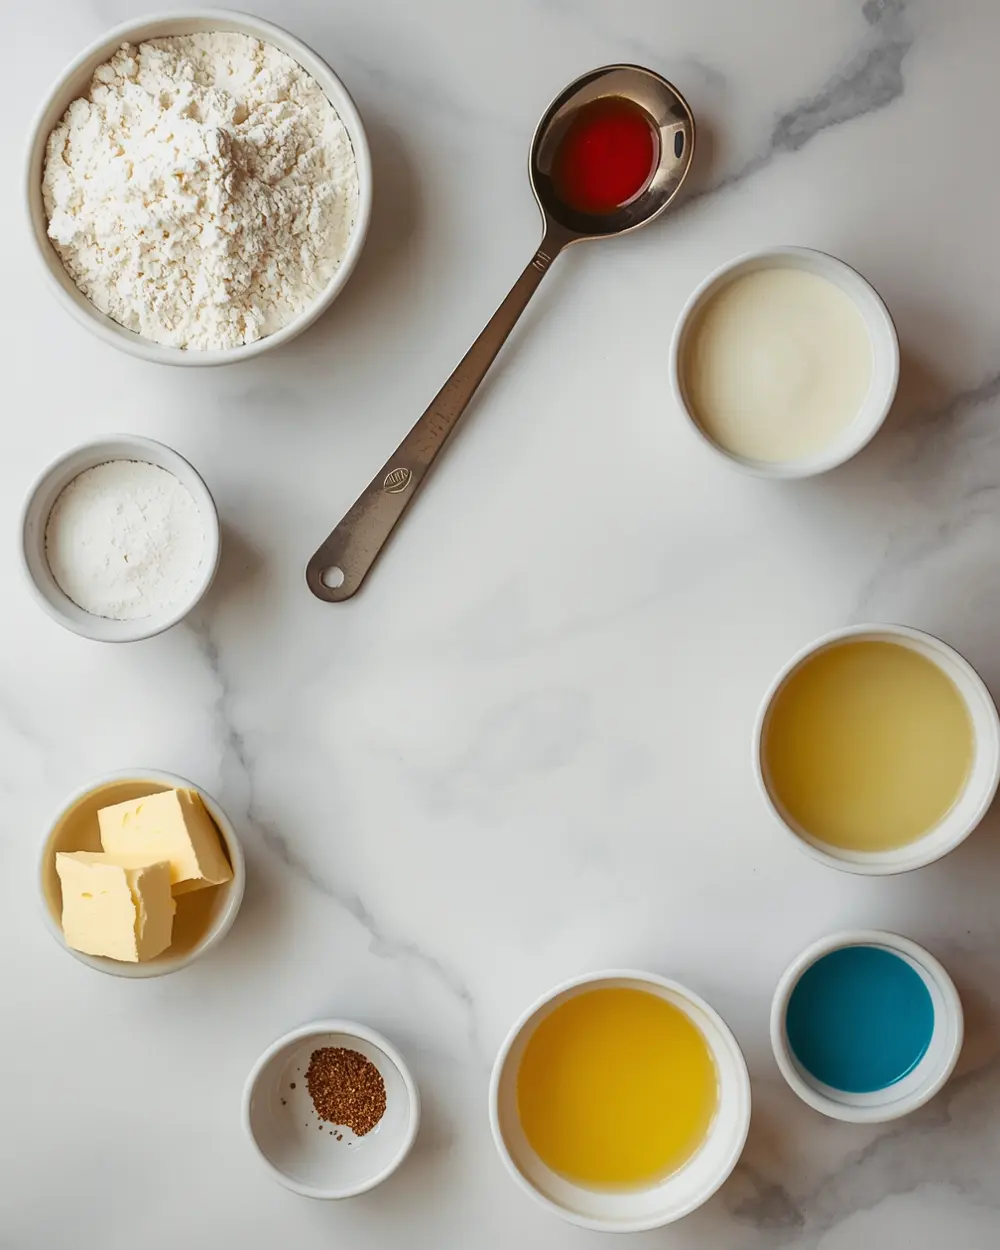
- 2 cups all-purpose flour
- 1 teaspoon baking powder
- 1/2 teaspoon salt
- 1/2 cup unsalted butter, softened
- 3/4 cup granulated sugar
- 2 large eggs
- 1 teaspoon vanilla bean paste
- 2 tablespoons milk
- 2 cups powdered sugar
- 1/4 cup water
- 1 tablespoon lemon juice
- 1 teaspoon red gel food coloring
- 1 teaspoon blue gel food coloring
Don’t skip the vanilla bean paste if you can grab it—regular vanilla works but the bean specks make these 4th of july sugar cookies feel more special. You can absolutely swap it, but the flavor won’t be quite as rich.
I always use gel coloring instead of liquid because it won’t thin out your royal icing. Liquid food coloring can make the icing runny, which is honestly frustrating when you’re trying to get clean lines and details on your decorated cookies.
Step-by-step instructions
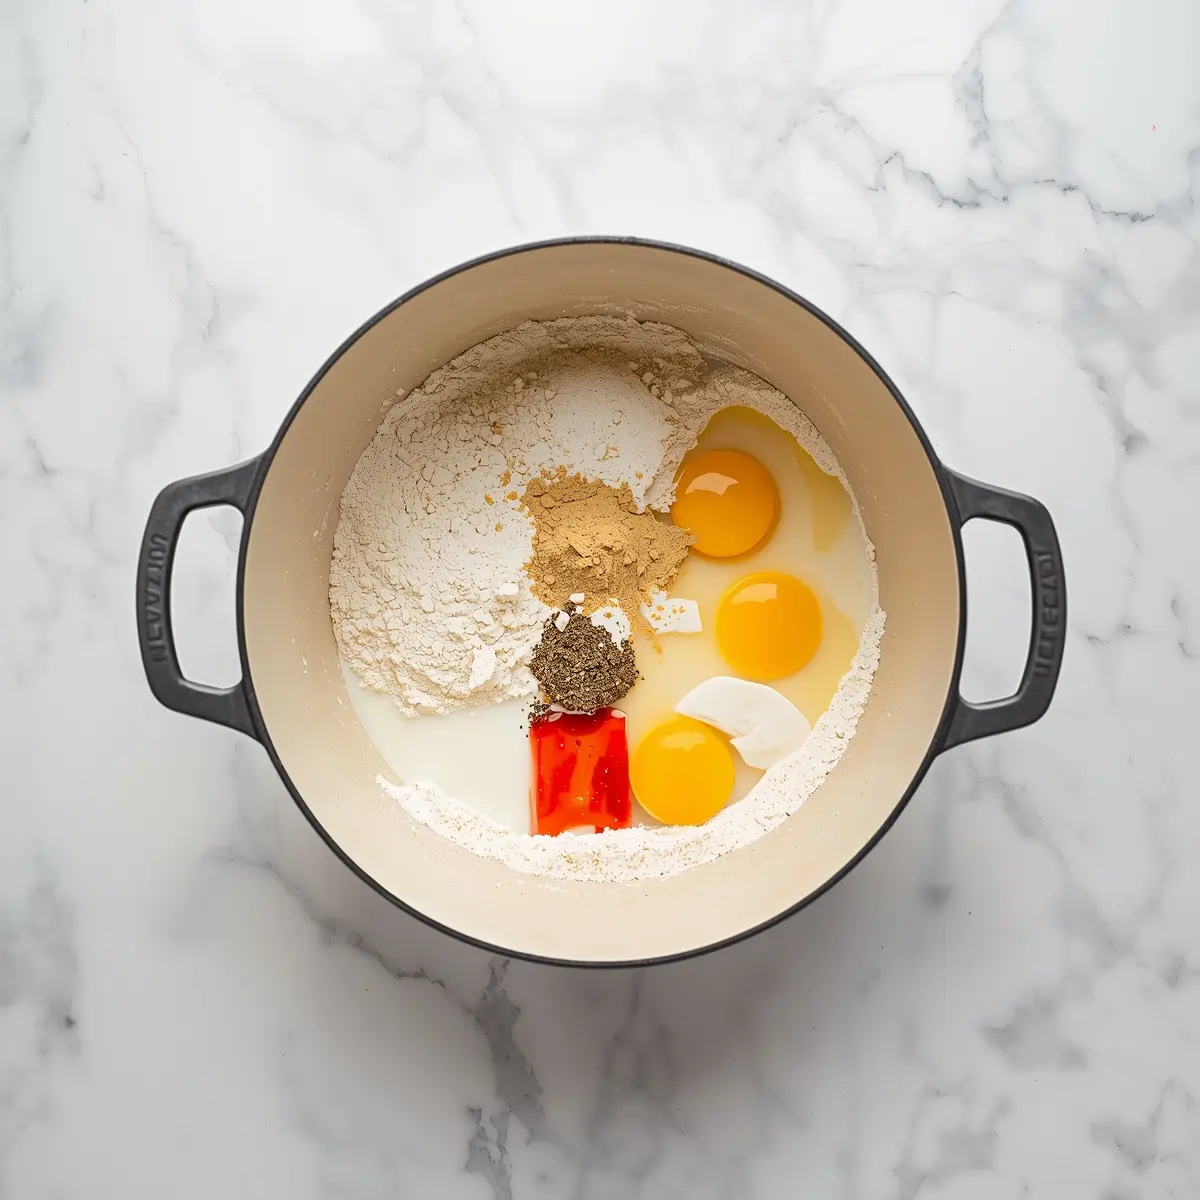
1. Cream together the softened butter and granulated sugar in a large bowl until it’s light and fluffy, about 2-3 minutes. Add your eggs one at a time, beating well after each addition. Stir in the vanilla bean paste and milk until everything’s combined. Don’t worry if it looks a little thick—that’s exactly what you want before adding flour.
2. In a separate bowl, whisk together the flour, baking powder, and salt. Gradually add the dry ingredients to your wet mixture, stirring until just combined. The dough should come together without any streaks of flour showing. Don’t overmix or your 4th of july sugar cookies will turn out tough instead of tender.
3. Divide the dough in half and wrap each piece in plastic wrap. Pop both into the fridge for at least 30 minutes—I usually do mine for a full hour because I’m impatient and want them extra cold. Chilled dough is way easier to roll out and holds its shape better when baking.
4. Preheat your oven to 350°F and line your baking sheets with parchment paper. Roll out your dough between two pieces of parchment to about 1/4 inch thickness. Use your favorite cookie cutters to make stars, hearts, or whatever patriotic shapes you’re going for.
5. Place cutouts on your prepared baking sheets, leaving about 1 inch between each cookie. Bake for 10-12 minutes until the edges are just barely golden but the centers still look slightly soft. They’ll firm up as they cool, so don’t overbake—I learned that the hard way my first batch.
6. Let cookies cool on the baking sheet for 5 minutes, then transfer to a wire rack to cool completely. This is super important because the royal icing won’t stick properly to warm cookies. I usually make my icing while they’re cooling so everything’s ready to go.
7. For the royal icing, whisk together powdered sugar, water, and lemon juice until smooth. Divide into three bowls and leave one white, tint one red, and one blue using your gel food coloring. Start with just a tiny bit of coloring and add more until you get the shade you want—gel is strong stuff and goes a long way.
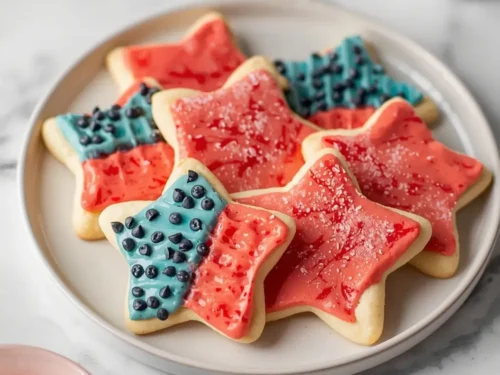
Serving ideas for 4th of july sugar cookies
These beauties shine when they’re displayed on a patriotic dessert table or packaged as gifts.
Gift boxes with ribbon
Stack your decorated cookies in a sturdy box lined with parchment paper for a beautiful gift. The hard royal icing protects them from breaking, and people absolutely love handmade treats way more than store-bought options.Dessert table display
Arrange cookies on cake stands or tiered trays at different heights for visual impact. Mix them with other Easter dessert ideas and spring cake recipes for a complete summer spread your guests will remember.Cookie decorating party
Set out bowls of colored royal icing and let guests decorate their own 4th of july sugar cookies. This works amazingly well for family gatherings because everyone gets involved and entertained while making memories.Pro tips for perfect 4th of july sugar cookies
Storage tips
– Keep decorated cookies in an airtight container at room temperature for up to 7 days – Separate layers with parchment to prevent sticking and icing smudging – Store unfrosted cookies in a freezer-safe bag for up to 3 monthsMake-ahead instructions
– Prepare dough 2 days in advance and keep wrapped in the fridge – Bake cookies up to 5 days early, then decorate the day you’re serving them – Royal icing hardens completely in 2-4 hours depending on humidity levelsVariations
– Make mini versions using smaller cutters and reduce baking time to 8-10 minutes – Add a thin glaze instead of royal icing for a more delicate look – Swap in almond extract for vanilla for a totally different flavor profileTroubleshooting
– If dough’s too sticky, chill longer or add 1 tablespoon extra flour – Icing too thick? Add water 1 teaspoon at a time until it flows smoothly – Cookies spread too much? Your butter was probably too warm—chill dough longer next timeFrequently asked questions
How long do 4th of july sugar cookies with royal icing last?
Decorated cookies stay fresh in an airtight container for up to 7 days at room temperature. The royal icing creates a protective seal that keeps them from drying out. I’ve kept some for 10 days before they started getting a little stale, but honestly they’re gone way faster than that in my house.
Can I freeze these cookies before decorating?
Yes, absolutely! Bake them, cool completely, then freeze in a freezer bag for up to 3 months. Thaw at room temperature for about 30 minutes before decorating with royal icing. This is a total game-changer for making cookies ahead of time without the stress.
What’s the best way to color royal icing for patriotic baking?
Use gel food coloring instead of liquid because it won’t thin out your icing consistency. Start with just a tiny toothpick dab and stir it in—you can always add more but you can’t take it out. I learned that the hard way when I accidentally made purple icing instead of red.
Can I make a vegan version of these elegant summer cookies?
You can swap the eggs for a flax egg and use plant-based butter, but the texture won’t be quite identical. The cookies work but they’re a little crumblier, so handle them more carefully. The royal icing itself is already vegan since it’s just powdered sugar, water, and food coloring.
Final thoughts
These 4th of july sugar cookies are easier than you think once you nail the basics. Your decorated cookies will look absolutely stunning displayed on tiered stands or packed in gift boxes for neighbors.
The hardest part is honestly just waiting for the royal icing to dry completely before stacking them. Real talk—I usually sneak one unfrosted cookie while everything’s cooling because the plain dough is so buttery and delicious.
Save this recipe and make it your go-to for summer entertaining. Honestly, people ask me for this recipe every single time I bring these to a party, so you know they’re a winner. Check out key lime pie and tangy pie recipes for more summer desserts that impress without keeping you in the kitchen all day.
Beautiful 4th of July Sugar Cookies with Royal Icing – Liz’s Elegant Summer Baking
Ingredients
Method
- Cream together the softened butter and granulated sugar in a large bowl until it’s light and fluffy, about 2-3 minutes. Add your eggs one at a time, beating well after each addition. Stir in the vanilla bean paste and milk until everything’s combined. Don’t worry if it looks a little thick—that’s exactly what you want before adding flour.
- In a separate bowl, whisk together the flour, baking powder, and salt. Gradually add the dry ingredients to your wet mixture, stirring until just combined. The dough should come together without any streaks of flour showing. Don’t overmix or your 4th of july sugar cookies will turn out tough instead of tender.
- Divide the dough in half and wrap each piece in plastic wrap. Pop both into the fridge for at least 30 minutes—I usually do mine for a full hour because I’m impatient and want them extra cold. Chilled dough is way easier to roll out and holds its shape better when baking.
- Preheat your oven to 350°F and line your baking sheets with parchment paper. Roll out your dough between two pieces of parchment to about 1/4 inch thickness. Use your favorite cookie cutters to make stars, hearts, or whatever patriotic shapes you’re going for.
- Place cutouts on your prepared baking sheets, leaving about 1 inch between each cookie. Bake for 10-12 minutes until the edges are just barely golden but the centers still look slightly soft. They’ll firm up as they cool, so don’t overbake—I learned that the hard way my first batch.
- Let cookies cool on the baking sheet for 5 minutes, then transfer to a wire rack to cool completely. This is super important because the royal icing won’t stick properly to warm cookies. I usually make my icing while they’re cooling so everything’s ready to go.
- For the royal icing, whisk together powdered sugar, water, and lemon juice until smooth. Divide into three bowls and leave one white, tint one red, and one blue using your gel food coloring. Start with just a tiny bit of coloring and add more until you get the shade you want—gel is strong stuff and goes a long way.
")