
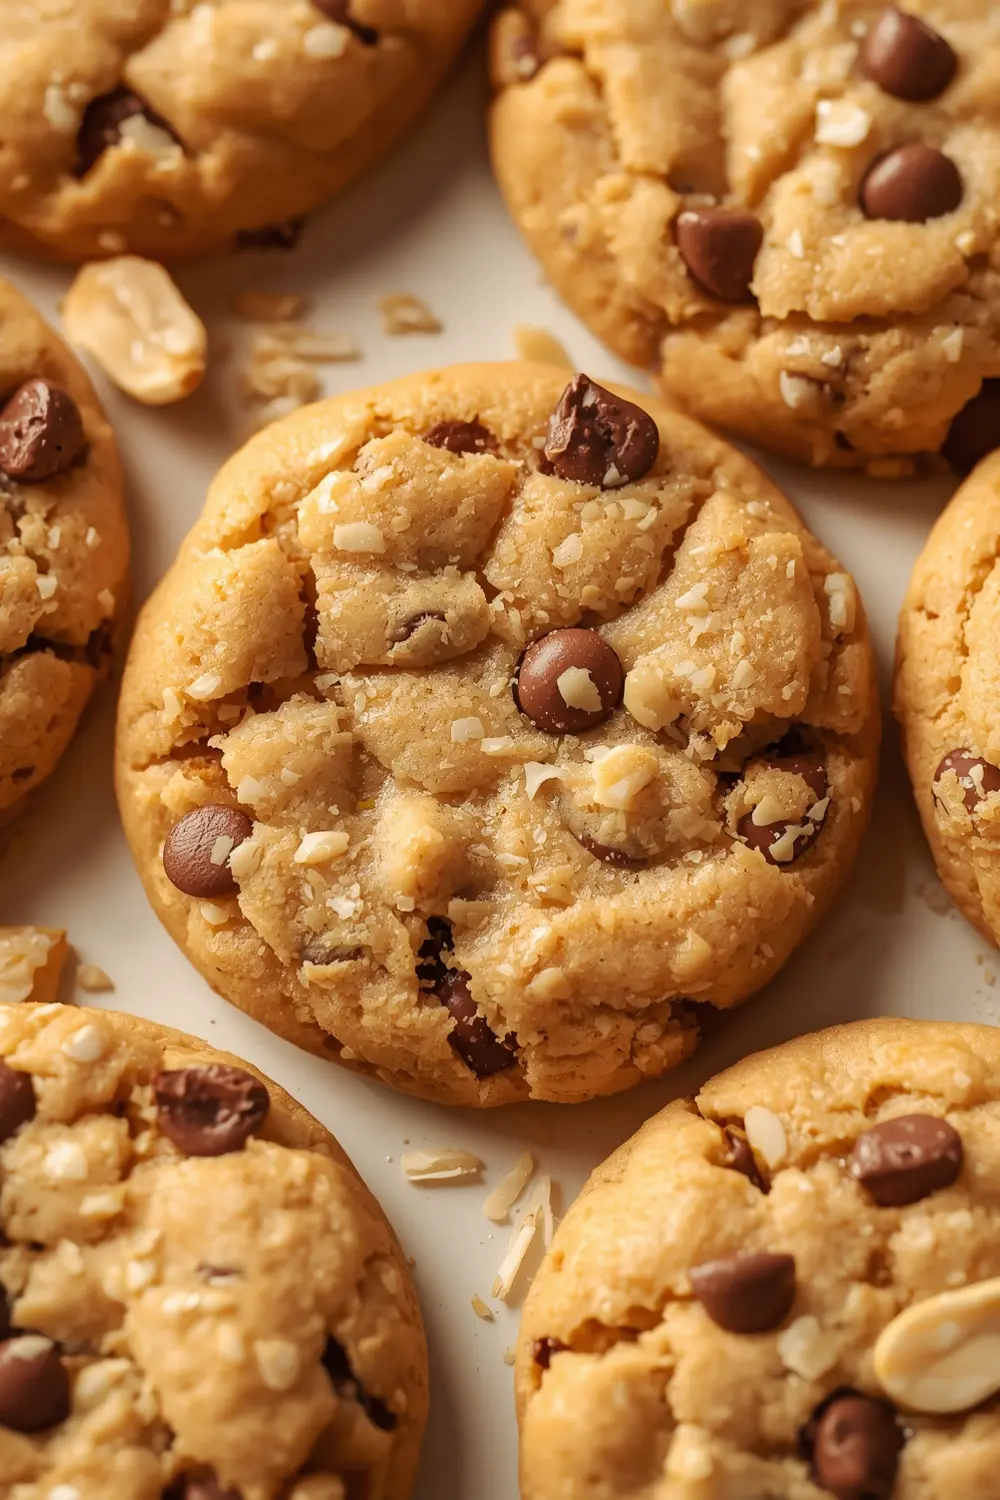
Peanut butter cookies don’t need to be complicated, and honestly, that’s what makes them so perfect. I’m talking about soft, chewy cookies that come together in minutes and taste like you spent all afternoon in the kitchen. If you’ve been intimidated by cookie baking before, this is your sign to finally try it.
These treats are the ultimate after-school snack that actually keeps your kids satisfied. Plus, they’re way more budget-friendly than store-bought versions and taste ten times better. Need proof? Check out our quick baking ideas for even more easy desserts to love.
Bookmark this peanut butter cookie recipe for meal prep day because you’re gonna want to make a double batch.
Why this peanut butter cookies recipe works
Ever wondered why some cookies turn out dense while others stay perfectly chewy? The trick isn’t hiding in some fancy technique—it’s all about the right ingredient ratio. I tested this about fifteen times before getting it exactly right, and my family’s been obsessed ever since.
- Minimal ingredients means less mixing and zero guessing on measurements
- Ready in 27 minutes from start to finish, perfect for weeknight baking
- Soft and chewy texture that stays fresh for days without getting hard
- Budget-friendly option that costs way less than bakery cookies
| Prep Time | Cook Time | Calories | Servings | Cuisine |
|---|---|---|---|---|
| 15 minutes | 12 minutes | 145 per serving | 24 cookies | American |
Ingredients for peanut butter cookies recipe
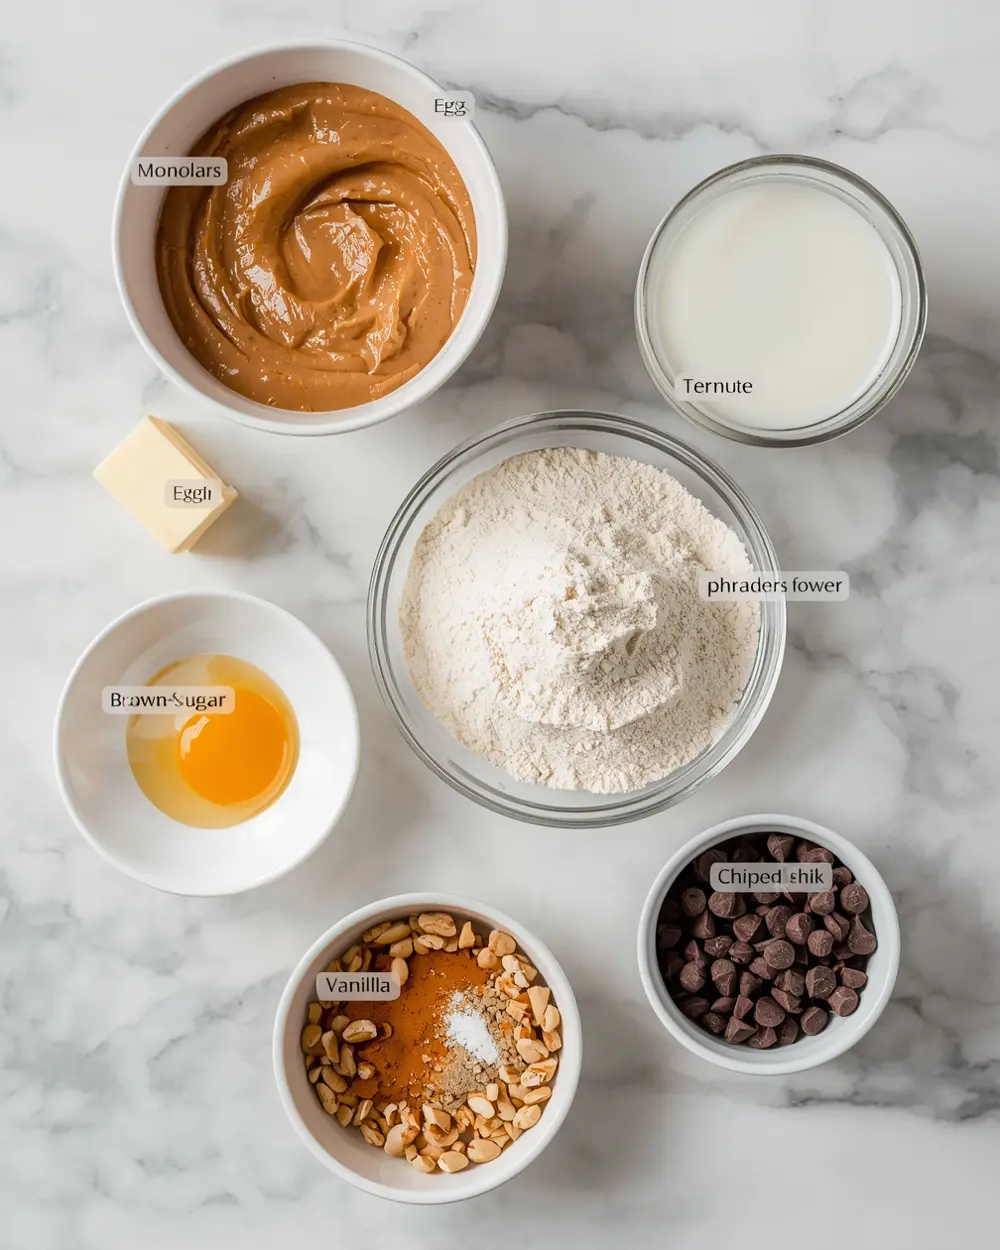
- 1 cup creamy peanut butter
- 3/4 cup granulated sugar
- 1/4 cup brown sugar
- 1/2 cup melted unsalted butter
- 1 large egg
- 1 teaspoon vanilla powder
- 1 1/2 cups all-purpose flour
- 1 teaspoon baking soda
- 1/2 teaspoon salt
- 1/4 cup milk
- 1/4 cup chocolate chips
- 1 tablespoon chopped peanuts
The peanut butter you choose actually matters more than you’d think. I always go with natural creamy peanut butter because the oil makes these cookies stay softer longer. Skip the chunky stuff here—it’ll make the dough uneven and harder to work with.
Not all of us have vanilla powder hanging around, and that’s totally fine. Regular vanilla extract works just as well—use the same amount and you won’t notice any difference. Brown sugar versus white sugar also isn’t make-or-break, but mixing them together gives you that perfect soft-chewy balance that people come back for.
Step-by-step instructions
1. Preheat your oven to 350°F and line two baking sheets with parchment paper. Grab your peanut butter from the pantry and measure out exactly 1 cup—not packed, just level with the top of your measuring cup. This step takes two minutes but makes sure your cookie dough comes out consistent every single time.
2. In a large mixing bowl, combine the peanut butter, melted butter, both sugars, and that egg. Stir everything together for about 2-3 minutes until the mixture looks smooth and combined. Don’t overbeat it—you’re just looking for one uniform color, no streaks of peanut butter showing through.
3. Pour in the vanilla powder and milk, then stir until everything comes together. The dough should look slightly thick but spreadable, kinda like thick peanut butter itself. If it looks too dry, add another tablespoon of milk and stir again.
4. In a separate bowl, whisk together the flour, baking soda, and salt for about 30 seconds. This keeps your peanut butter cookies from turning out dense and cake-like. Slowly fold this dry mixture into your wet ingredients until just combined—don’t overmix or you’ll end up with tough cookies instead of chewy ones.
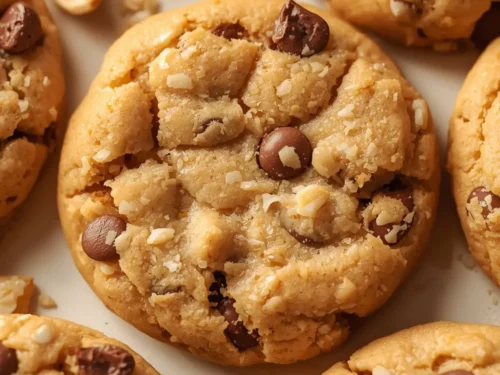
5. Fold in your chocolate chips and chopped peanuts with just a few gentle stirs. These little additions give you bursts of flavor and texture that make people ask for your recipe. I always taste a tiny bit of dough here (raw eggs are my one compromise on food safety—you do you).
6. Drop spoonfuls of dough onto your prepared baking sheets, spacing them about 2 inches apart. Bake for 11-12 minutes until the edges look golden brown but the center still looks kinda underbaked. This is the secret to soft cookies—they’ll firm up as they cool, so don’t wait until they look fully done.
7. Let the cookies sit on the baking sheet for 5 minutes before moving them to a wire rack. They’ll continue cooking from the residual heat, which is why they end up so perfectly chewy. The first batch I made, I pulled them off too early and they stayed mushy—don’t make my mistake and give them those full 5 minutes.
Serving ideas for peanut butter cookies recipe
These treats pair with everything, and honestly, they’re almost better the next day when the flavors have settled in.
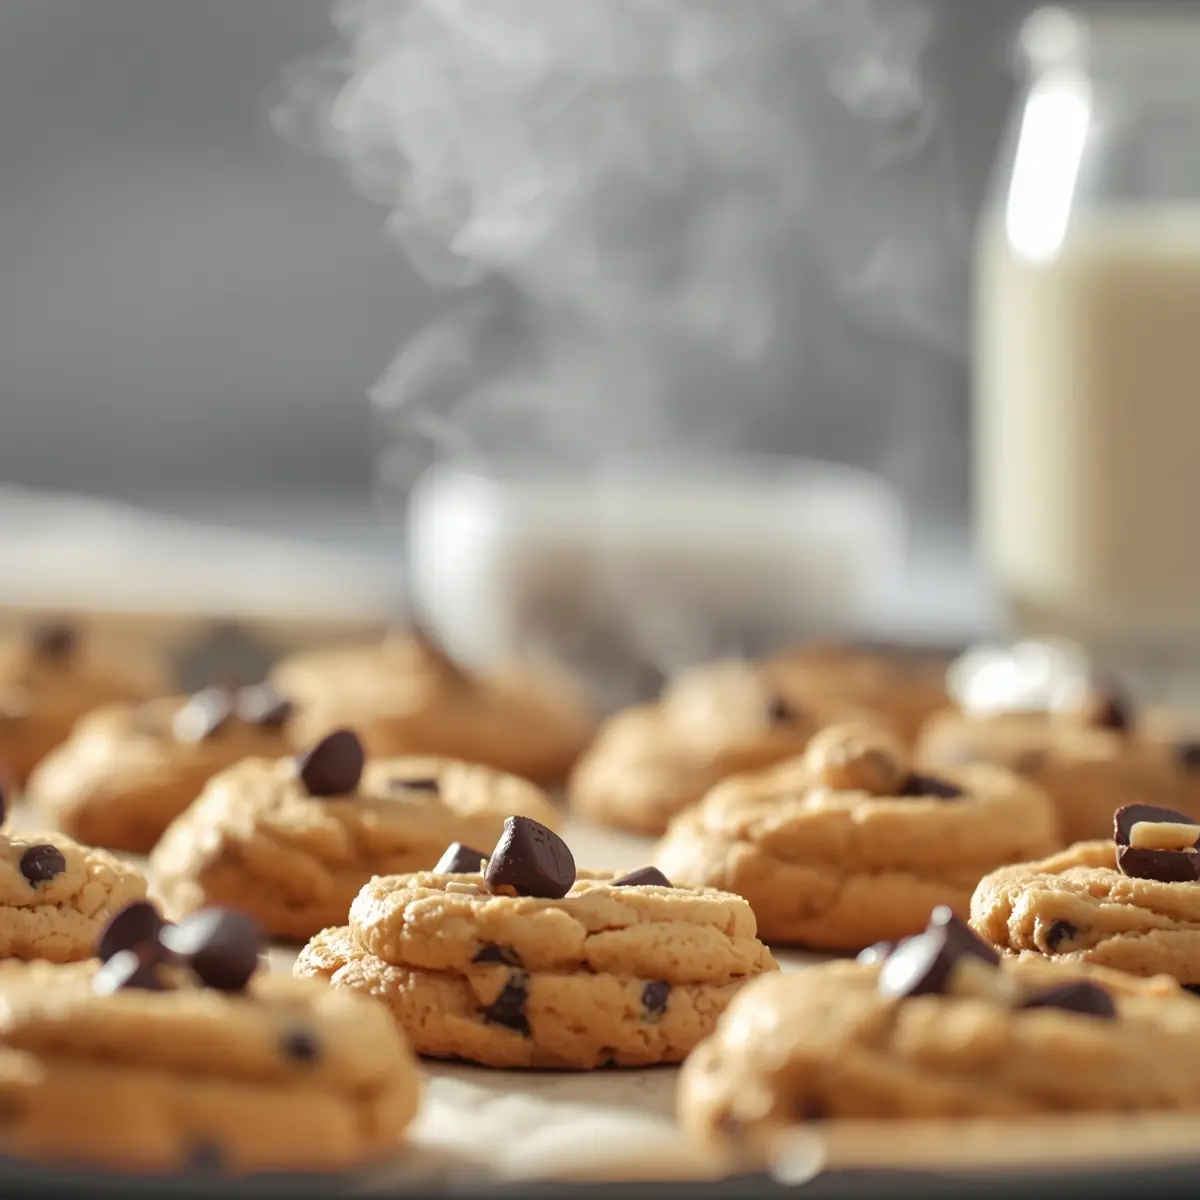
With cold milk
Nothing beats a peanut butter cookie with ice-cold milk, and I mean nothing. The milk cuts through the richness perfectly and keeps things from feeling too heavy. Dunking them softens them up just enough to be extra indulgent.As an after-school snack
Pack these in lunch boxes or leave them on the counter for kids grabbing snacks between activities. They’ll actually feel satisfied instead of hunting for more food five minutes later. Pair them with our kid favorite cookies collection for even more options they’ll actually eat.With coffee or tea
These peanut butter cookies work perfectly alongside your morning coffee or afternoon tea break. The saltiness in the dough complements both drinks without clashing. Plus, it’s the perfect excuse for a five-minute break when you need one.Pro tips for perfect peanut butter cookies recipe
Storage tips
– Keep cooled cookies in an airtight container at room temperature for up to 5 days – Layer them with parchment paper if they’re stacking to prevent sticking – They actually taste better on day two when flavors meld togetherMake-ahead instructions
– Freeze unbaked dough balls in a freezer bag for up to 3 months – Bake frozen dough for an extra 1-2 minutes without thawing first – Pre-made dough stays fresh in the fridge for 3 days before bakingVariations
– Swap half the peanut butter with almond butter for a different flavor – Add 1/2 teaspoon cinnamon to the dry ingredients for warmth – Mix in 1/4 cup white chocolate chips instead of dark chocolate chipsTroubleshooting
– If cookies spread too thin, your dough was too warm—chill it 15 minutes before baking – Overly cake-like texture means you mixed the dry ingredients too much – Burnt edges happen when your oven runs hot—bake at 325°F instead next timeFrequently asked questions
How long do peanut butter cookies last?
Homemade peanut butter cookies stay fresh in an airtight container for 5 days at room temperature. *Keep them in a single layer* or separated with parchment to prevent them from sticking together. You can also freeze baked cookies for up to 3 months if you want to make a big batch ahead of time.Can I use natural peanut butter with oil on top?
Yes, you can use natural peanut butter, but stir the oil back in first before measuring. The separated oil makes cookies too greasy if you don’t mix it back into the peanut butter. Skip peanut butter with added sugar since your dough already has plenty of sweetness.What if my dough is too soft?
Stick your dough in the fridge for 15-20 minutes and it’ll firm right up. Sometimes kitchen temperature affects how soft your dough gets, so don’t panic if it’s not perfect. You can also chill the dough overnight and bake whenever you’re ready.Are these actually 3-ingredient cookies?
The basic concept works with just peanut butter, sugar, and egg, but this version adds flour and a few extras for better texture. Think of this as the elevated version of those super-simple 3-ingredient recipes. You’ll get a way better cookie that actually holds together and tastes amazing.Final thoughts
Making homemade cookies doesn’t have to be stressful or take all day. These soft and chewy peanut butter cookies come together faster than you’d expect and honestly taste bakery-quality. Fans always request this recipe when they try them, and I’ve given it out more times than I can count.
Your family’s gonna flip when they taste how good these are straight from your own oven. This quick baking idea becomes a regular rotation once you make it the first time. Head to our after school snacks roundup for more treats kids actually eat.
Make a batch this week and see what happens—I bet you’ll be making them again by next weekend.
Peanut Butter Cookies Soft Chewy 3 Ingredients
Ingredients
Method
- Preheat your oven to 350°F and line two baking sheets with parchment paper. Grab your peanut butter from the pantry and measure out exactly 1 cup—not packed, just level with the top of your measuring cup. This step takes two minutes but makes sure your cookie dough comes out consistent every single time.
- In a large mixing bowl, combine the peanut butter, melted butter, both sugars, and that egg. Stir everything together for about 2-3 minutes until the mixture looks smooth and combined. Don’t overbeat it—you’re just looking for one uniform color, no streaks of peanut butter showing through.
- Pour in the vanilla powder and milk, then stir until everything comes together. The dough should look slightly thick but spreadable, kinda like thick peanut butter itself. If it looks too dry, add another tablespoon of milk and stir again.
- In a separate bowl, whisk together the flour, baking soda, and salt for about 30 seconds. This keeps your peanut butter cookies from turning out dense and cake-like. Slowly fold this dry mixture into your wet ingredients until just combined—don’t overmix or you’ll end up with tough cookies instead of chewy ones.
- Fold in your chocolate chips and chopped peanuts with just a few gentle stirs. These little additions give you bursts of flavor and texture that make people ask for your recipe. I always taste a tiny bit of dough here (raw eggs are my one compromise on food safety—you do you).
- Drop spoonfuls of dough onto your prepared baking sheets, spacing them about 2 inches apart. Bake for 11-12 minutes until the edges look golden brown but the center still looks kinda underbaked. This is the secret to soft cookies—they’ll firm up as they cool, so don’t wait until they look fully done.
- Let the cookies sit on the baking sheet for 5 minutes before moving them to a wire rack. They’ll continue cooking from the residual heat, which is why they end up so perfectly chewy. The first batch I made, I pulled them off too early and they stayed mushy—don’t make my mistake and give them those full 5 minutes.

")