
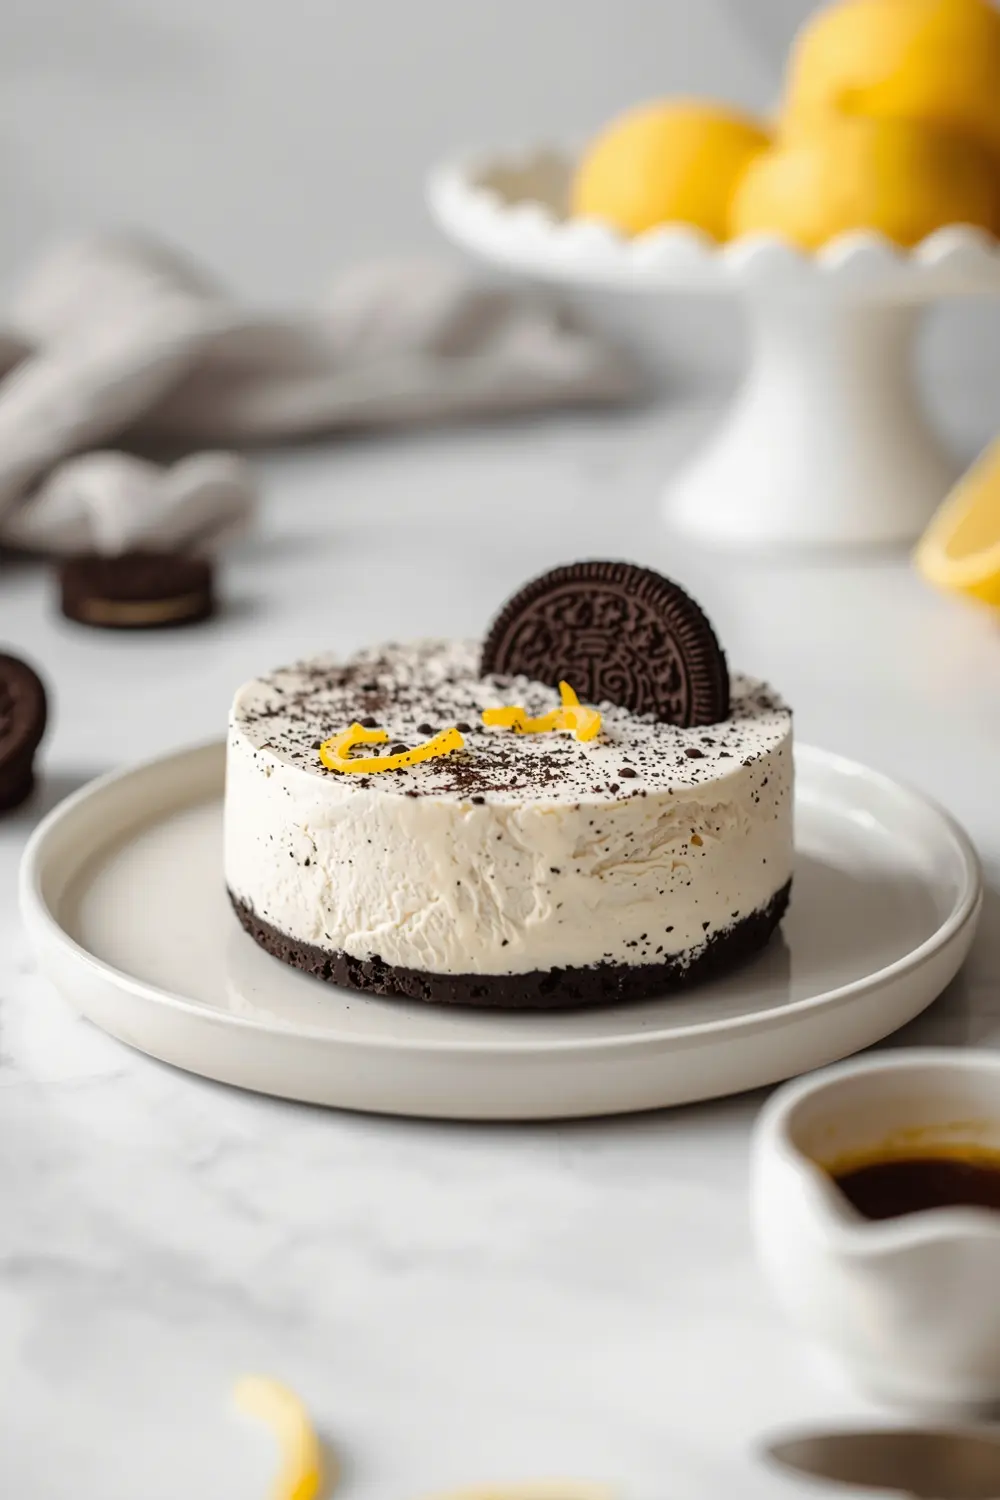
This no bake oreo cheesecake is literally my go-to dessert when I need something that looks fancy but doesn’t stress me out. You make it, throw it in the fridge, and honestly forget about it until party time rolls around.
The best part? Zero oven time means your kitchen stays cool during hot months. Plus, you’ll have this make ahead summer dessert ready days before guests arrive, which is such a relief.
I used to panic thinking no-bake desserts couldn’t look elegant—until I mastered this one. Now I make it constantly because people always ask for the recipe, and I love handing them something that tastes restaurant-quality. For other easy party cheesecake ideas, check out our Christmas peppermint pie no-bake wonder for holiday entertaining too.
Save this for your next summer gathering or whenever you need no bake entertaining at its finest.
Why this no bake oreo cheesecake works
Ever notice how most no-bake desserts look a little flat and sad? This one doesn’t, and honestly, that’s because of the crust-to-filling ratio I discovered after burning three batches (yes, really—I walked away during mixing).
- Oreo crust holds everything together while staying crispy
- No oven needed means cool kitchen during hot months
- Make-ahead friendly up to 5 days in advance
- Impresses guests without the stress of traditional baking
| Prep Time | Cook Time | Calories | Servings | Cuisine |
|---|---|---|---|---|
| 25 minutes | 0 minutes | 425 per serving | 10 servings | American |
Ingredients for no bake oreo cheesecake
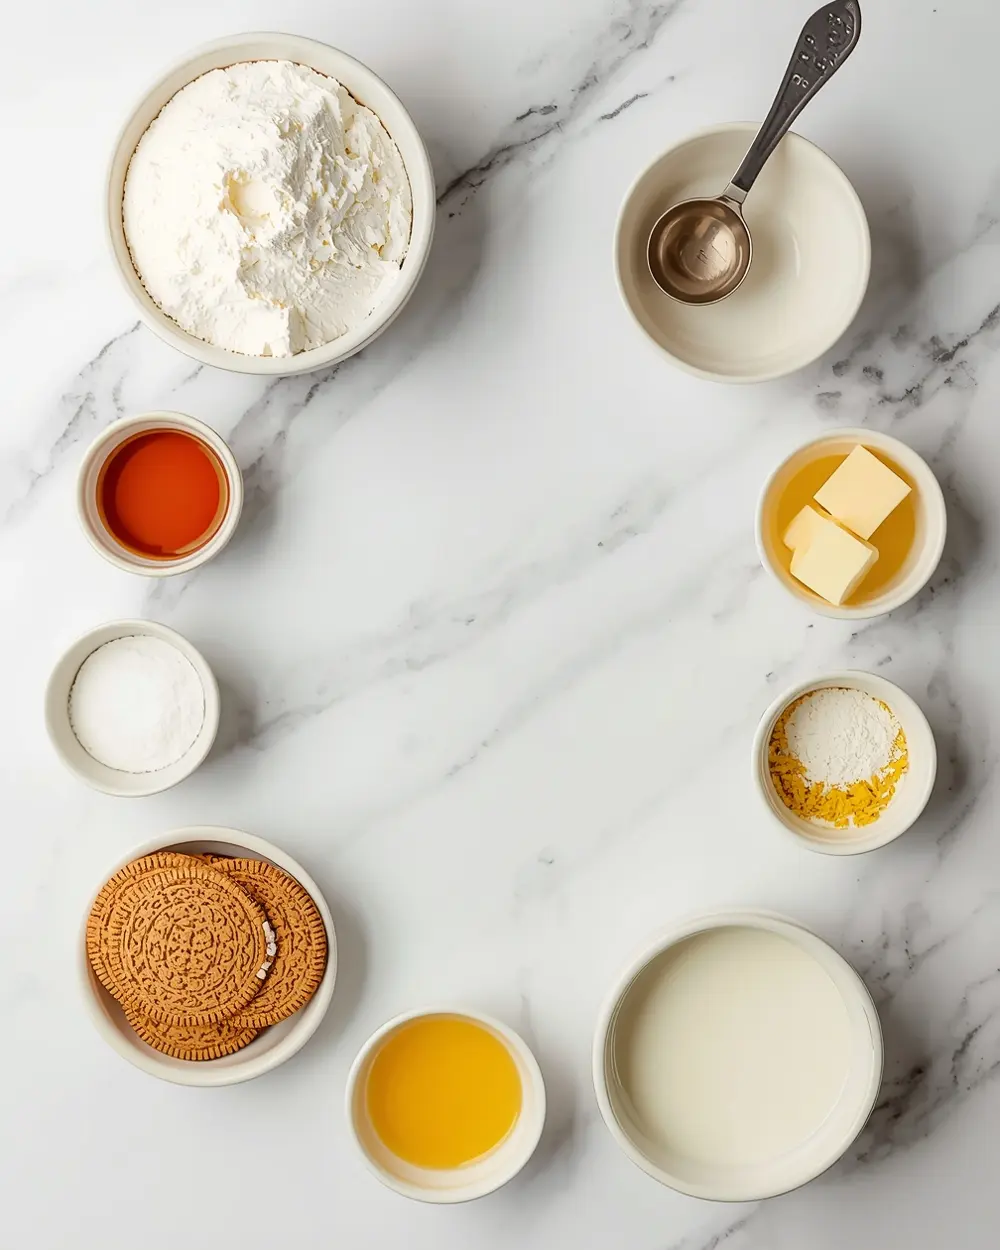
- 200 g cream cheese, softened
- 100 g powdered sugar
- 1 tsp vanilla extract
- 300 ml heavy cream
- 200 g Oreo biscuits, crushed
- 100 g unsalted butter, melted
- 2 tbsp granulated sugar
- 1 tsp lemon zest
- 1 pinch salt
- 2 tbsp milk
- 2 large eggs
- 1 tsp agar agar powder
Want to swap out ingredients? You can absolutely use Greek yogurt for half the cream cheese if you prefer—it won’t change the taste, trust me on this. Just know that regular cheesecake recipes won’t work the same way because the binding works differently here.
Some people skip the lemon zest entirely, and that’s fine, but I keep it because it cuts through the sweetness. The no bake oreo cheesecake stays lighter that way, and honestly, nobody even notices they’re eating it (they just know it’s delicious). Never skip the agar agar—it’s what keeps this from being pudding instead of proper cheesecake.
Step-by-step instructions
1. Crush 200 g Oreos into tiny crumbs—I use a food processor because it’s literally 30 seconds of work. Mix the crumbs with 100 g melted butter and 2 tbsp granulated sugar until everything looks like wet sand. Press this mixture firmly into the bottom of a 9-inch springform pan, then refrigerate while you work on the filling.
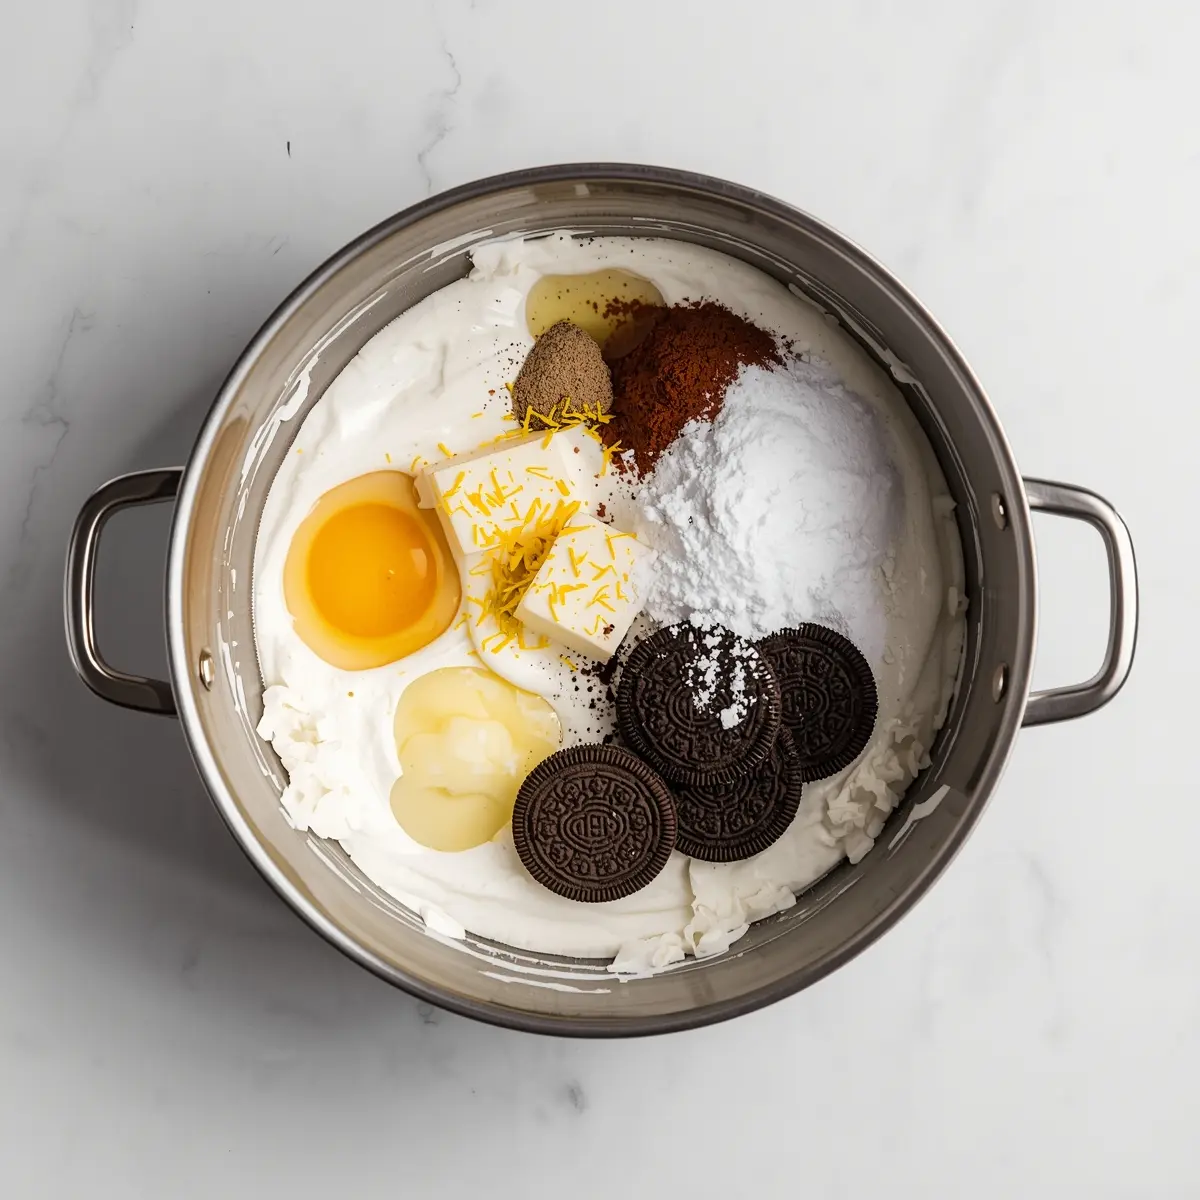
2. Soften your 200 g cream cheese at room temperature—this matters because cold cream cheese won’t blend smoothly. Beat it with 100 g powdered sugar for about 2 minutes until fluffy and smooth. Add 1 tsp vanilla extract and the lemon zest, then beat for another minute until well combined.
3. In a separate bowl, whip 300 ml heavy cream to stiff peaks using an electric mixer. This takes about 3-4 minutes, and you’ll know it’s ready when you turn the beaters upside down and the cream doesn’t move (don’t overbeat or you’ll have butter, trust me). Gently fold this whipped cream into your cream cheese mixture in two batches.
4. In yet another bowl, whisk together 2 large eggs, 2 tbsp milk, 1 pinch salt, and 1 tsp agar agar powder until completely smooth. Let this sit for exactly 1 minute so the agar agar hydrates, then fold it gently into the cream cheese mixture using a rubber spatula (don’t overmix or you’ll deflate all that fluffy whipped cream).
5. Pour the filling over your chilled crust and smooth the top with an offset spatula. Tap the pan gently on the counter a few times to release any air bubbles hiding under the surface. Refrigerate for at least 4 hours, but overnight is even better because the flavors meld together beautifully.
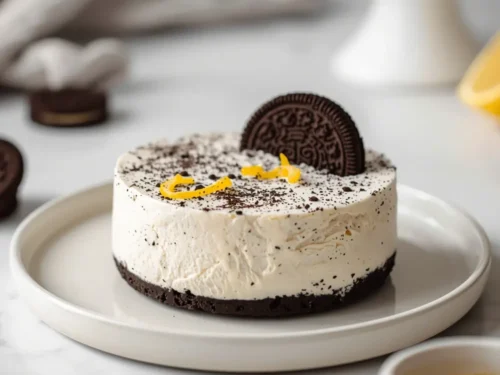
6. When you’re ready to serve, run a warm knife around the edges of the pan before opening the springform latch. This little trick keeps the no bake oreo cheesecake from cracking along the sides (I learned this the hard way after my first disaster). Slice with a warm, wet knife between each cut, wiping it clean each time for those Instagram-worthy slices.
7. Top each slice with crushed Oreos, a dollop of whipped cream, or even a drizzle of chocolate sauce if you’re feeling fancy. Serve directly from the fridge—you don’t want this sitting out because the filling softens quickly at room temperature. Guests seriously lose their minds over how elegant this looks and tastes.
Serving ideas for no bake oreo cheesecake
Pair this beauty with something that cuts through the richness so nobody feels like they’ve eaten cement.
Fresh berries & whipped cream
Raspberries or strawberries on top add bright freshness that balances the sweetness perfectly. A dollop of whipped cream makes it feel like dessert at a fancy restaurant without the fancy restaurant bill.Hot espresso or cold brew
The bitterness of strong coffee cuts through all that creamy richness beautifully. Coffee lovers actually prefer this pairing, and honestly, it’s their ideal way to eat the no bake oreo cheesecake.Chocolate drizzle & mint
Warm melted chocolate drizzled over cold cheesecake creates that amazing contrast your mouth loves. Add fresh mint leaves for a restaurant-level presentation that takes literally 30 seconds. This also pairs gorgeously with other Easter treat ideas for spring no bake desserts if you’re looking for seasonal entertaining options.Pro tips for perfect no bake oreo cheesecake
Storage tips
– Keep it refrigerated in an airtight container for up to 5 days – Wrap the whole pan with plastic wrap if storing longer than 2 days – Don’t freeze the entire finished cheesecake—the texture gets weirdMake-ahead instructions
– Prepare the crust 2 days ahead, cover, and refrigerate – Make the filling 1 day ahead and pour it over the morning of serving – Transport by keeping it in the springform pan—don’t remove until at the partyVariations
– Swap Oreos for crushed graham crackers plus 2 tbsp cocoa powder – Use peppermint extract instead of vanilla for holiday vibes – Add 1 tbsp cookie butter to the filling for extra depthTroubleshooting
– If your filling looks separated, you’re not folding gently enough—just fold with a spatula – If it’s too soft after 4 hours, add another 2-3 hours of chill time – If the crust crumbles when slicing, make sure your knife is actually warmFrequently asked questions
Can you freeze no bake oreo cheesecake?
I don’t recommend freezing the whole assembled cheesecake because the texture changes when it thaws. However, you can freeze just the filling in an airtight container for up to 3 months, then thaw it overnight and layer over a fresh crust. The crust definitely should not be frozen—make that fresh right before serving or it gets soggy and gross.What if I don’t have agar agar powder?
You can use 1 tsp powdered gelatin whisked with 2 tbsp cold water, let it sit for 5 minutes until it blooms, then fold it in. The texture will be slightly different—a bit firmer—but it still tastes amazing. Just know that regular gelatin needs to be bloomed first unlike agar agar, so don’t skip that step or you’ll have weird clumps.How long does no bake oreo cheesecake last?
Keep it refrigerated and it’ll last up to 5 days in an airtight container. After day 3, the crust starts absorbing moisture and gets a little softer, but it still tastes fine. Once you slice it, eat individual slices within 2 days for the best texture and flavor.Can I make this dairy-free?
You’d need to swap the cream cheese for cashew-based cheesecake and use coconut cream instead of heavy cream, but honestly, the no bake oreo cheesecake won’t have that same texture you’re craving. The traditional version really relies on dairy for that creamy, set-able filling, so substitutions get tricky here.Final thoughts
Honestly, I make this no bake oreo cheesecake at least twice a month because it’s so foolproof and everyone asks for seconds. The make-ahead factor means you’re not stressed the day of your party—you’re actually enjoying your guests instead of panicking in the kitchen.
Your friends are gonna think you spent hours on this when you actually spent 25 minutes prep time. That’s the beauty of smart entertaining right there, and this dessert delivers every single time.
For more easy entertaining ideas throughout the year, definitely try our 4th of July sugar cookies with royal icing for summer gatherings or seasonal celebration desserts. Pin this recipe now so it’s ready whenever inspiration hits!
Elegant No-Bake Oreo Cheesecake – Liz’s Easy Summer Party Entertaining Dessert
Ingredients
Method
- Crush 200 g Oreos into tiny crumbs—I use a food processor because it’s literally 30 seconds of work. Mix the crumbs with 100 g melted butter and 2 tbsp granulated sugar until everything looks like wet sand. Press this mixture firmly into the bottom of a 9-inch springform pan, then refrigerate while you work on the filling.
- Soften your 200 g cream cheese at room temperature—this matters because cold cream cheese won’t blend smoothly. Beat it with 100 g powdered sugar for about 2 minutes until fluffy and smooth. Add 1 tsp vanilla extract and the lemon zest, then beat for another minute until well combined.
- In a separate bowl, whip 300 ml heavy cream to stiff peaks using an electric mixer. This takes about 3-4 minutes, and you’ll know it’s ready when you turn the beaters upside down and the cream doesn’t move (don’t overbeat or you’ll have butter, trust me). Gently fold this whipped cream into your cream cheese mixture in two batches.
- In yet another bowl, whisk together 2 large eggs, 2 tbsp milk, 1 pinch salt, and 1 tsp agar agar powder until completely smooth. Let this sit for exactly 1 minute so the agar agar hydrates, then fold it gently into the cream cheese mixture using a rubber spatula (don’t overmix or you’ll deflate all that fluffy whipped cream).
- Pour the filling over your chilled crust and smooth the top with an offset spatula. Tap the pan gently on the counter a few times to release any air bubbles hiding under the surface. Refrigerate for at least 4 hours, but overnight is even better because the flavors meld together beautifully.
- When you’re ready to serve, run a warm knife around the edges of the pan before opening the springform latch. This little trick keeps the no bake oreo cheesecake from cracking along the sides (I learned this the hard way after my first disaster). Slice with a warm, wet knife between each cut, wiping it clean each time for those Instagram-worthy slices.
- Top each slice with crushed Oreos, a dollop of whipped cream, or even a drizzle of chocolate sauce if you’re feeling fancy. Serve directly from the fridge—you don’t want this sitting out because the filling softens quickly at room temperature. Guests seriously lose their minds over how elegant this looks and tastes.

")