

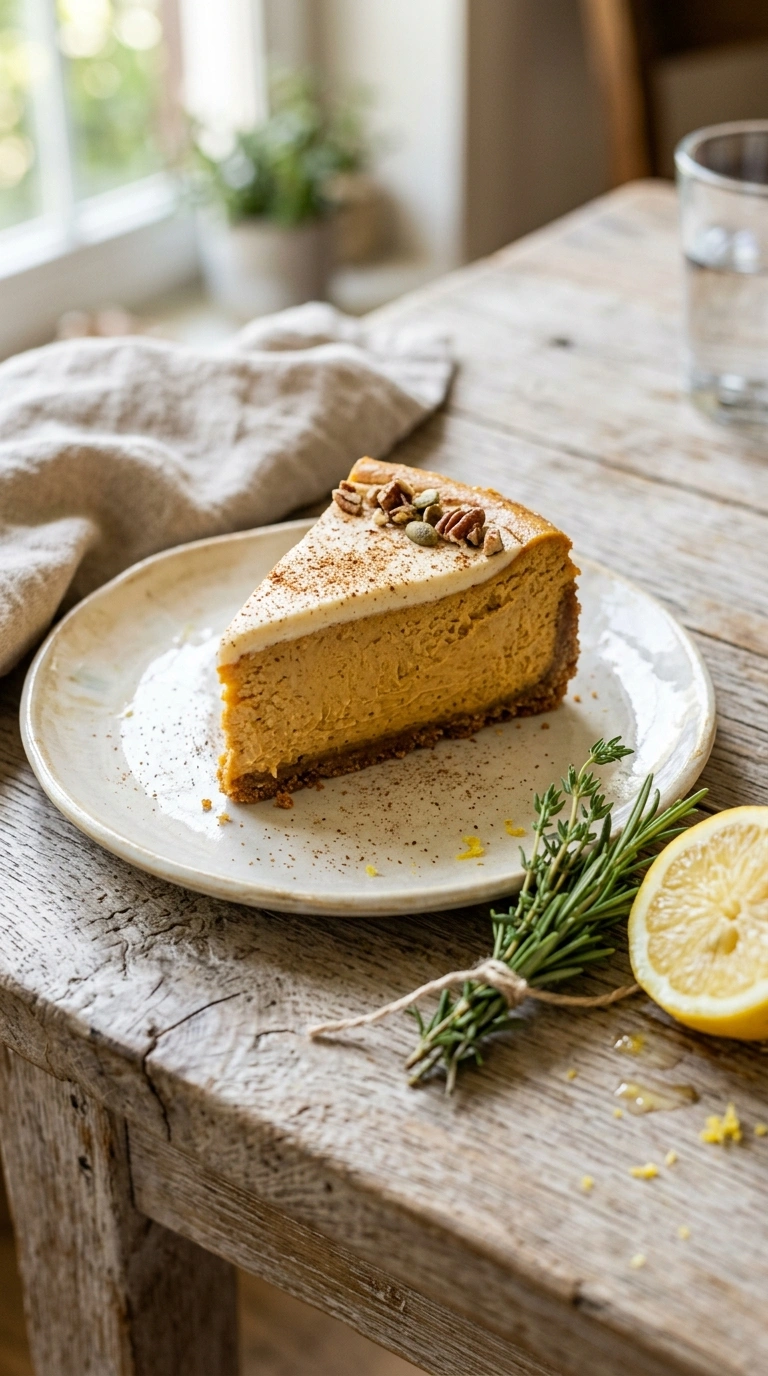
Easter peeps treats are about to become your secret weapon for spring entertaining. I’m talking about those adorable marshmallow confections transformed into something way more exciting than just eating them straight from the box. These treats hit different when you bake them into desserts that actually taste incredible.
My kids went absolutely feral for these last year—I made them on a Tuesday and they were gone by Wednesday afternoon. Plus, you can prep most of these the night before, which honestly saves my sanity on busy mornings.
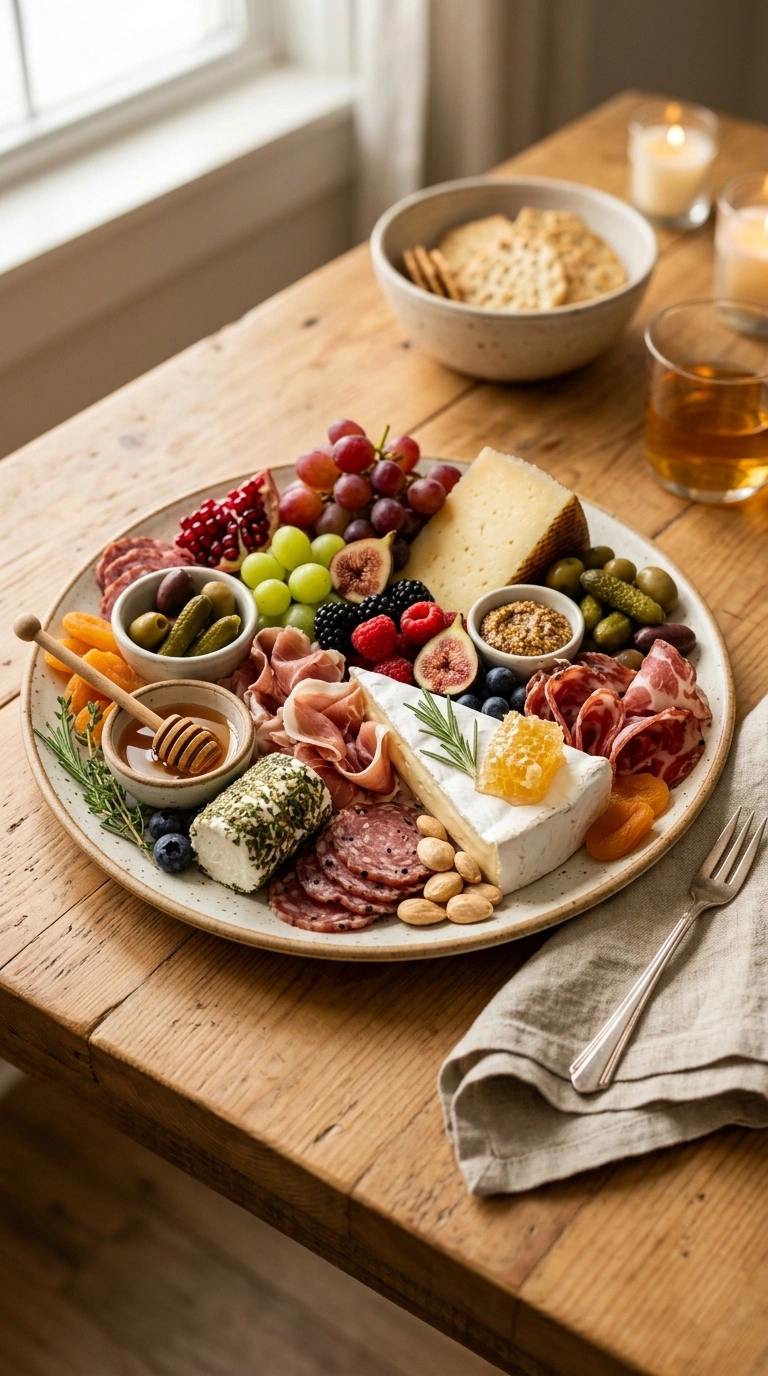
Want to nail the easiest crowd-pleaser for your Easter basket or spring party? These Easter treat for kids recipes work every single time. Save this for later because you’re gonna want to make a batch ASAP.
Why this Easter peeps treats recipe works
Ever notice how regular desserts can feel kinda boring at Easter? This Easter peeps treats recipe actually gets people excited because it combines that nostalgic candy with real baking magic. I burned my first batch because I didn’t watch the oven temp closely enough, so trust me when I say nailing this matters.
- No-bake options available — perfect for when you’re short on time or kitchen space
- Kids help with assembly — turns dessert into a fun family activity that keeps tiny hands busy
- Easter basket game-changer — way more special than store-bought treats or plain candy
- Feeds a crowd easily — makes 12 servings from simple pantry ingredients
| Prep Time | Cook Time | Calories | Servings | Cuisine |
|---|---|---|---|---|
| 20 minutes | 30 minutes | 285 per serving | 12 servings | American |
Ingredients for Easter peeps treats recipe
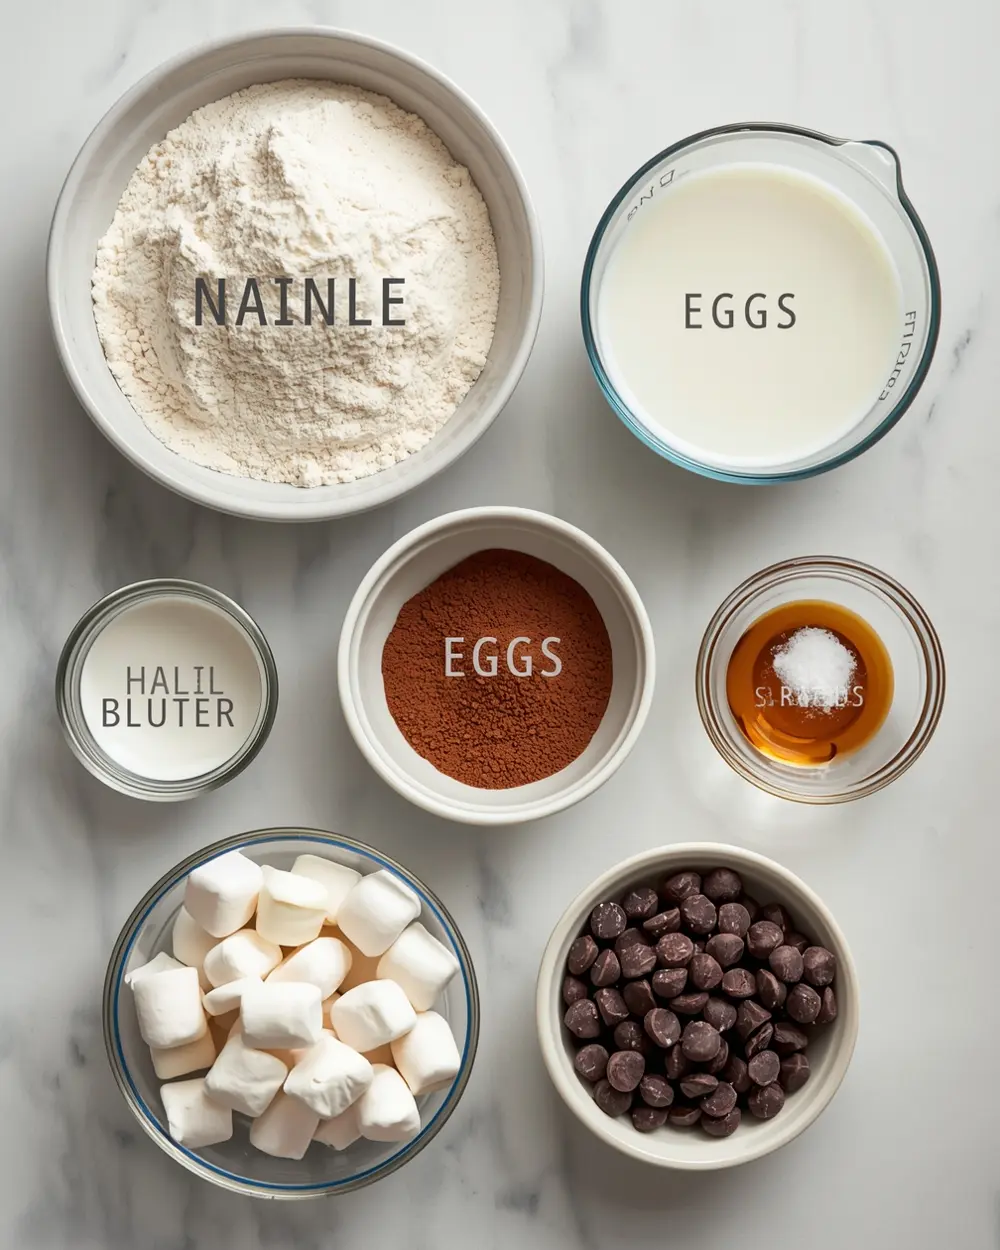
- 2 cups all-purpose flour
- 1 cup granulated sugar
- 1/2 cup unsalted butter
- 3 large eggs
- 1 teaspoon baking soda
- 1/2 teaspoon salt
- 1 cup milk
- 1/2 cup water
- 1 cup marshmallow fluff
- 1/2 cup cocoa powder
- 1 teaspoon vanilla powder
- 1/2 cup chocolate chips
Real talk—the marshmallow fluff is the whole point here, so don’t skip it or swap it for regular marshmallows. They won’t create that gooey center you’re after, and honestly, the texture completely changes. I learned this the hard way when I got creative and it totally flopped.
Not all extracts are created equal, so grab real vanilla powder if you can find it. The flavor stays fresher longer compared to liquid vanilla, plus it won’t thin out your batter. Some people add an extra 1/4 cup cocoa powder if they want a deeper chocolate flavor, but I think it’s perfect as written.
Step-by-step instructions

1. Heat your oven to 350°F and line a 9×13 baking pan with parchment paper. Cream together your butter and sugar until fluffy—this takes about 2-3 minutes with an electric mixer. Don’t skip this step because it helps your Easter peeps treats get that light, airy texture. Add eggs one at a time, beating well after each addition.
2. Sift together the flour, cocoa powder, baking soda, and salt in a separate bowl. I personally whisk this combo manually because it keeps lumps from forming. Alternate adding the dry ingredients and milk to your butter mixture, starting and ending with dry stuff. This prevents overmixing and keeps everything nice and tender.
3. Stir in the vanilla powder gently—don’t beat it in or you’ll deflate all that fluffy goodness you just created. Fold in your marshmallow fluff using a spatula with about 20 slow folds. You’ll see streaks of white through the chocolate batter, and that’s exactly what you want happening here.
4. Pour half your batter into the prepared pan and spread it evenly across the bottom. Sprinkle half the chocolate chips over this layer. Pour the remaining batter on top and smooth it out gently.
5. Top everything with remaining chocolate chips, then press peeps marshmallow candies into the batter however you like. I usually space them in a cute pattern, but honestly, random looks just as good. Drizzle 1/2 cup water over the entire surface—yes, really, it sounds weird but this creates an amazing sauce underneath.
6. Slide the pan into your preheated oven and bake for 28-32 minutes until the edges pull away slightly from the pan. The center should look almost set but still feel a tiny bit jiggly when you shake the pan gently. Careful not to overbake or the whole thing gets dense and fudgy instead of cake-like.
7. Let this cool in the pan for about 10 minutes, then transfer to a wire rack if you can. I always leave mine in the pan because it’s easier, and honestly it still tastes incredible. The peeps on top get soft and gooey while the cake underneath stays moist and chocolatey.
Serving ideas for Easter peeps treats recipe
Here’s how to make these shine at your spring gathering.
Vanilla ice cream and warm chocolate sauce
Scoop vanilla ice cream onto a slice while it’s still warm, and watch it melt into pure magic. The cold cream against the gooey cake center is absolutely unbeatable. Plus, if you’re doing an Easter party, this feels fancy without being complicated.Easter basket presentation
Cut these into smaller squares and stack them in a cute container lined with pastel tissue paper. They make amazing Easter basket treats because they look thoughtful and actually taste homemade. Way better than store-bought options, and kids get so excited when they find these inside.Fresh mint and whipped cream topping
Dollop whipped cream on top and garnish with fresh mint from your garden if you’ve got it growing. The mint cuts through the richness beautifully and makes everything taste a little bit fancier. It’s a super easy way to elevate your **peeps dessert ideas** for gatherings where you want to impress.Pro tips for perfect Easter peeps treats recipe
Storage tips
– Keep in an airtight container at room temperature for up to 3 days maximum – Refrigerate if your kitchen runs warm, which keeps everything fresher longer – Don’t stack them without parchment paper between layers or they’ll stickMake-ahead instructions
– Bake the entire cake 1 day ahead and store it covered on the counter – Add peeps only 2 hours before serving so they stay puffy and gorgeous – Assemble the batter in advance but don’t add water until you’re ready to bakeVariations
– Try different peeps colors based on your party theme or season vibes – Add 1/4 cup espresso powder to the dry ingredients for deeper chocolate flavor – Fold in 1/2 cup crushed cookie pieces before baking for extra textureTroubleshooting
– If the cake looks watery on top after baking, don’t panic—that’s the sauce forming underneath – Cake sunken in the middle means your oven might run hot, so lower temp by 25°F next time – Peeps melted completely into batter is totally fine, just means more marshmallow flavor throughoutFrequently asked questions
Can I freeze Easter peeps treats recipe?
Yes, absolutely—freeze baked cake for up to 3 months in an airtight container. Thaw at room temperature for about 2 hours before serving, and it tastes practically fresh-baked. I wouldn’t freeze it with the peeps on top though, since they get kinda weird when frozen and thawed.
What if I don’t have marshmallow fluff on hand?
You can use 1 cup of mini marshmallows instead, though the texture won’t be quite as gooey. Melt them gently over low heat before folding into your batter so they incorporate smoothly. Regular-sized marshmallows work too—just chop them up into smaller pieces first.
How do I reheat leftover Easter peeps treats?
Pop a slice in the microwave for 15-20 seconds until warm, or reheat the whole pan at 300°F for about 8 minutes covered with foil. The stovetop method honestly beats the oven version if you’re just warming one slice. Just set it in a non-stick skillet over medium-low heat for 2-3 minutes per side.
Are these spring no bake desserts if I don’t want to bake them?
Not this particular recipe—it needs oven time—but you can layer no-bake versions using crushed cookies, frosting, and peeps instead. That’s a totally different approach though, and honestly the baked version tastes so much better. If you’re really set on no-bake options, spring no bake desserts might be worth exploring separately.
Final thoughts
These Easter peeps treats are legitimately one of my most requested recipes every spring, and now you know exactly why. Your family’s gonna flip when they taste that marshmallow-chocolate combo baked into actual cake instead of just sitting on top.
The best part? You’ll have this done in under an hour, including cleanup, which makes it perfect for busy weeknights or last-minute party prep. Your Easter basket is about to look seriously impressive, and honestly, people always ask for seconds.
Pin this recipe now so you don’t lose it when spring rolls around again. Trust me, you’re gonna want to make these year after year.

Easter Peeps Treats the Kids Go Crazy For
Ingredients
Method
- Heat your oven to 350°F and line a 9×13 baking pan with parchment paper. Cream together your butter and sugar until fluffy—this takes about 2-3 minutes with an electric mixer. Don’t skip this step because it helps your Easter peeps treats get that light, airy texture. Add eggs one at a time, beating well after each addition.
- Sift together the flour, cocoa powder, baking soda, and salt in a separate bowl. I personally whisk this combo manually because it keeps lumps from forming. Alternate adding the dry ingredients and milk to your butter mixture, starting and ending with dry stuff. This prevents overmixing and keeps everything nice and tender.
- Stir in the vanilla powder gently—don’t beat it in or you’ll deflate all that fluffy goodness you just created. Fold in your marshmallow fluff using a spatula with about 20 slow folds. You’ll see streaks of white through the chocolate batter, and that’s exactly what you want happening here.
- Pour half your batter into the prepared pan and spread it evenly across the bottom. Sprinkle half the chocolate chips over this layer. Pour the remaining batter on top and smooth it out gently.
- Top everything with remaining chocolate chips, then press peeps marshmallow candies into the batter however you like. I usually space them in a cute pattern, but honestly, random looks just as good. Drizzle 1/2 cup water over the entire surface—yes, really, it sounds weird but this creates an amazing sauce underneath.
- Slide the pan into your preheated oven and bake for 28-32 minutes until the edges pull away slightly from the pan. The center should look almost set but still feel a tiny bit jiggly when you shake the pan gently. Careful not to overbake or the whole thing gets dense and fudgy instead of cake-like.
- Let this cool in the pan for about 10 minutes, then transfer to a wire rack if you can. I always leave mine in the pan because it’s easier, and honestly it still tastes incredible. The peeps on top get soft and gooey while the cake underneath stays moist and chocolatey.
")