
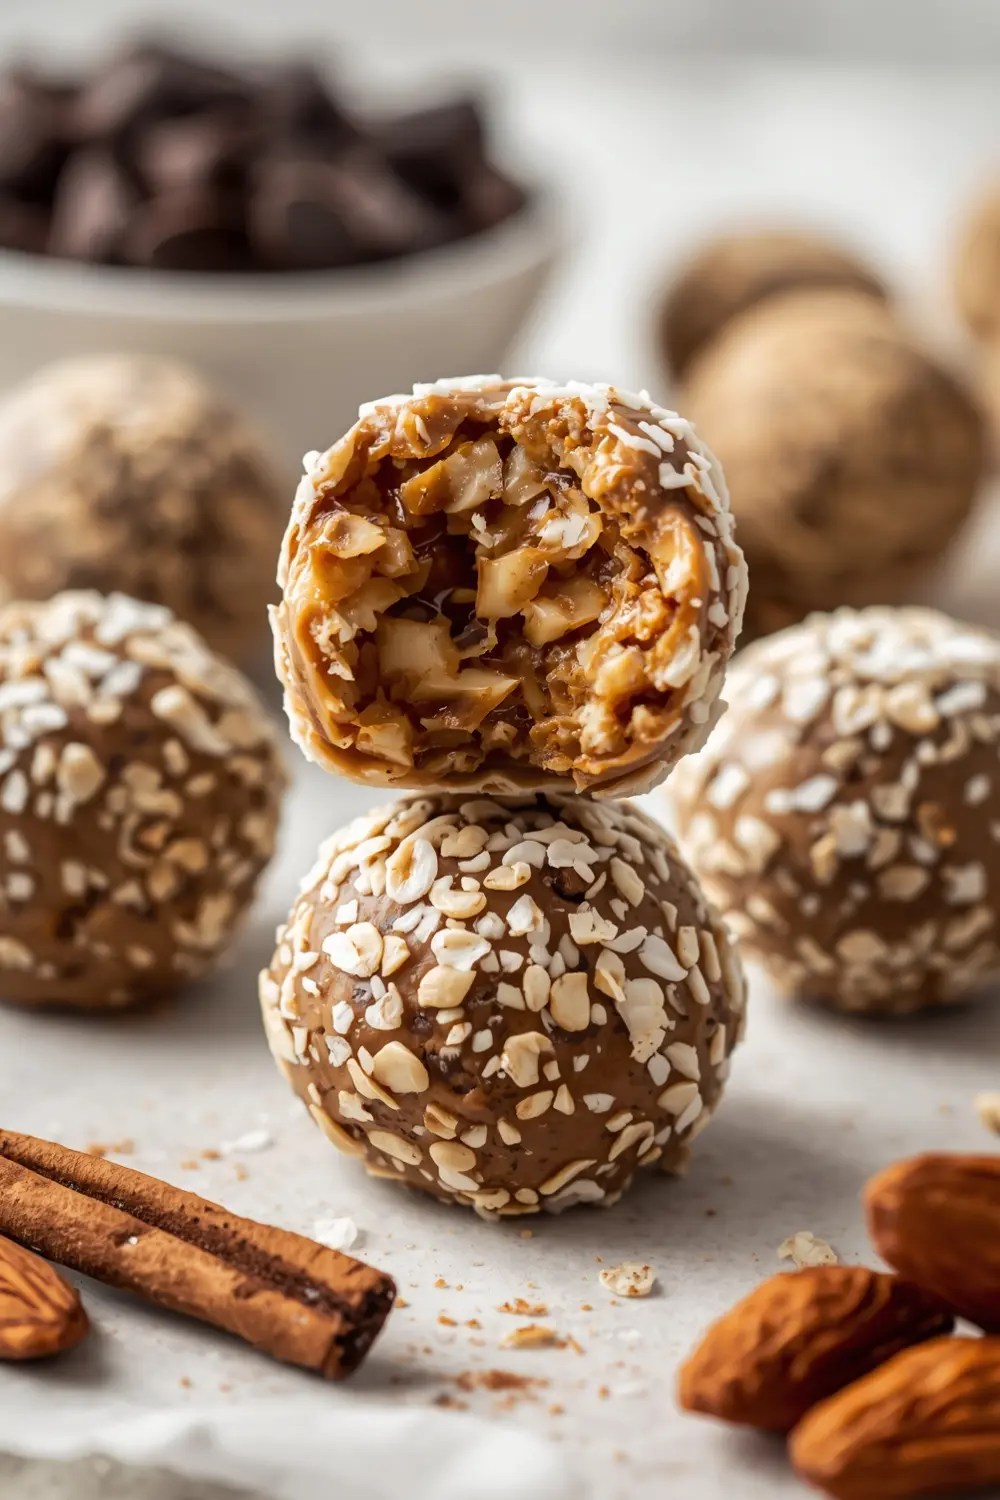
Energy balls recipe brings together simple ingredients you probably already have in your pantry. Honestly, I made my first batch thinking they’d taste boring—turns out they’re basically little bites of heaven. These no-bake snacks come together in under 10 minutes, which means you’ll have healthy fuel ready before you even finish your coffee.
Want to know the best part? No oven required. Just mix, roll, and you’re done—perfect for busy weeknights when you need an after-school snack or meal prep option. Check out some of our other no bake dessert ideas while you’re at it.
These little powerhouses beat store-bought snacks every single time. Bookmark this recipe for your next meal prep day.
Why this energy balls recipe works
Ever notice how most store-bought snacks leave you hungry an hour later? I make these because they actually stick with you—plus you control exactly what goes inside. My 8-year-old eats three without complaint, which honestly never happens.
- Natural energy boost from oats, dates, and chia seeds keeps you satisfied longer
- No refined sugar, just honey for sweetness and dates for natural flavor
- Protein from almonds and peanut butter makes them perfect after-school fuel
- Comes together in one bowl with zero cooking or special equipment needed
| Prep Time | Cook Time | Calories | Servings | Cuisine |
|---|---|---|---|---|
| 10 minutes | 0 minutes | 118 per serving | 20 balls | American |
Ingredients for energy balls recipe

- 1 cup rolled oats
- 1/2 cup natural peanut butter
- 1/3 cup honey
- 1/4 cup pitted and chopped dates
- 1/4 cup sliced almonds
- 2 tbsp desiccated coconut
- 1 tsp vanilla powder
- 1/2 tsp ground cinnamon
- 1/4 tsp sea salt
- 1/2 cup dark chocolate chips
- 2 tbsp chia seeds
- 1 tbsp olive oil
Not a peanut butter person? Swap in almond butter or sunflower seed butter and you’ll get basically the same result. I personally think the energy ball recipe tastes better when you use natural peanut butter without added sugars—it keeps things simple and lets the real flavors shine through.
If dates feel expensive or you can’t find them, chopped dried figs work just as well. Honestly, I’ve made batches with raisins too, and they’re delicious in a different way. The key is using something chewy to help everything stick together.
Step-by-step instructions

1. Grab a large mixing bowl and combine rolled oats, peanut butter, honey, chopped dates, almonds, coconut, vanilla powder, cinnamon, sea salt, and chia seeds. Mix everything together with a wooden spoon or sturdy spatula until completely combined—no dry oat pockets should remain. This takes about 2 minutes of stirring, and you’ll feel when the mixture comes together into a thick, paste-like consistency.
2. Drizzle the olive oil over the mixture and stir again for another 30 seconds. The oil helps bind everything and makes rolling your energy balls recipe so much easier—trust me on this. If the mixture still feels too dry to hold together, add 1 more teaspoon of olive oil.
3. Let the mixture sit for 1 minute while you get a small bowl of water ready. Wet your hands with the water (this prevents sticking—game changer for keeping your hands clean). Grab about 1 tablespoon of the mixture and roll it between your palms into a tight ball.
4. Place each finished ball on a parchment-lined plate or baking sheet. You should get around 20 balls from this batch, depending on how big you roll them. I personally make mine slightly smaller so they fit perfectly in lunchboxes without taking up too much space.
5. Melt the dark chocolate chips in a microwave-safe bowl in 30-second intervals, stirring between each blast, until smooth and completely melted. Don’t rush this step—overheated chocolate gets grainy and won’t coat nicely. Usually takes about 1 to 1.5 minutes total on medium power.
6. Dip each energy ball halfway into the melted chocolate and place it back on the parchment. The chocolate coating gives these snacks that fancy feel while adding extra richness. If chocolate hardens too quickly, microwave it for 10 seconds to loosen it back up.
7. Stick the finished energy balls recipe batch in the freezer for 5 to 10 minutes until the chocolate sets. After that, transfer them to an airtight container and store in the fridge or freezer. They’re ready to grab and go whenever you need a quick protein snack.
Serving ideas for energy balls recipe
These little bites shine all on their own, but pairing them right makes snack time even better.
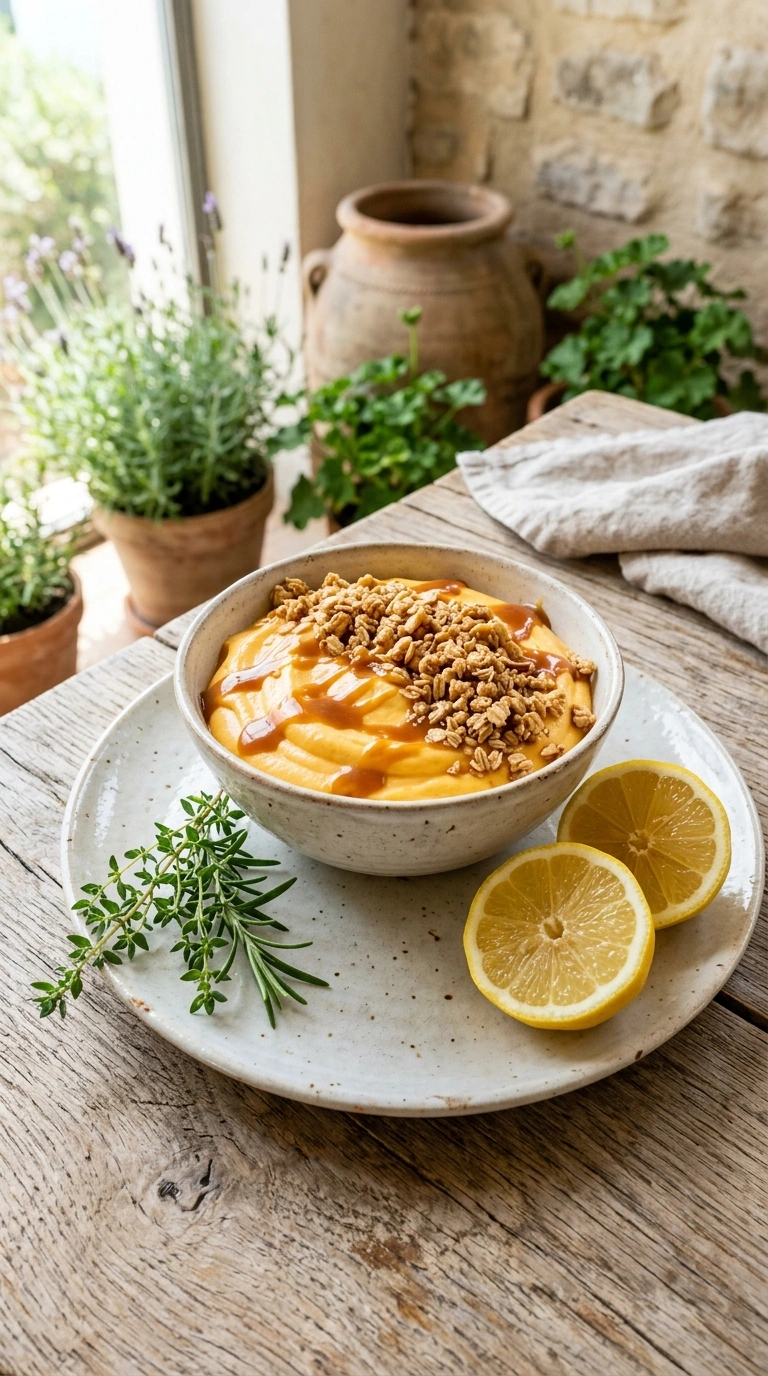
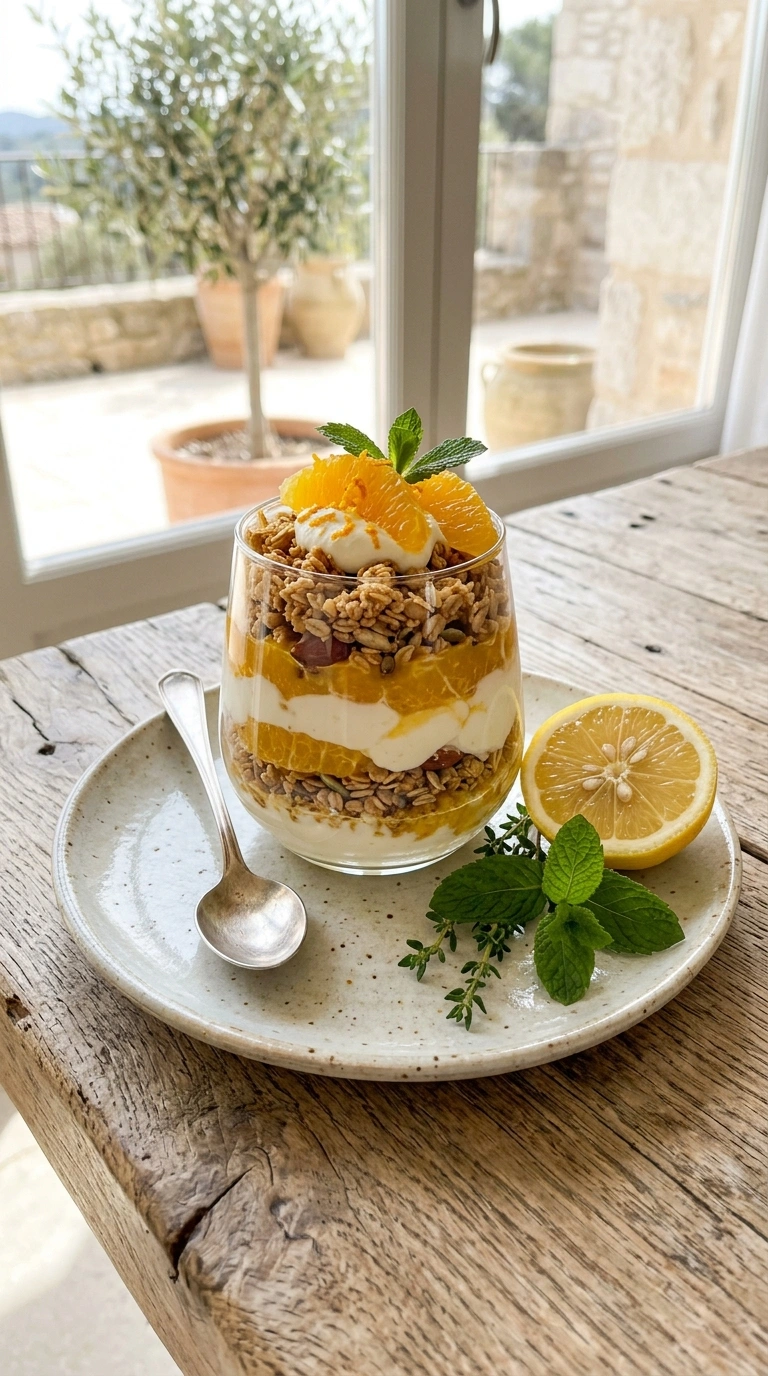
With Greek yogurt and granola
Pair your energy balls with a dollop of Greek yogurt and a sprinkle of granola for a mini power bowl. The creamy yogurt balances the sweetness perfectly, and you’ve basically turned a snack into something that feels like dessert. This combo works amazing for breakfast too.
Alongside fresh fruit
Grab a handful of fresh berries or apple slices alongside your energy ball recipe for a balanced afternoon snack. The tartness from fruit cuts through the richness of the chocolate coating beautifully. Plus you’ll feel extra healthy eating something this colorful.
With warm tea or coffee
These balls are perfect companions to your morning coffee or afternoon tea break. The combination of warm beverage and chewy texture creates this satisfying moment that makes busy days feel a little more special. Check out other healthy breakfast pairings for more ideas on starting your day right.
Pro tips for perfect energy balls recipe
Storage tips
– Keep in an airtight container in the fridge for up to 2 weeks – Freeze them for up to 3 months in a freezer-safe container – Let frozen balls thaw for 10 minutes before eating for best textureMake-ahead instructions
– Prepare the mixture the night before, cover, and refrigerate – Roll and dip balls in chocolate up to 5 days ahead – Store unbaked mixture in the fridge for up to 4 daysVariations
– Roll balls in cocoa powder, sprinkles, or crushed pistachios instead of chocolate – Add 1 teaspoon of peppermint extract for a minty twist – Swirl peanut butter into melted white chocolate for drizzlingTroubleshooting
– If mixture feels too sticky, refrigerate for 15 minutes before rolling – If balls fall apart while rolling, add 1 more tablespoon of peanut butter – If chocolate won’t stick, make sure balls are completely dry before dippingFrequently asked questions
How long do energy balls last in the freezer?
They’ll keep perfectly frozen for up to 3 months in an airtight container. I honestly forget about mine and then rediscover them weeks later—they thaw in about 10 minutes at room temperature. Just make sure they’re sealed tightly so they don’t pick up freezer flavors from other foods.
Can I use regular peanut butter instead of natural peanut butter?
Yes, regular peanut butter works fine for this energy balls recipe. The main difference is that regular peanut butter already has added sugar and oils, so your balls might be slightly sweeter. If you prefer less sugar overall, natural peanut butter is your best bet.
What’s the best way to store these after making them?
Keep your energy balls recipe in an airtight container in the refrigerator for up to 2 weeks, or freeze them for longer storage. I like using small mason jars because they stack nicely and you can see exactly how many you have left. Room temperature works fine for about 3 days if your kitchen isn’t super warm.
Are these energy balls high in protein?
Each ball contains about 3 grams of protein, mostly from the peanut butter, almonds, and chia seeds. If you need more protein for your specific goals, add 2 tablespoons of protein powder to the mixture. The chocolate coating and dates won’t interfere with that addition at all.
Final thoughts
Making your own energy balls recipe saves money and tastes infinitely better than anything boxed. These no-bake snacks deliver real nutrition without any mystery ingredients or artificial stuff. I promise your family will demolish these faster than you can make them.
Plus, this healthy snack no bake option gives you peace of mind knowing exactly what everyone’s eating. Whether you’re prepping for the week or need an after-school snack healthy enough to feel good about, these hit different. Pin this recipe for next week and enjoy having grab-and-go fuel ready whenever hunger strikes.
Want more make-ahead ideas? Check out other meal prep snacks that work just as well for busy families. Your future self will thank you for taking 10 minutes today.

Energy Balls No Bake and Ready in 10 Minutes
Ingredients
Method
- Grab a large mixing bowl and combine rolled oats, peanut butter, honey, chopped dates, almonds, coconut, vanilla powder, cinnamon, sea salt, and chia seeds. Mix everything together with a wooden spoon or sturdy spatula until completely combined—no dry oat pockets should remain. This takes about 2 minutes of stirring, and you’ll feel when the mixture comes together into a thick, paste-like consistency.
- Drizzle the olive oil over the mixture and stir again for another 30 seconds. The oil helps bind everything and makes rolling your energy balls recipe so much easier—trust me on this. If the mixture still feels too dry to hold together, add 1 more teaspoon of olive oil.
- Let the mixture sit for 1 minute while you get a small bowl of water ready. Wet your hands with the water (this prevents sticking—game changer for keeping your hands clean). Grab about 1 tablespoon of the mixture and roll it between your palms into a tight ball.
- Place each finished ball on a parchment-lined plate or baking sheet. You should get around 20 balls from this batch, depending on how big you roll them. I personally make mine slightly smaller so they fit perfectly in lunchboxes without taking up too much space.
- Melt the dark chocolate chips in a microwave-safe bowl in 30-second intervals, stirring between each blast, until smooth and completely melted. Don’t rush this step—overheated chocolate gets grainy and won’t coat nicely. Usually takes about 1 to 1.5 minutes total on medium power.
- Dip each energy ball halfway into the melted chocolate and place it back on the parchment. The chocolate coating gives these snacks that fancy feel while adding extra richness. If chocolate hardens too quickly, microwave it for 10 seconds to loosen it back up.
- Stick the finished energy balls recipe batch in the freezer for 5 to 10 minutes until the chocolate sets. After that, transfer them to an airtight container and store in the fridge or freezer. They’re ready to grab and go whenever you need a quick protein snack.


")