
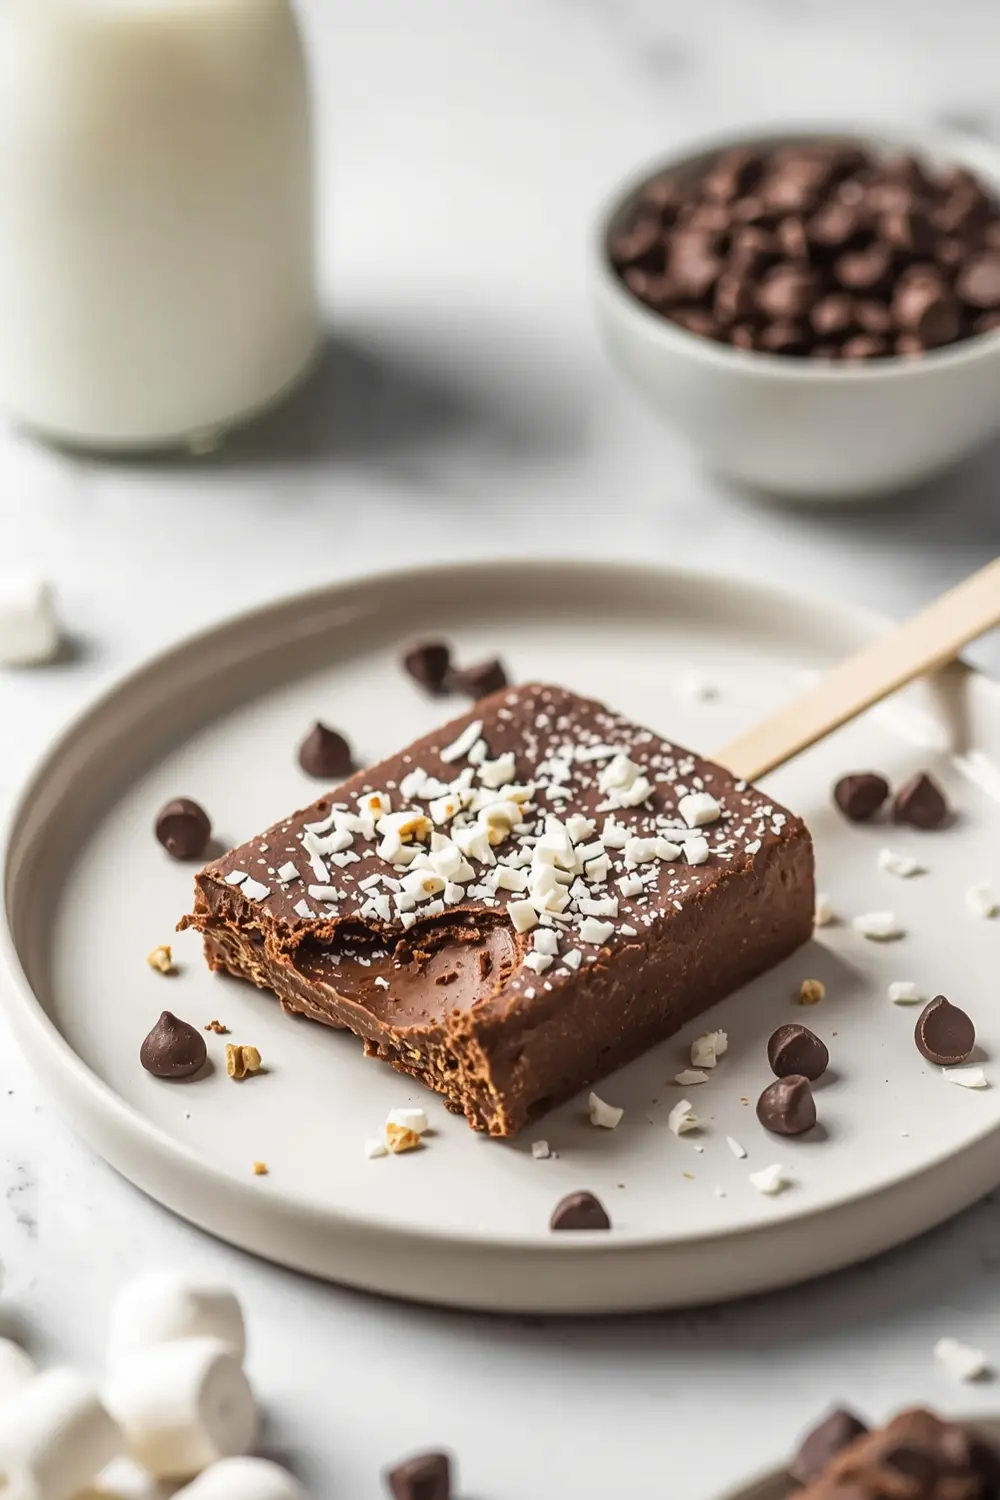
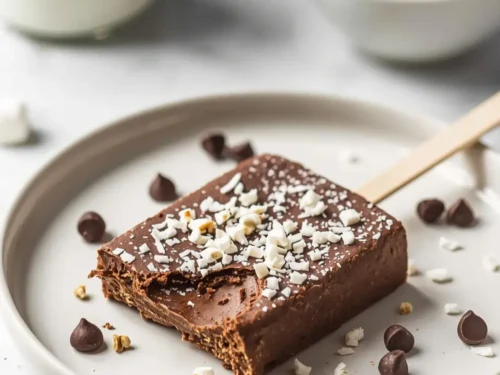
Homemade chocolate fudge pops are the absolute best way to beat the heat without turning on your oven. I’m talking creamy, dreamy frozen chocolate perfection that tastes like you spent hours in the kitchen when you really didn’t. These classic chocolate popsicles come together in about 15 minutes of actual work, then you just let the freezer do the heavy lifting.
Here’s the thing — store-bought versions have nothing on the homemade version. You control what goes in, so no weird additives or mystery ingredients. Plus, your kitchen smells like a chocolate dream while they’re setting up.
Looking for the perfect summer entertaining dessert? Check out this strawberry shortcake for 4th of July for another crowd-pleaser option that’ll steal the show. But honestly, these fudge pops are gonna be your go-to all season long.
Save this recipe for your next backyard gathering — your guests will ask for the recipe (trust me on this).
Why this homemade chocolate fudge pops recipe works
Ever notice how homemade frozen treats just hit different? I made these last Tuesday and my whole family came back for seconds before they’d even fully thawed. Here’s why this homemade chocolate fudge pops recipe wins every time.
- Ready in 4 hours — plus just 15 minutes of prep means minimal effort during hot summer days
- Kid-approved flavor — rich chocolate taste that doesn’t taste overly sweet or artificial
- Customizable mix-ins — marshmallows, nuts, and coconut make each pop unique and fun
- Budget-friendly party dessert — feeds 12 people for just a few dollars
| Prep Time | Cook Time | Calories | Servings | Cuisine |
|---|---|---|---|---|
| 15 minutes | 4 hours | 245 per serving | 12 servings | American |
Ingredients for homemade chocolate fudge pops
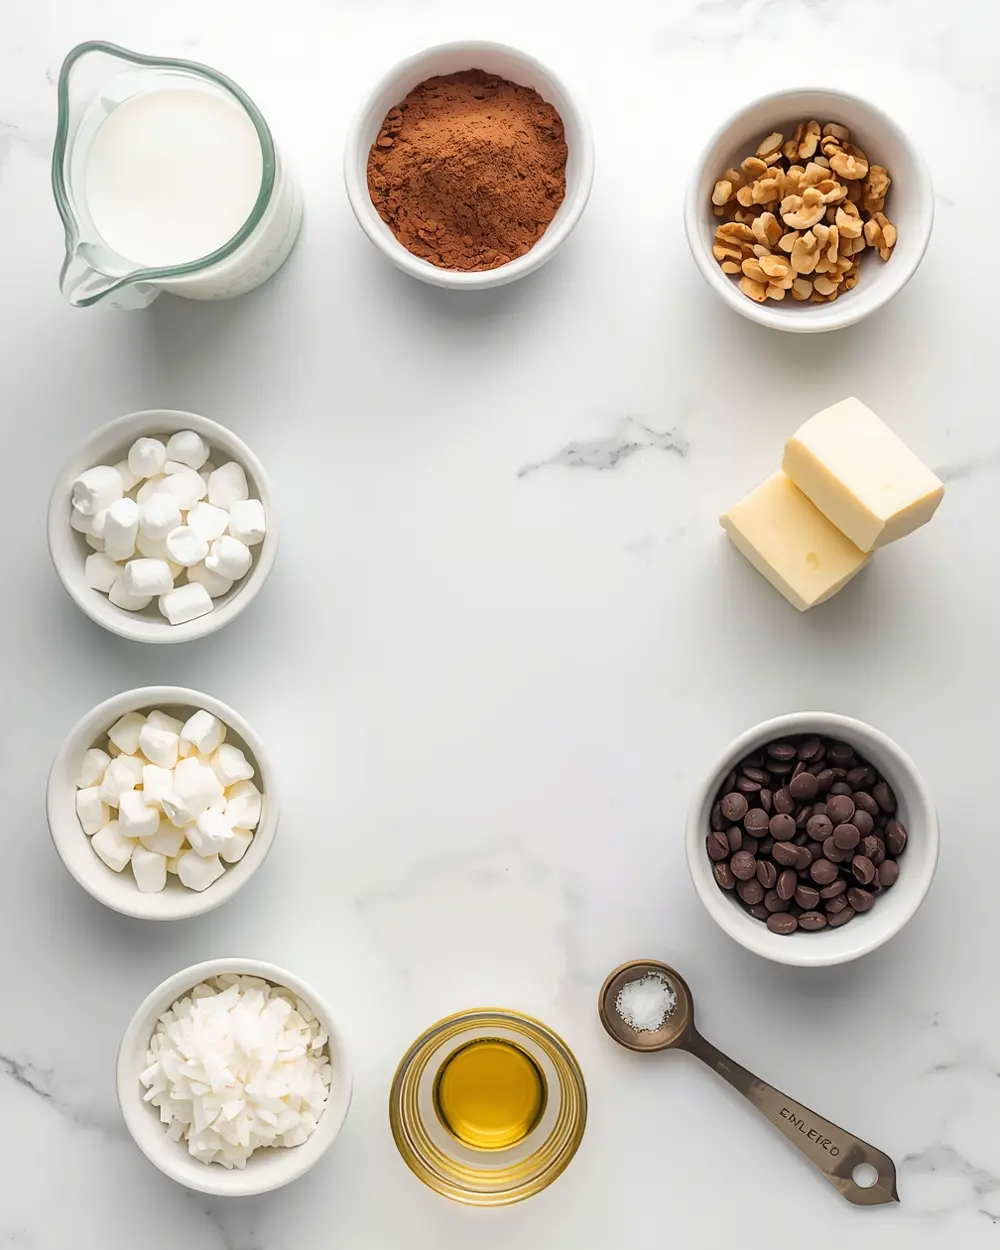
- 2 cups whole milk
- 1 cup granulated sugar
- 1/2 cup unsweetened cocoa powder
- 1/4 cup butter
- 2 large eggs
- 1 tsp vanilla extract
- 1/4 tsp salt
- 1 cup marshmallows
- 1/2 cup chopped walnuts
- 1 tbsp vegetable oil
- 1/2 cup chocolate chips
- 1/4 cup shredded coconut
Don’t skip the cocoa powder — it’s what makes homemade chocolate fudge pops taste legit and not watered down. You can swap in half-and-half for whole milk if you want them extra creamy (honestly, they’re amazing either way).
The marshmallows and walnuts are where the fun happens, but here’s my shortcut: if you don’t have walnuts, use pecans or skip them entirely. The coconut’s optional too, but I personally think it adds a little tropical vibe that nobody expects in a chocolate pop.
Step-by-step instructions
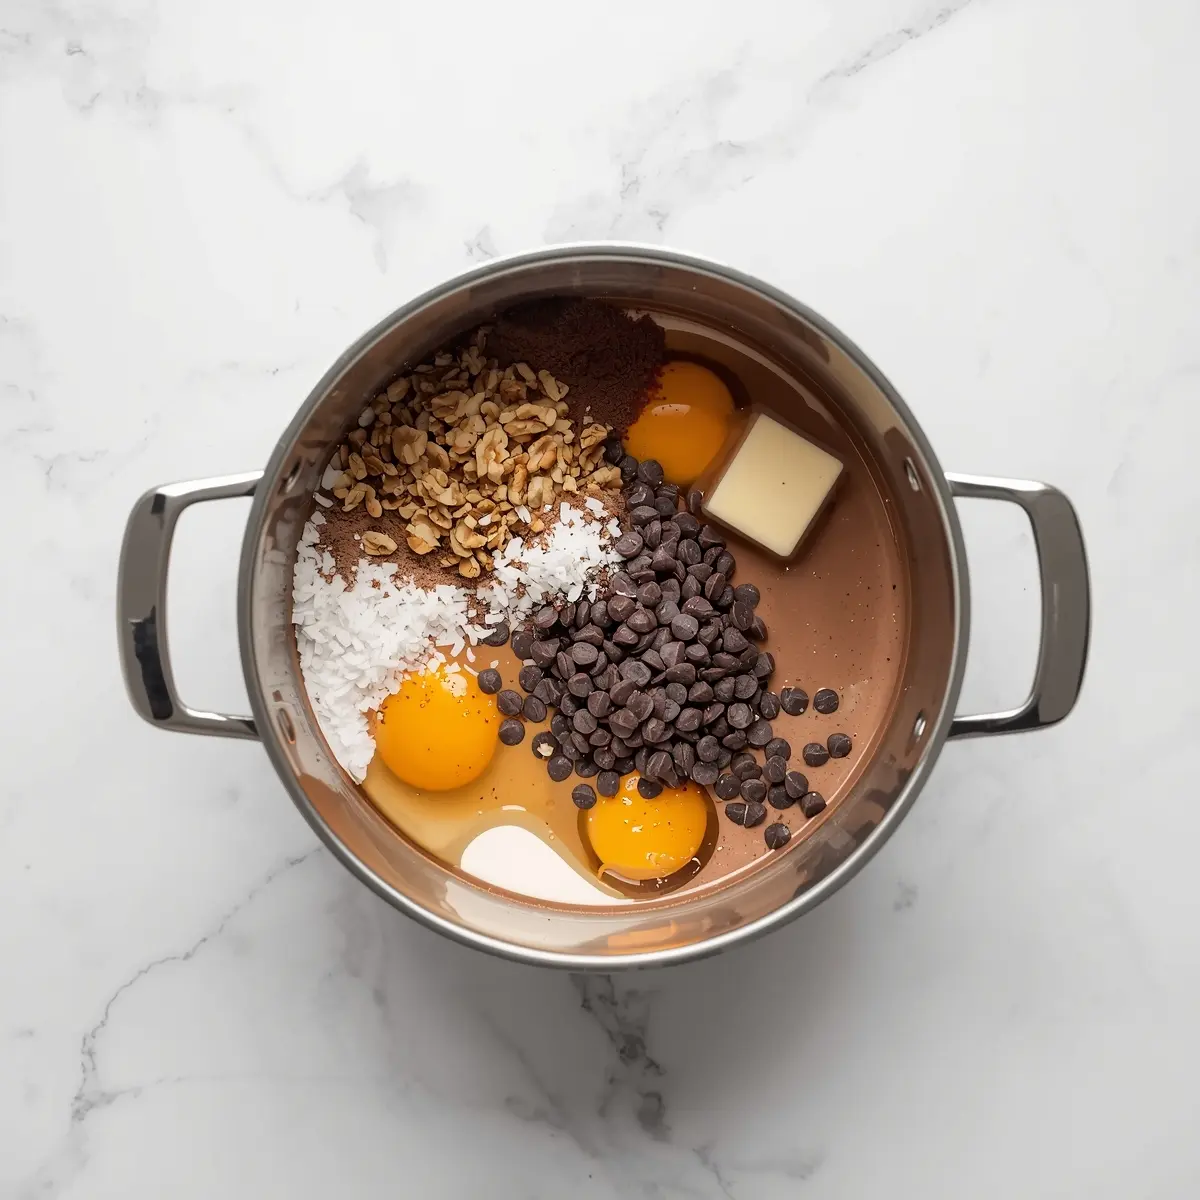
1. Whisk together the milk, sugar, and unsweetened cocoa powder in a medium saucepan over medium heat. Stir constantly until the mixture gets smooth and steamy — this takes about 3 minutes. Don’t let it boil or you’ll end up with a grainy mess (learned that the hard way). Add the butter and keep stirring until it melts completely.
2. Pour the hot chocolate mixture into a bowl and let it cool for about 5 minutes until it’s no longer steaming. Meanwhile, grab a separate small bowl and whisk together the eggs, vanilla extract, and salt. Slowly drizzle the egg mixture into the chocolate while whisking constantly — you’re basically making a homemade chocolate custard here. Keep whisking until everything’s combined and smooth.
3. Stir in the chocolate chips and let them melt from the heat of the mixture, stirring every 30 seconds or so. This should take about 2 minutes total. The consistency will thicken up as it cools, which is exactly what you want for these homemade chocolate fudge pops.
4. Once the mixture cools to room temperature (about 20 minutes), fold in the marshmallows, walnuts, and shredded coconut gently. Don’t overmix or you’ll lose some of that fluffy marshmallow texture. The mixture should feel thick and kinda creamy at this point.
5. Lightly brush the inside of your popsicle molds with vegetable oil to make removal easier later. Pour the chocolate mixture evenly into each mold, leaving about 1/4 inch at the top for expansion. Insert the sticks and freeze for about 1 hour until they’re solid enough to stand on their own.
6. After that first hour, you can remove the temporary sticks if you used them, and insert the final sticks into the now-firm mixture. Freeze for another 3 hours until these homemade chocolate fudge pops are completely solid throughout. (If your molds have built-in sticks, just skip the stick swap.)
7. To remove them, run warm water over the outside of each mold for about 30 seconds, then gently push from the bottom. They’ll slide right out without cracking. Store them in the freezer in an airtight container until you’re ready to serve.
Serving ideas for homemade chocolate fudge pops
Grab them straight from the freezer for that perfect afternoon treat, or get creative with how you serve your homemade chocolate fudge pops.
Pool party perfect
These are literally made for poolside vibes when everyone’s hot and hungry. Pile them in a cooler with ice and watch them disappear in minutes. Nothing beats grabbing a frozen chocolate pop while you’re floating around on a raft.Dessert party centerpiece
Set up a whole spread of easy summer frozen treats by pairing these with Easter peeps treats and dessert ideas for variety. Your guests’ll love having options, and honestly the presentation looks super fancy for almost zero effort.Kids’ snack station
Line them up in a bucket with ice at your next backyard gathering and let the kids grab what they want. They’re way better for you than store-bought versions, and you actually know what’s inside each pop.Pro tips for perfect homemade chocolate fudge pops
Storage tips
– Keep frozen pops in an airtight container for up to 2 weeks in your freezer – Stack them with parchment between each one so they don’t stick together – They’ll last longer than you’d think, but honestly they’re gone in days at my houseMake-ahead instructions
– You can make the chocolate mixture the night before and just pour into molds the next morning – Prep all your mix-ins and measure them out so assembly goes super fast – Double the batch and freeze extras for those unexpected hot afternoons when you need instant dessertVariations
– Swap in almond butter for walnuts to make them extra creamy and rich – Add 1 tablespoon of peppermint extract for a holiday-inspired twist on the classic – Mix in crushed pretzels instead of nuts for a sweet and salty situation that’s absolutely unrealTroubleshooting
– If they won’t slide out of the molds, run warm water longer or use a thin knife to gently loosen edges – Mixture too thin? Stick it in the fridge for 30 minutes before pouring to thicken it up naturally – Pops taste watery after freezing? You skipped cooling the mixture first — temperature matters hereFrequently asked questions
How long do homemade chocolate fudge pops stay frozen?
They’ll last up to 2 weeks in an airtight container, though honestly I’ve never had any last that long. Store them in the back of your freezer where it’s coldest, away from the door where temperature fluctuates. Once they start getting soft, eat them right away or they’ll get that grainy texture.
Can I use different mix-ins in my homemade chocolate fudge pops?
Totally — swap walnuts for pecans, almonds, or even crushed cookies depending on what you’ve got. The marshmallows are kinda non-negotiable if you want that fluffy texture, but the coconut’s completely optional. I’ve made versions with crushed pretzels, chopped brownies, and even mini chocolate chips.
Can I make these without eggs?
Skip the eggs and just go with the cocoa powder, sugar, milk, and butter combo, then freeze as normal. You’ll lose the custard-like creaminess, but they’ll still taste pretty darn good honestly. The texture will be less smooth but still totally enjoyable.
Are these better than store-bought classic chocolate popsicles?
Absolutely — homemade chocolate fudge pops taste fresher because you made them literally days ago, not months ago. Plus you know exactly what went in, so no weird additives or ingredients you can’t pronounce. The marshmallow and walnut mix-ins make them feel special too.
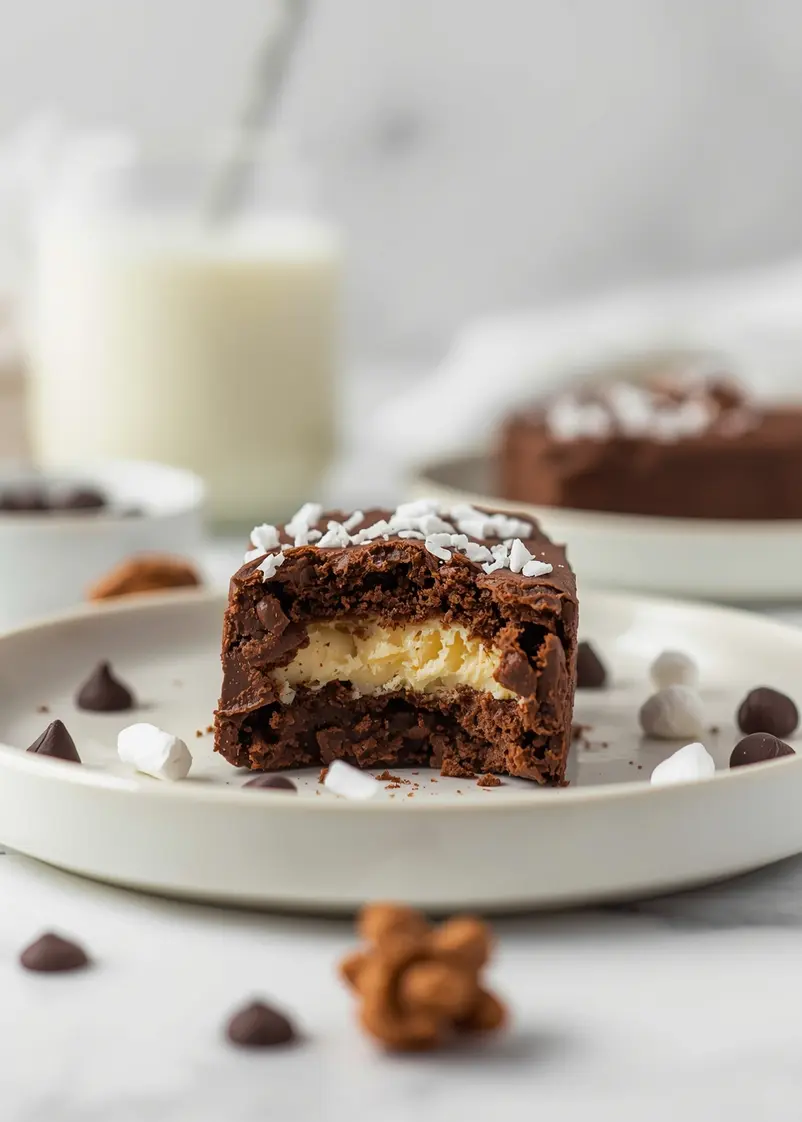
Final thoughts
Not gonna lie, these homemade chocolate fudge pops might become your summer signature dessert. They’re super easy to make and impress literally everyone. Your kids’ll ask for them constantly, your friends will beg the recipe, and you’ll feel like a genius for pulling off something this good.
Need more easy entertaining desserts? Swing by our Easter mint brownies and chocolate mint treat collection for another crowd-pleasing option that works year-round.
Bookmark this recipe for next week’s heat wave — you’ll be so glad you did.
Classic Homemade Chocolate Fudge Pops – Liz’s Easy Summer Party Treat
Ingredients
Method
- Whisk together the milk, sugar, and unsweetened cocoa powder in a medium saucepan over medium heat. Stir constantly until the mixture gets smooth and steamy — this takes about 3 minutes. Don’t let it boil or you’ll end up with a grainy mess (learned that the hard way). Add the butter and keep stirring until it melts completely.
- Pour the hot chocolate mixture into a bowl and let it cool for about 5 minutes until it’s no longer steaming. Meanwhile, grab a separate small bowl and whisk together the eggs, vanilla extract, and salt. Slowly drizzle the egg mixture into the chocolate while whisking constantly — you’re basically making a homemade chocolate custard here. Keep whisking until everything’s combined and smooth.
- Stir in the chocolate chips and let them melt from the heat of the mixture, stirring every 30 seconds or so. This should take about 2 minutes total. The consistency will thicken up as it cools, which is exactly what you want for these homemade chocolate fudge pops.
- Once the mixture cools to room temperature (about 20 minutes), fold in the marshmallows, walnuts, and shredded coconut gently. Don’t overmix or you’ll lose some of that fluffy marshmallow texture. The mixture should feel thick and kinda creamy at this point.
- Lightly brush the inside of your popsicle molds with vegetable oil to make removal easier later. Pour the chocolate mixture evenly into each mold, leaving about 1/4 inch at the top for expansion. Insert the sticks and freeze for about 1 hour until they’re solid enough to stand on their own.
- After that first hour, you can remove the temporary sticks if you used them, and insert the final sticks into the now-firm mixture. Freeze for another 3 hours until these homemade chocolate fudge pops are completely solid throughout. (If your molds have built-in sticks, just skip the stick swap.)
- To remove them, run warm water over the outside of each mold for about 30 seconds, then gently push from the bottom. They’ll slide right out without cracking. Store them in the freezer in an airtight container until you’re ready to serve.


")