
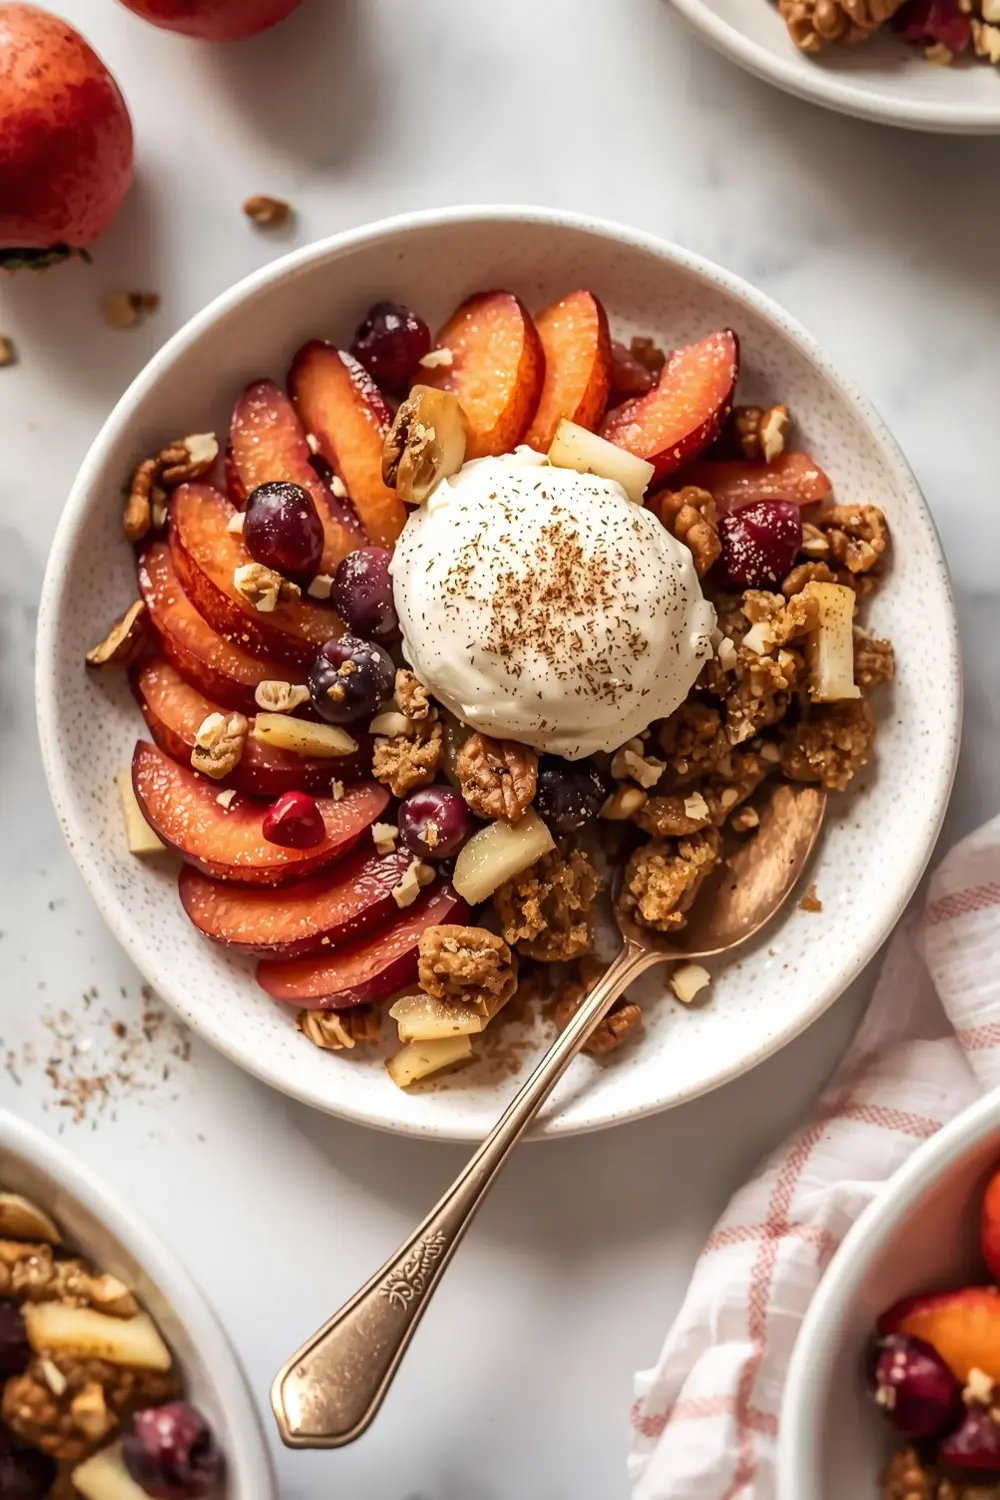
Summer stone fruit crisp is honestly my go-to dessert when I’ve got company coming over. You get that perfect combination of juicy fruit and a buttery, crunchy topping without spending hours in the kitchen.
The best part? It comes together in about an hour total, and most of that time is just letting it bake while you chat with guests or prep other stuff. I’m talking 20 minutes of actual hands-on work.
If you’re looking for seasonal entertaining desserts that feel fancy but don’t require a culinary degree, this is it. Pin this for your next dinner party and watch everyone ask for the recipe.
When spring turns to summer, I always reach for recipes featuring fresh fruit like my spring rhubarb crisp recipe, but this stone fruit version is what really gets me through July and August.
Why this stone fruit crisp recipe works
Ever notice how some desserts feel kinda heavy after a big meal? Not this one—the peach plum mixed crisp lets the fresh fruit shine while the oat topping keeps things light. I actually baked this last Tuesday and my neighbors smelled it from their porch (not sorry about that).
- Minimal prep but maximum wow-factor for entertaining guests
- Uses whatever stone fruit is ripe and on sale at farmers markets
- Can make it earlier in the day and bake before dinner
- Tastes even better the next day when flavors marry together
| Prep Time | Cook Time | Calories | Servings | Cuisine |
|---|---|---|---|---|
| 20 minutes | 40 minutes | 285 per serving | 8 servings | American |
Ingredients for summer stone fruit crisp
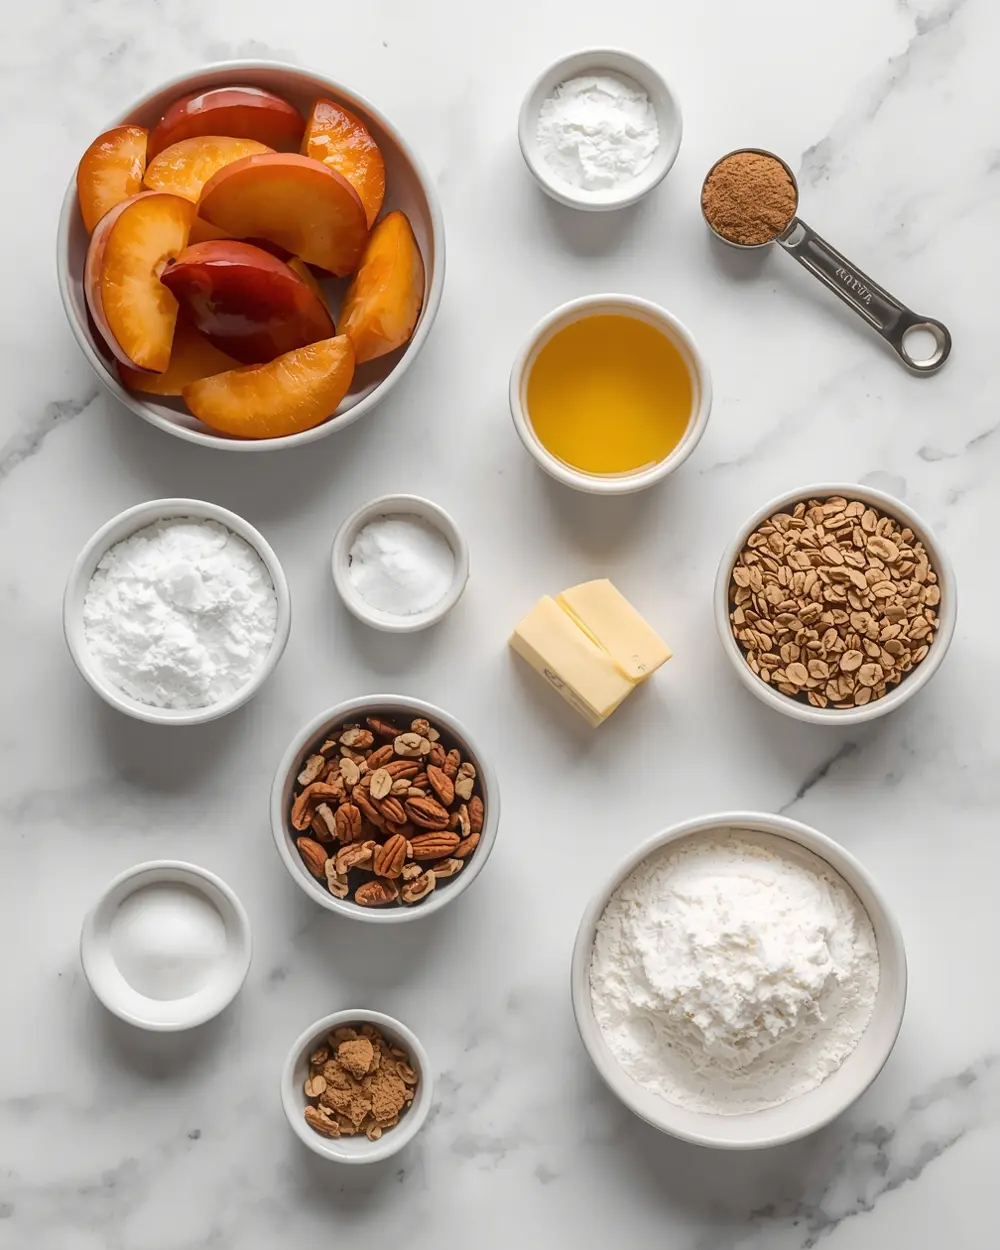
- 4 cups sliced stone fruit (peaches, plums, nectarines mixed together)
- 1/2 cup granulated sugar
- 1/4 cup brown sugar
- 2 tablespoons fresh lemon juice
- 1 teaspoon ground cinnamon
- 1/4 teaspoon ground nutmeg
- 1 cup rolled oats
- 1/2 cup all-purpose flour
- 1/2 cup unsalted butter, melted
- 1/3 cup chopped almonds
- 1/4 cup chopped pecans
- Pinch of salt
Don’t panic if your stone fruit situation is slightly different than mine. Swap in apricots, or go heavy on peaches if that’s what looks fresh—this recipe is super forgiving. The key is hitting around 4 cups total, and honestly, a little variation just makes it taste more interesting.
For the oat topping, I always use old-fashioned rolled oats instead of quick oats because they stay crunchier. Skip the pecans if you’ve got a nut allergy and just add more almonds instead—I’ve done it plenty of times and it’s totally delicious.
Step-by-step instructions
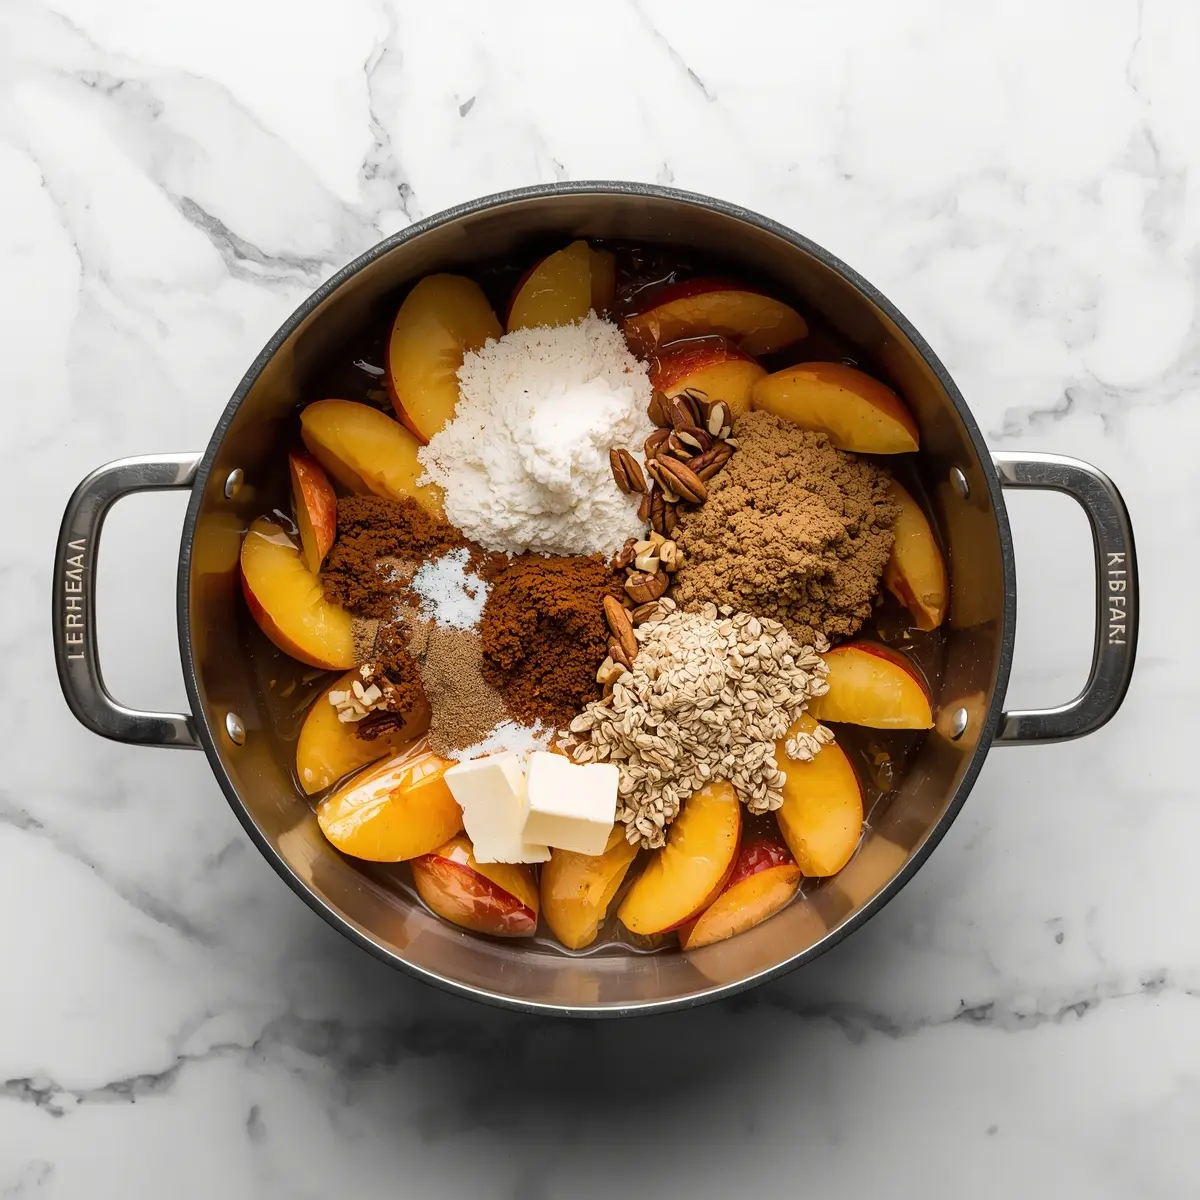
1. Preheat your oven to 375°F. Wash your stone fruit under cool water and pat dry—this keeps the filling from getting too watery. Slice each fruit into quarter-inch pieces and remove the pit (yes, tedious, but trust me on this). Toss the sliced fruit in an 8-by-10-inch baking dish with both sugars, lemon juice, cinnamon, and nutmeg.
2. Mix the fruit filling gently with your hands so everything’s coated but you’re not crushing the fruit pieces. Let it sit while you make the topping—this lets the sugar start dissolving and the juices get released. The filling might look dry now, but it’ll bubble up beautifully during baking.
3. In a separate bowl, combine rolled oats, flour, salt, and a tiny squeeze of lemon zest if you’ve got it. Grab that melted butter and pour it over the oat mixture, stirring with a fork until everything gets all clumpy and cohesive. This is the textural magic happening—don’t rush it.
4. Fold in your chopped almonds and pecans, breaking apart any big clumps with your fingers. The mixture should look kinda crumbly and feel like wet sand. If it seems too dry, add another tablespoon of melted butter and keep going—every oven’s humidity is different, so adjust as needed.
5. Spread the topping over your fruit filling, leaving maybe a quarter-inch around the edges so you can see the fruit bubbling. Don’t pack it down—you want it to stay loose and crispy, not cement itself into one solid block (I learned this the hard way my first time making this crisp).
6. Bake for 35 to 40 minutes until the topping turns golden brown and the filling starts bubbling at the edges. Your kitchen smells absolutely amazing when it gets to about minute 25, and that’s your signal you’re getting close. Careful not to overbake or the topping gets hard instead of crispy.
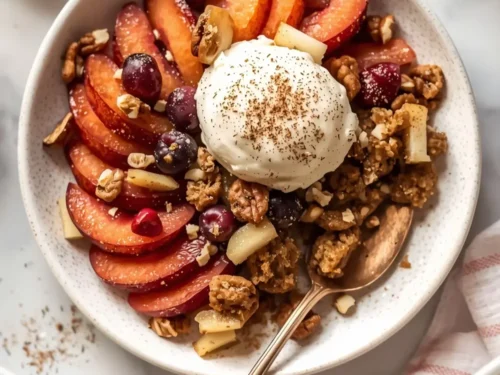
7. Let it cool for 10 to 15 minutes before serving—this gives it structure so it doesn’t fall apart on your plate. The summer stone fruit crisp thickens as it cools and becomes even better. Serve warm with whatever topping you’ve got on hand.
Serving ideas for summer stone fruit crisp
The best part about making this peach plum mixed crisp is how many ways you can serve it.
Vanilla ice cream and crisp perfection
Okay, this is the classic pairing for a reason. That cold, creamy ice cream melting into the warm filling and crunchy topping is basically a no-brainer.Whipped cream with a honey drizzle
Skip the ice cream and go lighter with a dollop of whipped cream and a tiny drizzle of honey. It feels elegant for entertaining but tastes like summer comfort food.Afternoon tea with lemon pound cake
This oat topping pairs perfectly with something citrusy—I often serve mine alongside a lemon pound cake recipe for an afternoon tea spread that guests absolutely love.Pro tips for perfect summer stone fruit crisp
Storage tips
– Cover leftovers with foil and keep in the fridge for up to 4 days – The crisp stays better than you’d expect when stored properly – Room temperature tastes great too if you forget about itMake-ahead instructions
– Prep and assemble everything except the topping the night before – Make your oat topping in the morning and store it in a sealed container – Just combine them and bake when you’re ready to serveVariations
– Swap half the fruit for berries if you want extra tartness and color – Try swapping half the butter with coconut oil for a different flavor note – Add a tablespoon of vanilla extract to the filling for deeper complexityTroubleshooting
– If filling looks watery after baking, your fruit released extra juice—totally normal and still delicious – Topping not crispy enough means your oven runs cool; bake an extra 5 minutes next time – Filling too thick means you need juicier fruit varieties or extra lemon juiceFrequently asked questions
Can I freeze summer stone fruit crisp?
Yes, freeze it unbaked up to 3 months in your freezer—just add 10 extra minutes to baking time. Thaw it in the fridge overnight if you want, or bake from frozen and add those extra 10 minutes to your bake time. I always make two at once and freeze the second for later because it saves so much time during busy weeks.What stone fruit works best for this recipe?
Peaches are my top pick, but plums, nectarines, and apricots all work beautifully in this summer stone fruit crisp. Mix them however you want based on what’s cheap and ripe at your market. The flavor changes based on your mix, which is honestly half the fun of seasonal entertaining.Can I make this without nuts?
Absolutely—just add an extra 1/3 cup of oats to replace the nuts and keep the same amount of butter. The texture stays crispy and crunchy without them, I promise. Some people add a little extra brown sugar for sweetness when going nut-free, but I skip it.How do I reheat leftovers?
Pop it in a 325°F oven for 10 to 12 minutes until it’s warm throughout. The stovetop method won’t work here because the topping gets tough. Honestly, cold crisp for breakfast is pretty amazing too if you’ve got leftovers.Final thoughts
Here’s the thing—this summer stone fruit crisp proves you don’t need complicated techniques to impress people. The whole recipe takes about an hour start to finish, and most of that’s baking time while you’re doing literally anything else.
I’ve made this for book clubs, backyard dinners, and just because my family was begging for dessert. Every single time, someone asks if I’ll make it again next week. That’s when you know you’ve got a winner.
For more show-stopping summer desserts, check out this homemade lemon curd summer entertaining recipe that pairs perfectly on a dessert board alongside your crisp.
Save this recipe now so you’ve got it ready when stone fruit season hits. Your future self and your dinner guests will thank you.
Easy Summer Stone Fruit Crisp – Liz’s Perfect Seasonal Entertaining Dessert
Ingredients
Method
- Preheat your oven to 375°F. Wash your stone fruit under cool water and pat dry—this keeps the filling from getting too watery. Slice each fruit into quarter-inch pieces and remove the pit (yes, tedious, but trust me on this). Toss the sliced fruit in an 8-by-10-inch baking dish with both sugars, lemon juice, cinnamon, and nutmeg.
- Mix the fruit filling gently with your hands so everything’s coated but you’re not crushing the fruit pieces. Let it sit while you make the topping—this lets the sugar start dissolving and the juices get released. The filling might look dry now, but it’ll bubble up beautifully during baking.
- In a separate bowl, combine rolled oats, flour, salt, and a tiny squeeze of lemon zest if you’ve got it. Grab that melted butter and pour it over the oat mixture, stirring with a fork until everything gets all clumpy and cohesive. This is the textural magic happening—don’t rush it.
- Fold in your chopped almonds and pecans, breaking apart any big clumps with your fingers. The mixture should look kinda crumbly and feel like wet sand. If it seems too dry, add another tablespoon of melted butter and keep going—every oven’s humidity is different, so adjust as needed.
- Spread the topping over your fruit filling, leaving maybe a quarter-inch around the edges so you can see the fruit bubbling. Don’t pack it down—you want it to stay loose and crispy, not cement itself into one solid block (I learned this the hard way my first time making this crisp).
- Bake for 35 to 40 minutes until the topping turns golden brown and the filling starts bubbling at the edges. Your kitchen smells absolutely amazing when it gets to about minute 25, and that’s your signal you’re getting close. Careful not to overbake or the topping gets hard instead of crispy.
- Let it cool for 10 to 15 minutes before serving—this gives it structure so it doesn’t fall apart on your plate. The summer stone fruit crisp thickens as it cools and becomes even better. Serve warm with whatever topping you’ve got on hand.

")