Ranch Chicken Crispy Tangy and a Family Favorite
ranch chicken offers crispy baked dinner meals ideal for family quick gatherings. Easy prep ensures perfect taste. Try now!
Ingredients
Method
- Preheat your oven to 400°F and line a baking sheet with parchment paper. Drizzle the olive oil across the parchment so your strips don't stick. While the oven heats, pat your chicken strips completely dry with paper towels—this makes the coating stick way better.
- Mix your flour, cornstarch, salt, pepper, paprika, garlic powder, and onion powder in a shallow bowl. Stir everything together so the seasonings spread evenly throughout the flour mixture. This is where all your flavor lives, so don't rush this step.
- Whisk your buttermilk and eggs together in another shallow bowl until completely combined. The mixture should look kinda smooth and uniform, not lumpy. This is your glue that holds the coating onto the chicken.
- Dip each chicken strip into the buttermilk mixture, coating both sides generously. Then immediately dredge it through your flour mixture, pressing gently so the coating sticks. Place coated strips on your prepared baking sheet in a single layer—don't overcrowd the pan.
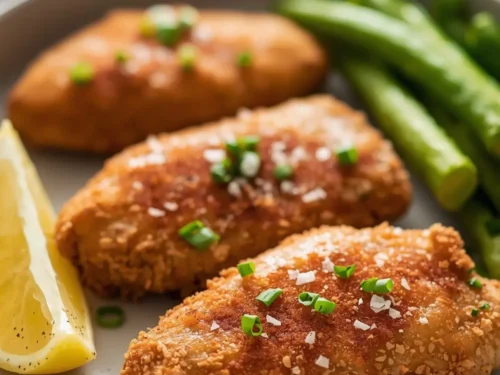
- Bake for 20-25 minutes until the coating turns golden brown and chicken reaches 165°F internally. You'll know it's done when the edges look super crispy and the top has that beautiful golden color. Mine always takes about 23 minutes, but ovens vary.
- While chicken bakes, whisk together your ranch dressing, honey, and apple cider vinegar in a small bowl. Taste it and adjust—if you want it tangier, add more vinegar; if you want it sweeter, add more honey. This tangy glaze is what transforms regular baked strips into restaurant-quality ranch chicken recipe.
- Remove chicken from the oven and brush the ranch glaze over each warm strip. Let it sit for two minutes so the glaze sets a bit before serving. Don't skip this step because it adds that restaurant finish people always ask about.