
Ever need a dessert that screams “I totally have my life together” but actually takes under an hour? Red velvet cupcakes patriotic are literally my secret weapon for summer entertaining. I first baked these for a Fourth of July potluck three years ago, and honestly, they’ve been requested at every celebration since.
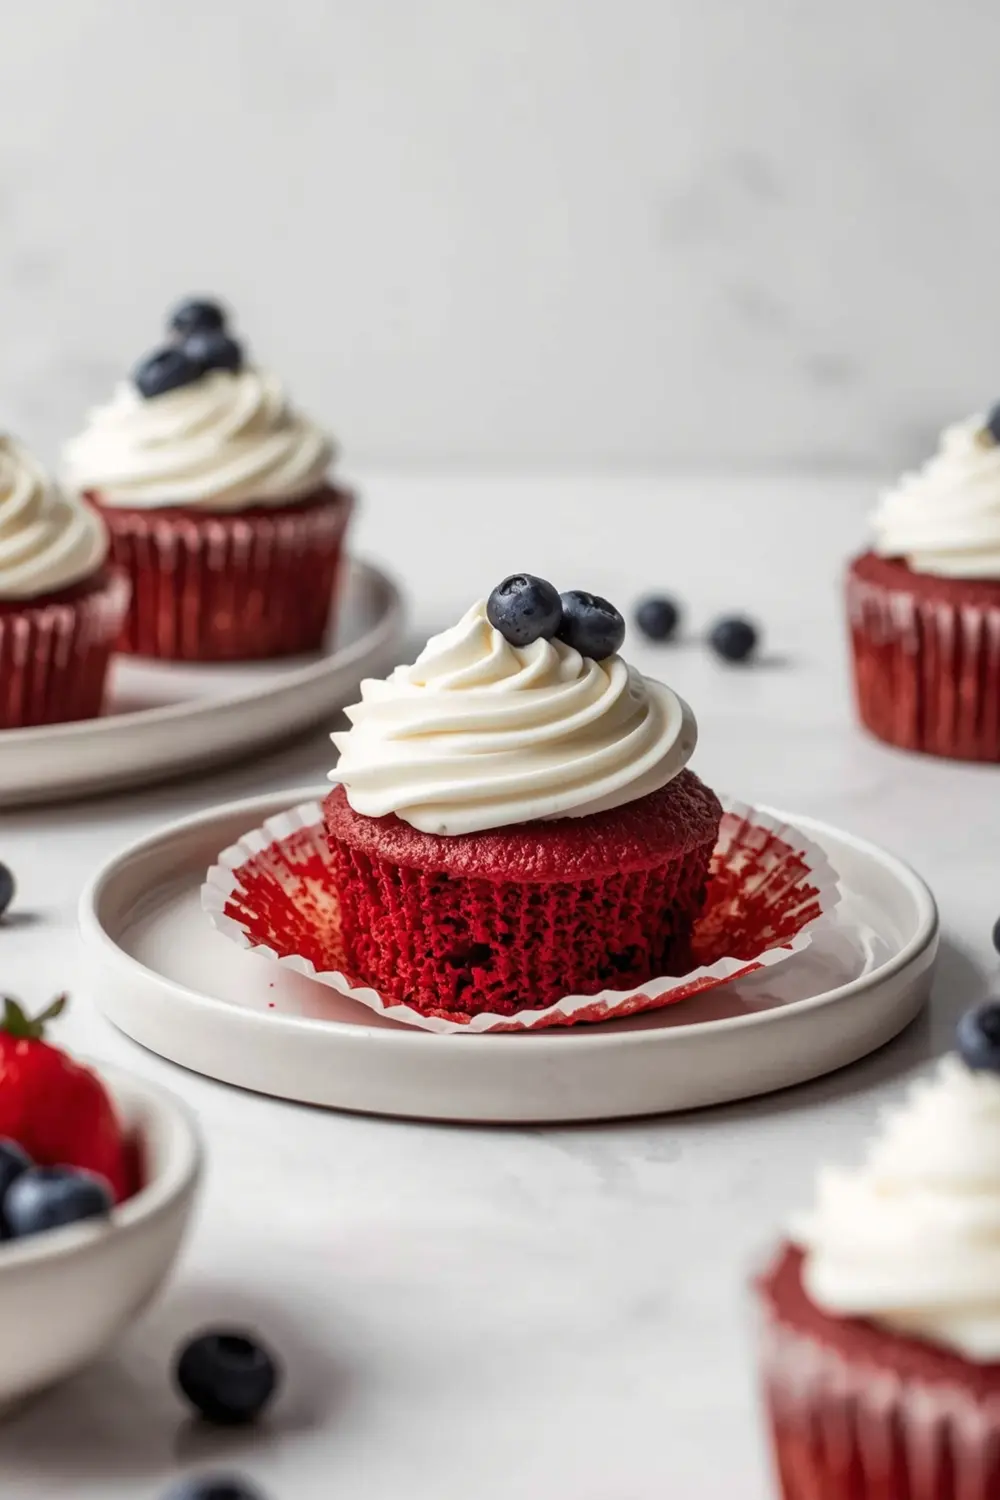
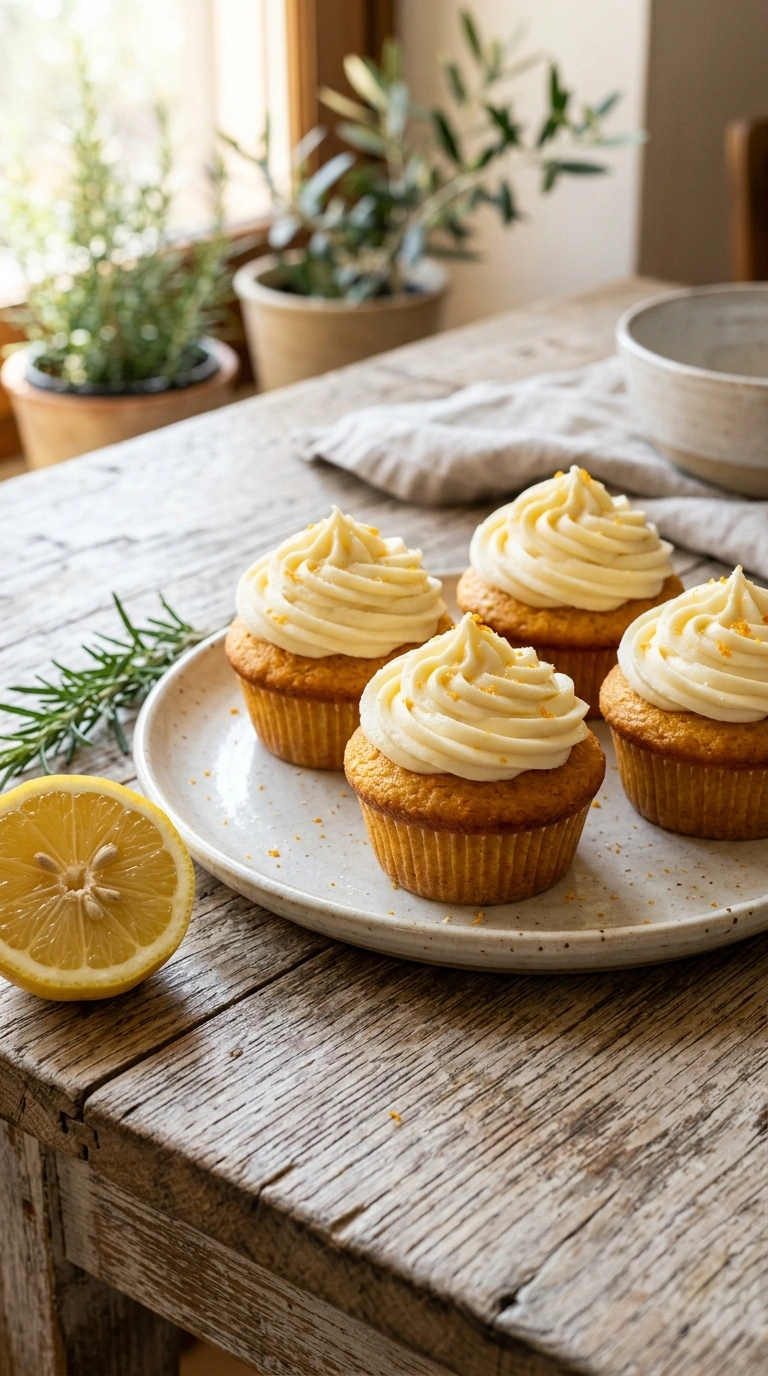
These elegant summer cupcakes look fancy enough to impress your guests, but the recipe’s so straightforward you won’t stress about it. The cream cheese frosting pairs perfectly with that subtle cocoa-vanilla flavor — it’s not overly rich but feels totally indulgent. Plus, you can bake them ahead and frost them the day of, which is a huge time-saver.
Looking to wow your crowd with something beyond basic vanilla? Consider pairing these with our patriotic trifle for a complete dessert spread. Save this recipe for your next outdoor gathering — your reputation for amazing desserts is about to get even better.
Why this red velvet cupcakes patriotic recipe works
Know what makes these different from other red velvet recipes you’ve tried? I use both cocoa powder and buttermilk to create that signature tangy-chocolatey flavor without overdoing it. My 8-year-old ate four of these at our neighborhood block party last summer, so yeah, they’re kid-approved.
- Perfectly balanced cocoa and vanilla — subtle chocolate flavor that doesn’t overpower
- Tangy cream cheese frosting — creamy, rich, and way better than buttercream alone
- Make-ahead friendly — bake cupcakes two days early, frost the morning of your party
- Patriotic presentation — red velvet naturally looks festive without extra decorating
| Prep Time | Cook Time | Calories | Servings | Cuisine |
|---|---|---|---|---|
| 25 minutes | 20 minutes | 285 per serving | 24 cupcakes | American |
Ingredients for red velvet cupcakes patriotic
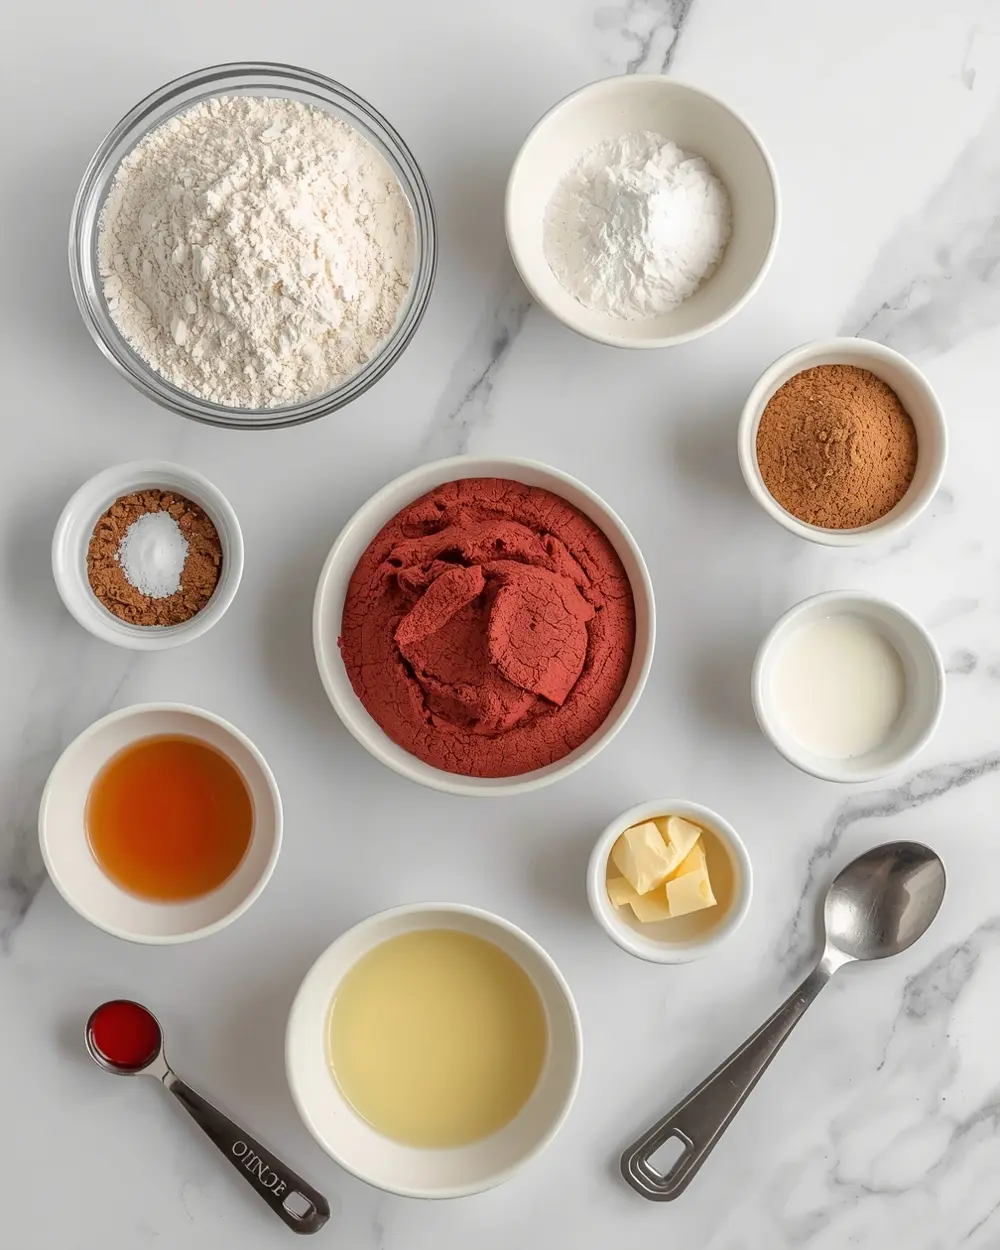
- 2 cups all-purpose flour
- 1/2 cup unsweetened cocoa powder
- 1 cup granulated sugar
- 1/2 cup packed light brown sugar
- 1 teaspoon baking powder
- 1/2 teaspoon baking soda
- 1/4 teaspoon salt
- 2 large eggs
- 1/2 cup unsalted butter melted
- 1/4 cup vegetable oil
- 1 cup buttermilk
- 2 tablespoons red gel food coloring
- 1 teaspoon vanilla extract
- 8 ounces cream cheese softened
- 1/2 cup unsalted butter softened
- 3 cups powdered sugar sifted
Don’t have buttermilk? Mix regular milk with a tablespoon of lemon juice and let it sit for five minutes — it works just as well. I’ve also swapped the red gel coloring for liquid red coloring before, but you’ll need a bit more since liquid isn’t as concentrated.
Here’s the thing: don’t skip the cocoa powder in your red velvet cupcakes patriotic batter. That tiny bit of chocolate is what gives these cupcakes their unique flavor versus basic vanilla cupcakes. Some people add vinegar, but honestly, the buttermilk gives you plenty of tang without it.
Step-by-step instructions
1. Preheat your oven to 350°F and line two muffin tins with cupcake liners. Grab a large bowl and whisk together the flour, cocoa powder, granulated sugar, brown sugar, baking powder, baking soda, and salt. Set this dry mixture aside while you prep your wet ingredients. Make sure your oven rack is centered so the cupcakes bake evenly.
2. In a separate medium bowl, whisk together the eggs, melted butter, and vegetable oil until they’re well combined. Add the buttermilk and red gel food coloring, stirring until you get that beautiful red color throughout. I always do this slowly so the coloring mixes in evenly without streaks. Add your vanilla extract and stir once more.
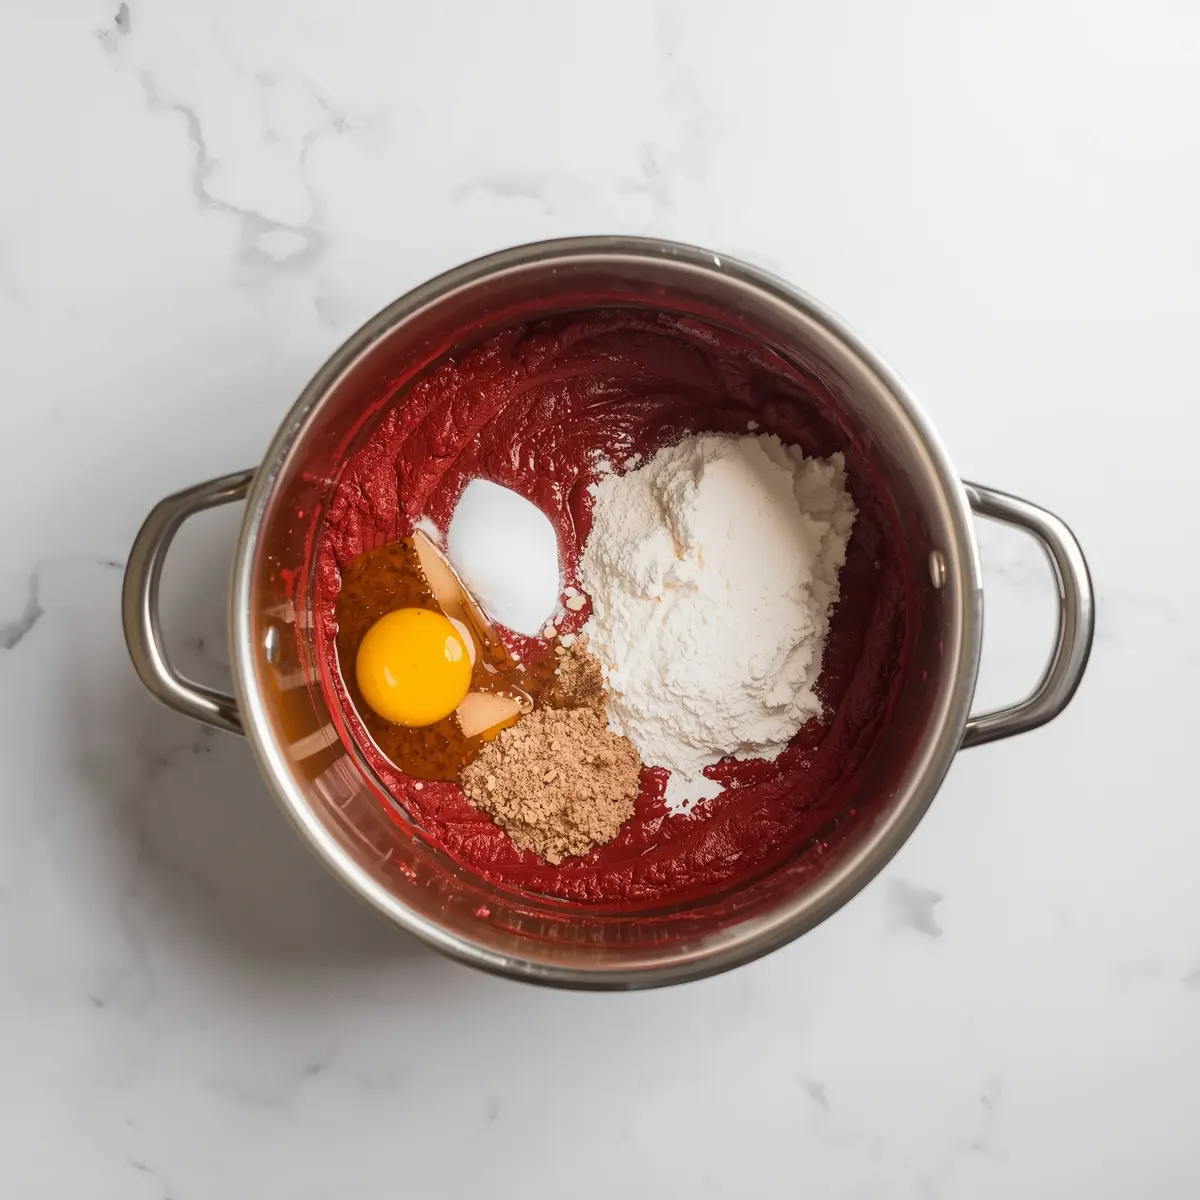
3. Pour the wet ingredients into your dry mixture and stir until just combined — don’t overmix or your cupcakes will be tough. The batter should look smooth and completely red with no white flour streaks. This is when I do a taste test with a tiny bit on my finger (raw eggs aside, just check the flavor). Overmixing is honestly the number one mistake people make here.
4. Carefully fill each cupcake liner about two-thirds full using an ice cream scoop — this keeps them even in size. I always fill every other liner first, then go back and fill the empty ones so they cook uniformly. Don’t fill them all the way or the batter will overflow and make a mess on your oven floor.
5. Bake for 18 to 20 minutes, until a toothpick inserted in the center comes out with just a few moist crumbs. Don’t panic if they look slightly jiggly in the middle — they’ll firm up as they cool. The edges should pull away from the liner slightly and spring back when you poke them gently.
6. Let the cupcakes cool in the pan for five minutes, then turn them out onto a wire rack to cool completely before frosting. This takes about 30 minutes total, but you can speed it up by popping them in the fridge for 10 minutes. Trying to frost warm cupcakes is a disaster — the frosting will melt and slide right off.
7. For the frosting, beat together the softened cream cheese and softened butter until fluffy — about two minutes of mixing. Gradually add your sifted powdered sugar, beating on low speed to avoid a powdered sugar cloud in your kitchen. Once combined, increase speed to medium and beat for another minute until it’s light and creamy. Frost each cooled cupcake with a generous dollop and smooth it with an offset spatula for that elegant look.
Serving ideas for red velvet cupcakes patriotic
These beauties deserve to be the star of your dessert table.
Patriotic Party Spread
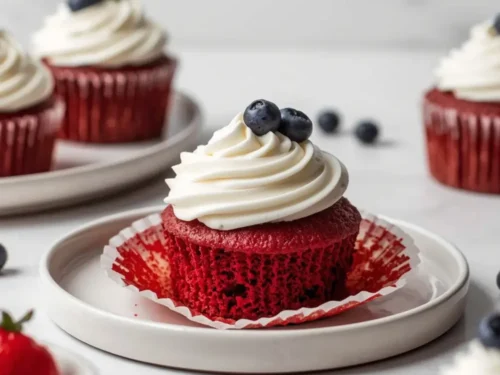
Arrange your frosted red velvet cupcakes patriotic on a tiered dessert stand with fresh berries tucked around the base. Add white and blue decorations between the cupcakes for that festive patriotic vibe. This setup looks absolutely stunning in photos and takes just five minutes to assemble.Elegant Brunch Addition
These work perfectly as part of a summer brunch spread alongside fresh fruit and cheese boards. The cream cheese frosting actually complements light breakfast foods better than you’d expect. Guests love having a sweeter option that feels less heavy than traditional breakfast desserts.Dessert Buffet Star
Consider pairing these with our cookie dough bites for a no-bake treat contrast. The soft cupcakes and creamy frosting balance perfectly with the chewier texture of cookie dough treats. Your guests won’t want to leave your dessert table.Pro tips for perfect red velvet cupcakes patriotic
Storage tips
– Keep frosted cupcakes in an airtight container at room temperature for up to two days – Store unfrosted cupcakes in a sealed bag at room temperature for three days – Freeze unfrosted cupcakes in a freezer bag for up to three monthsMake-ahead instructions
– Bake and cool cupcakes completely, then freeze unfrosted for two weeks maximum – Prepare frosting up to three days ahead and refrigerate in an airtight container – Frost cupcakes the morning of your party for the freshest appearance and tasteVariations
– Skip the cocoa powder and add more vanilla for a lighter take on red velvet – Divide batter and add cream cheese swirls on top before baking for extra indulgence – Use natural red coloring instead of gel if you prefer fewer artificial ingredients – Try almond extract in place of vanilla for a totally different flavor dimensionTroubleshooting
– Cupcakes sinking in the middle? Your batter was overmixed — stir just until combined next time – Frosting too soft? Make sure your cream cheese and butter were room temperature, not warm – Dry cupcakes? You overbaked them — pull them out when toothpick has just a few crumbs – Frosting won’t stay on? Your cupcakes were still warm — always cool them completely firstFrequently asked questions
Can I freeze red velvet cupcakes patriotic?
Yes, absolutely. Freeze unfrosted cupcakes in an airtight container for up to three months — the texture stays perfect when thawed. For frosted cupcakes, freeze them on a tray first, then transfer to a container for up to two weeks. Let them thaw at room temperature for about 30 minutes before serving.What can I substitute for cream cheese frosting?
You could use buttercream instead, but honestly, *cream cheese frosting is what makes these special*. If you want a lighter option, try whipped cream cheese mixed with a little whipped cream. Some people use mascarpone, which gives a slightly less tangy but equally delicious result.Can I make these cupcakes without the red food coloring?
They’ll still taste amazing, but you’ll lose that vibrant red velvet color that makes them so beautiful. The cupcakes will look brownish instead, almost like chocolate cupcakes. If you want the red without gel coloring, try beet juice or natural red food coloring as alternatives.Are these cupcakes good for patriotic party dessert options?
*Completely yes — they’re basically made for patriotic occasions.* The red color works perfectly for Fourth of July, Memorial Day, or any summer celebration. You can add blue and white sprinkles or serve them with red, white, and blue frosting stripes for maximum festive impact.Final thoughts
These red velvet cupcakes patriotic genuinely feel fancy but won’t stress you out in the kitchen. The combination of subtle chocolate flavor and tangy cream cheese frosting keeps people coming back for seconds at every event. I’ve made these for block parties, baby showers, and that one time my neighbor’s book club met at my house — they absolutely kill it every single time.
Your summer entertaining game is about to level up in the best way possible. Check out our chocolate covered strawberry dessert ideas for another elegant option that pairs beautifully with these cupcakes. Make a batch this weekend and watch your guests lose their minds — this recipe deserves a permanent spot in your rotation.
Elegant Red Velvet Cupcakes with Cream Cheese Frosting – Liz’s 4th of July Party
Ingredients
Method
- Preheat your oven to 350°F and line two muffin tins with cupcake liners. Grab a large bowl and whisk together the flour, cocoa powder, granulated sugar, brown sugar, baking powder, baking soda, and salt. Set this dry mixture aside while you prep your wet ingredients. Make sure your oven rack is centered so the cupcakes bake evenly.
- In a separate medium bowl, whisk together the eggs, melted butter, and vegetable oil until they’re well combined. Add the buttermilk and red gel food coloring, stirring until you get that beautiful red color throughout. I always do this slowly so the coloring mixes in evenly without streaks. Add your vanilla extract and stir once more.
- Pour the wet ingredients into your dry mixture and stir until just combined — don’t overmix or your cupcakes will be tough. The batter should look smooth and completely red with no white flour streaks. This is when I do a taste test with a tiny bit on my finger (raw eggs aside, just check the flavor). Overmixing is honestly the number one mistake people make here.
- Carefully fill each cupcake liner about two-thirds full using an ice cream scoop — this keeps them even in size. I always fill every other liner first, then go back and fill the empty ones so they cook uniformly. Don’t fill them all the way or the batter will overflow and make a mess on your oven floor.
- Bake for 18 to 20 minutes, until a toothpick inserted in the center comes out with just a few moist crumbs. Don’t panic if they look slightly jiggly in the middle — they’ll firm up as they cool. The edges should pull away from the liner slightly and spring back when you poke them gently.
- Let the cupcakes cool in the pan for five minutes, then turn them out onto a wire rack to cool completely before frosting. This takes about 30 minutes total, but you can speed it up by popping them in the fridge for 10 minutes. Trying to frost warm cupcakes is a disaster — the frosting will melt and slide right off.
- For the frosting, beat together the softened cream cheese and softened butter until fluffy — about two minutes of mixing. Gradually add your sifted powdered sugar, beating on low speed to avoid a powdered sugar cloud in your kitchen. Once combined, increase speed to medium and beat for another minute until it’s light and creamy. Frost each cooled cupcake with a generous dollop and smooth it with an offset spatula for that elegant look.


")